Wednesday, July 8, 2015

Drawing II - Final Project

Lately I feel all I have been done is harvest magnolia leaves, look at/try to buy real estate, and pack boxes   I did this drawing today.  Our final project - leaves on a branch.  Took me most of the day.  I should work more on it but I am tapped out and have to mail it to the teacher.  Damn hard especially when you are stressed out.  But when I focus, drawing is totally relaxing.  I predict a B-.  Although Laura is tough, she could give me a C.  My toning sucks.  No other way to put it.  


Ok so I went back to it one more time.  About an hour of little detail stuff.  Using my 2H to try and make some edges pop and define forms better.  I think the whole thing looks a little muddy.  And I can't start over so off it goes today.  I gotta say these are very hard to photograph.  I am happy with three of the leaves.  So so on a couple and really don't like one of them but don't know how to fix without risking destroying everything.  The assignment was to show leaves in different perspective.  Did that.  Show the form of the leaves -- the cylinders between veins.  Tried to do that.  Show some underside.  Check.  Actually my favorite leaf is the little curled one that shows only underside.  So cute.  Demonstrate awareness of light source.  That's a tough one, oddly enough.  Demonstrate atmospheric perspective.  I think I got that.  Show texture.  Use a full range of values.  I'll get dinged for that I am sure.  Neatness counts.  Last one is tough cause the graphite gets all over no matter how hard you try to protect the drawing.  


So now I take a break from classes.  Finish packing, close on my BK condo, go to Ptown for a few weeks.  Come back and move to Beacon.  Do some paid work.  Then in the fall I will either take pen and ink or colored pencil.  

I plan to take my box of pencils and stuff to Ptown to draw beach flora and maybe some shells and such.  

Friday, June 26, 2015

Drawing Class II - fifth class

The fifth class, and subsequent homework,  prepared us for our final project - drawing a branch of leaves.  We drew leaves from various perspectives.  When we draw a branch with several leaves each leaf will be seen in a different perspective.  Some will overlap, some will be seen from the side, some may appear flatter.  Mine are magnolia leaves.  


We also drew the underside of the lemon leaf (from last week).  


Tomorrow is the last class and we will focus on how we approach the final project which will make up much of our final grade. 

Tuesday, June 16, 2015

Botanical Drawing II - Fourth Class

In class four we focused on seeing color values in gray scale.  It is kind of tricky to look at an object like a pear and then translate the colors you see on a 9 point gray scale.  For homework we had two exercises.  Here the object is to render the values of the pears very quickly and crudely, but clearly blocking out the various values.  I am not at all sure i got this right.  


The other exercise was to draw a leaf we were given in class.  It is a several step process.  First we had a photocopy of the leaf and traced the outline and major veins.  Then we copied that twice more onto tracing paper.  On the second tracing we blocked out the areas where the light rakes across the leaf.  In the third tracing we added values to indicate color.  The first tracing we transferred to good drawing paper.  Then we toned the whole leaf, referencing the two tracings so we never lost sight of the major light forms.  This is tracing two and three:


This is the leaf on paper:


Wednesday, June 10, 2015

Botanical Drawing II - third class

We are practicing chiaroscuro.  This is my homework this week.  Various shapes, a pear, folded paper, a curled paper ribbon, paper leaves.


Next class we move on to real plant material.  

Not at all satisfied with the above leaves, which look variegated rather than toned, I tried again.  And this time used three different pencils.  Not much better.  I look forward to the instructors demo of toning leaves.  I hope I haven't hit the end of the road already.  


Wednesday, June 3, 2015

Botanical Drawing II - developing your skills - second class

The second class was all about values, perspective and light source.  We are exploring the ways values are relative to the values of the area that surround it.  It's a real trick of the eye.    Gray surrounded by black looks lighter than gray surrounded by white.  

In class we were given a photocopy page of a close up of a horse chestnut.  We cut out a 2 x 3 piece that we liked and then drew it using HB and then 2H pencils.  The idea was to use the photocopy as a starting point and then make it up as we went along.  I turned the image upside down for my second drawing so I wouldn't get distracted by the original.  The point was to use different values to indicate depth.  Not sure these are done but since there is a major assignment yet to do I am stopping for now.  Next is to draw a sphere with full tonal values.  That will take forever to get right.


Here is the set up for the sphere assignment.  I did not reference the sphere a lot.  Instead I referred to handouts showing the basics of highlights, reflected light, dark core etc.  This is obviously not Rembrandt lighting.  I moved the lamp for this shot. 


Ok, three 2" spheres.  From left to right:  2H, HB, 2B.  2B still needs work.  This was kind of hard to do.  I am not totally unhappy since it's a first time trying this.  Still I see flaws.  I will play with the last one some more to make the transitions more gradual. 

I think my photos are looking a little better.  I bought a color corrected LED Ott lamp.  

Friday, May 22, 2015

Botanical Drawing II - Developing Your Skills - first class

First class was all about learning how to build layers of graphite to create different tonal values.  It is surprising how long it can take to correctly fill a one inch square.  No burnishing allowed!  To fill an area you start with long light strokes with the long side of the point, no pressure.  Turn the paper and do it again.  Turn and again.  Over and over until there is no increase in darkness.  Then move to the point.  Draw small tight ellipses in a line.  Line after line of ellipses   Turn the paper and work the other direction.  Over and over until you are at maximum darkness.  That's your 100%.  Do half of that for 50%.  We started several such exercises in class and then completed them at home.  We are working with the same three pencils as in Drawing I - HB, 2H and 2B.  To really get to know what they can do we did the following:  


This took HOURS!  I am not super happy with it.  Part of my problem, identified in class by my teacher, is my pencil sharpener.  It does not create a long enough point so I end up  dragging the wood on the paper which messes it up.  So I will buy a new one and start over.  If I can find them I will also buy a different brand of pencil.  The above was done with Staedtler pencils.  This page is a keeper for reference--you always want to know how dark your pencil can go.   It would be nice to have the same page done with another pencil brand since they are all different.  I want to try Tombo.  For an exercise like this a super sharp pencil is a must.  I think I wore down over an inch on my HB.  The bottom exercise (the cylinder shape) shows five values which every tonal drawing should have or it looks weird.  

Now to show how nuts this can get…I bought a new pencil sharpener (a two phase one-  first you sharpen the wood, then the graphite) and some Faber Castell pencils and repeated everything.  It's hard to see here but they are quite different and I am glad I did both.  Next I will try Tombo pencils (made in Japan) which I also bought today.  May as well figure out  what brand I like best.  Pencils are an easy to justify indulgence.  Under $2 each.  


Wednesday, May 13, 2015

Botanical Drawing I - Materials and Methods - sixth and last class

This all went so fast.  Our last class was about composition.  We each brought in three pears and set them in different arrangements trying to find one that was pleasing.  We made thumbnail sketches of our arrangements so we could get a feel for how a drawing would look.  We tried landscape and portrait orientation, and varying amounts of white space.  


The we drew the arrangement we liked best.  We still aren't toning our drawings so we tried to indicate light and dark with line weight.  I added some bruises and specks to give a little dimension.  


There is a final project.  The assignment was to draw an arrangement of fruit or vegetables to include cone, cylinder and oval or spherical shapes.  We have a couple of weeks to complete that and then our work will be graded.  This is what I have done so far. I may do another.  I don't love this.  The tomato is too close to the center.  Also the shapes are boring.  Maybe fennel or something crinkly would-be more interesting…I bought fennel and a gnarly parsnip for this project but I ate them last night.


I start Drawing II on Saturday.  That will be about toning and shading. 

Wednesday, May 6, 2015

Botanical Drawing I - Materials and Methods - Fifth class

This class was all about creating depth and dimension with line weight and no toning.  We started by drawing a ribbon.  We learned to draw the near side first, the far side second, and then fill in the connections.  Then we drew the lines darker and lighter so they look dimensional.  I have a hard time seeing light and dark on the ribbon, but I kind of got it.


Then we were given a piece of ivy--real foliage!  First step is the armature.  We measured (with our dividers)  the stem sections and drew them on tracing paper.  Then we added the veins of the leaves, also measuring carefully.  We then drew the outline of the leaves and transferred the whole thing to paper.  


We were told to use atmospheric perspective.  The idea is that elements that are higher or further back appear lighter and those nearer appear darker.  This makes the drawing more dimensional.  Next week we are to bring three pears to class.  That should be fun.  


Today is a gray gray day and it is interesting that the paper photographs gray too.  


Wednesday, April 29, 2015

Botanical Drawing I - Materials & Methods - fourth class

For the fourth class we were asked to bring a small clay pot.  In class we drew it from three perspectives:  near eye level, lower on a platform and then lower still.  We used various containers to prop them up at different levels.   Using a ruler or divider we measured the pots paying careful attention to the size of the ellipse which grows larger as the pot is viewed more from above.  We drew on tracing paper then transferred the drawing to vellum.  This exercise was difficult because getting the symmetry is hard.  


Next we were given some actual plant material for an exercise on drawing leaves.  First we drew a geranium leaf, paying attention to the veins and lobes.  Then in order to learn how to draw a curved leaf we took an impatien leaf and taped it over an acetate cylinder.  You draw the center vein first, even the part you can't see.  then the front edge of the leaf, then the back edge.  Erase the part of the center vein obscured by bent leaf.  Add the details of veins and the serrated edge.  And voila.  


Thursday, April 23, 2015

Botanical Drawing I - Materials and Methods - Third Class

After kindly critiquing our homework, the teacher talked about and demonstrated the idea of picture plane, where there is an imaginary plane parallel to your face that you need to be aware of and work with when measuring your subject.  To assist learning this, a plexiglas sheet can be propped up in front of your subject, and, with one eye closed, you can take measurements with a ruler or divider.  I had a hard time doing this until I got home and set up a raised platform for the subject and a plexiglas rectangle in front of it.  You can barely see the plexiglas but the alligator clips are holding a sheet of it.  I stabilized the clips with erasing clay.  I set my cutting mat up on a box.  I found the grid on the mat helpful.  I drew two intersecting blue lines on my paper that corresponded to lines on the mat that bisected my arrangement of shapes.  I used a divider (looks like a compass) to take measurements -- you need to put the ruler or divider right up against the plexiglas.  I now imagine that the teacher won't like those blue lines.  Oh well.  We were to draw the shapes, overlapping, and use contour lines to shade them.  


The other exercise was to copy a drawing of a grid of woven ribbons, using different weight lines to create the illusion of dimension.  My drawing violates the 'light comes from the upper left' rule.  The drawing need to be touched up quite a bit, but I got the idea.  

OK, so I eventually settled down with a bourbon and water and played some more.  Gotta make the ribbons pop!  Still needs work but hey, overworking has its drawbacks too.  I'm gonna consider this one done.  I totally get the concept.  


Tuesday, April 14, 2015

Botanical Drawing I Materials and Methods - Second class

For the second class we played with perspective and depth of field.  We learned two point perspective which we will not be using in botanical drawing because plants aren't boxy.  But it takes little time to have the "A-ha" and it is essential for drawing many things (other than plants.) 


Then we were each given a a black and white copy of a photograph of leaves and told to draw the leaves light to dark to indicate depth and to keep the drawing from looking totally flat.  I did this in class.  Lots of leaves, lots of overlap.  Yikes. 

For our homework we were to obtain some flat leaves, create a composition with the leaves overlapping, and then draw them lighter and darker.  I bought turnip leaves.  I photographed them and printed the image.  We were not to use any shading, only lines.  This forces a focus on line intensity.  I had fun with this exercise.  I did have to darken or lighten some areas--overdrawing or erasing.  I did not have a clear plan when I started this so it took a while to evolve.  I enjoyed the process and learned a lot by doing this.  And I haven't even started googling what-to-do-with-turnip-leaves…  


Wednesday, April 8, 2015

Botanical Drawing I - materials and methods - First class

The first class was all about getting to know the pencils and the lines they draw.  We are working only with HB, 2B and 2H.  We practiced drawing straight lines.  Lines that start with pressure and ease up and lines that start light and end up with pressure.  

And then we drew an onion to practice contour lines.  Onions naturally have contour lines so they were a good choice.  


We have homework:  draw an object that has contour lines, like a beach ball, an onion, a melon, and then draw a spherical object that does not have contour lines, like an egg or unmarked ball.  We are to draw the longitudinal and latitudinal lines.  I drew a squash, an egg, a lime and a lemon.   While I still draw too fast, I like this exercise and will keep practicing (on cheaper paper, not the $1 a sheet stuff that they assigned for class.)


Tuesday, April 7, 2015

Catching up. Bog Brook Cove Preserve, Maine

It really has been too long.  I have let some great experiences go unrecorded so I do this now to recover some of what I recall.  I especially wish I could have managed to blog while I was on two collecting trips with Daniel.  Better late than never, I guess.  So here we go...For both trips, we visited Bog Brook Cove Preserve in Maine near the Canadian border.  On one trip we camped in the Ham Camper.  On the other we stayed in a very rustic cabin on the Preserve.  In both cases there was no phone or internet access unless we went into Lubec and hopped on the library's Wi-Fi.  That's my excuse for not blogging then and I am sticking to it.

Daniel has been conducting a complete inventory of the flora of the Preserve.  To do so requires several visits at different times in the blooming/fruiting season.  The project will take several years to complete. This is where we were: 


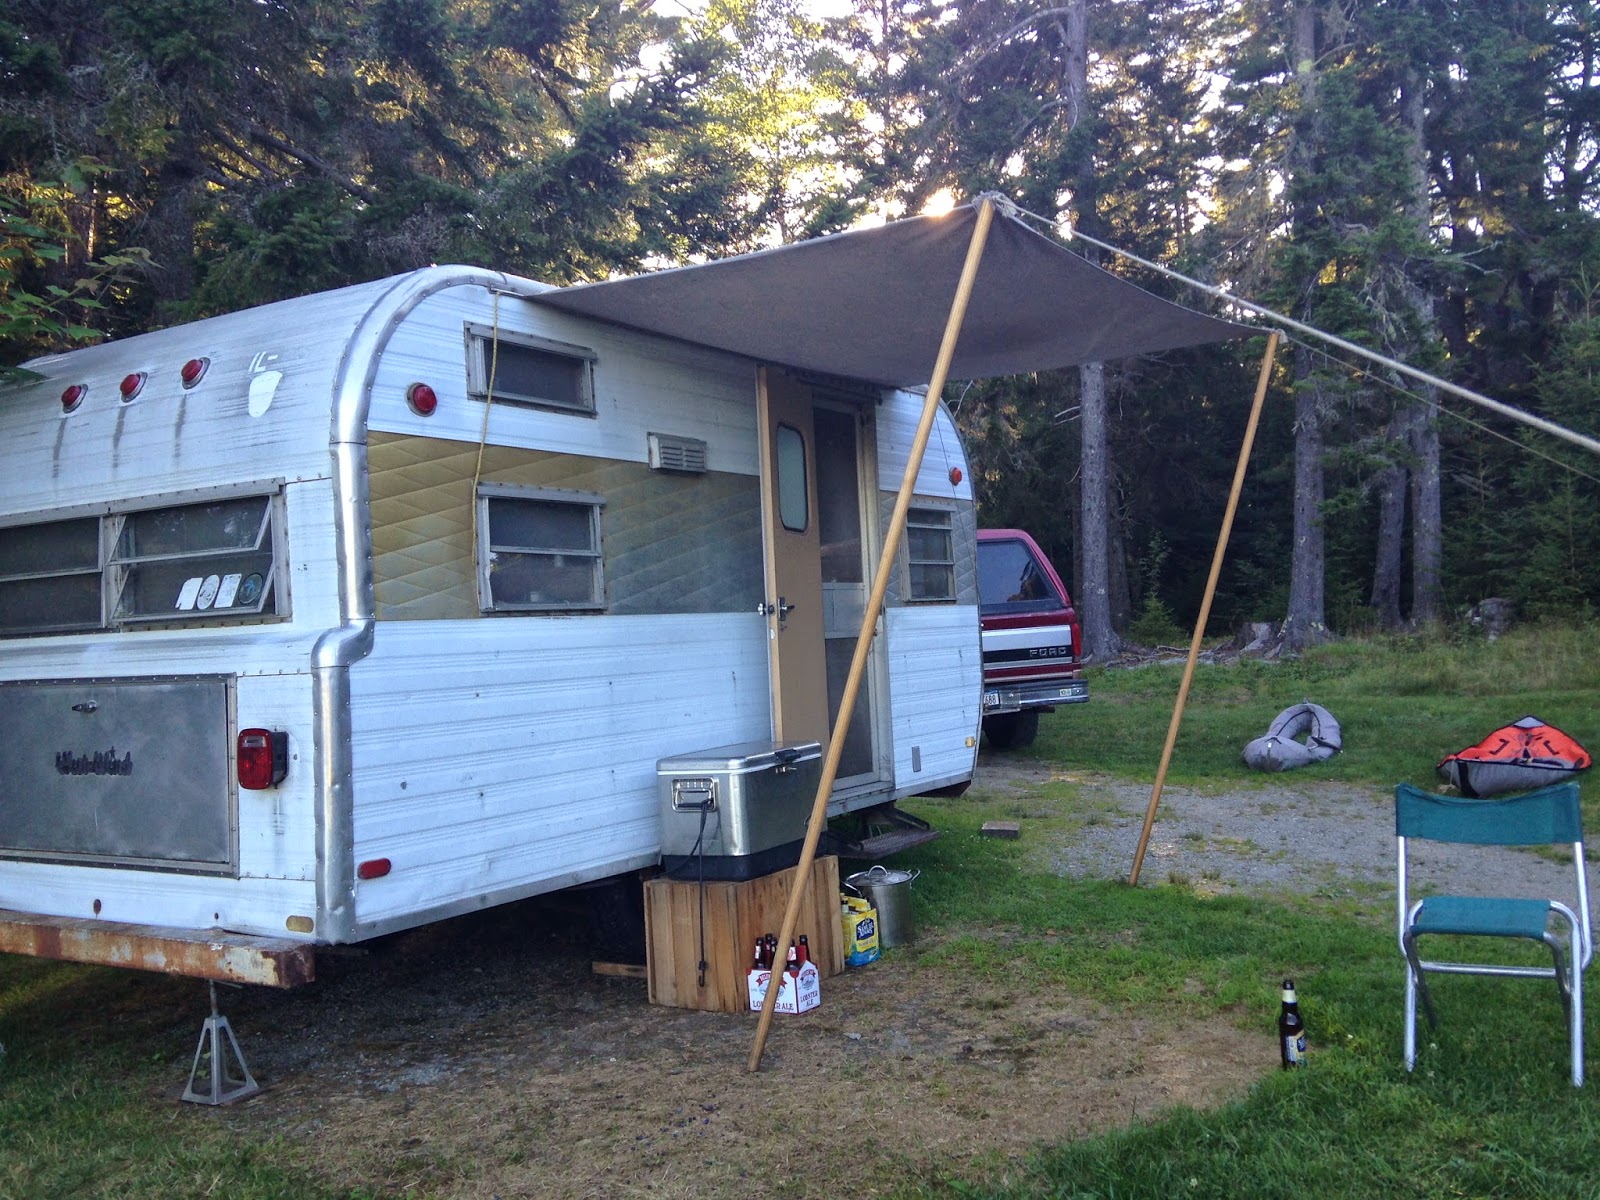
We camped in Cobscook Bay State Park.  Even in August the nights were in the 40's.  We had to go to a Wal-Mart to buy sleeping bags.  Even though we were in the camper, it was very cold at night.  Even so, it was quiet, sparsely populated and beautiful. 

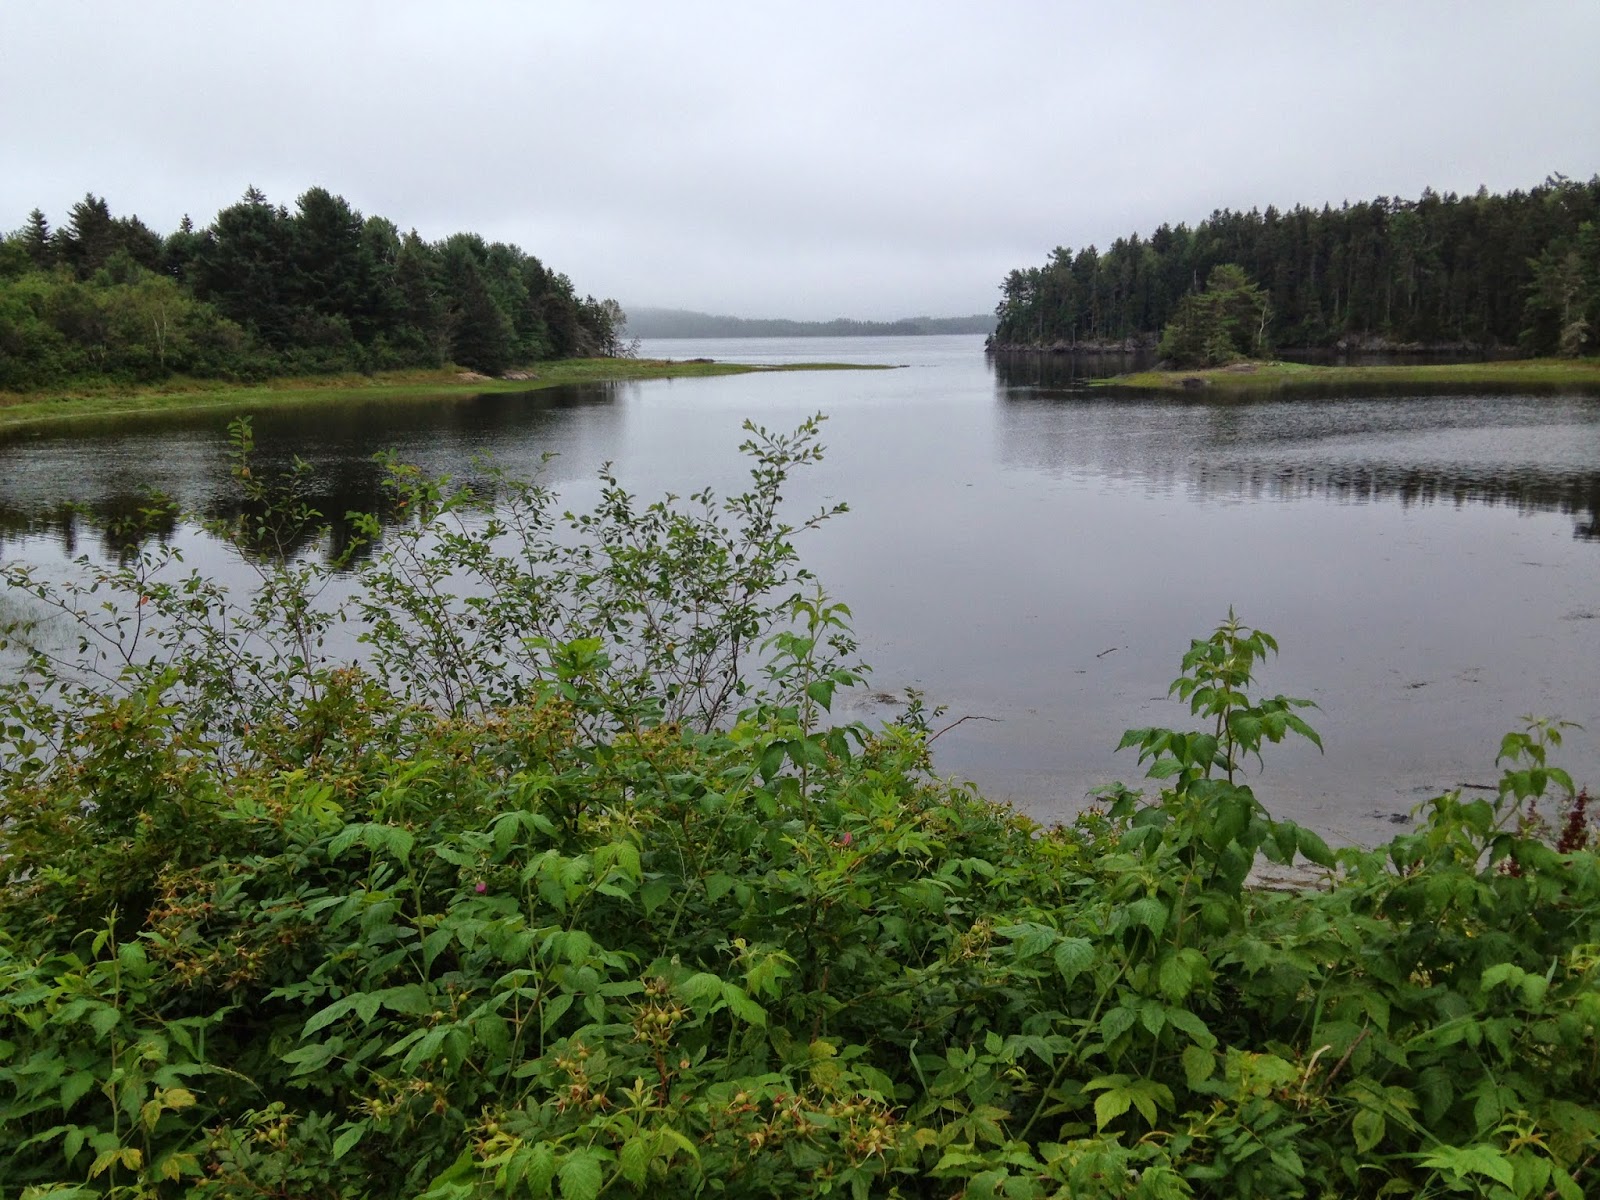
This is the view from our campsite in Cobscook State Park.  We thought we had the best site in the park(high tide).


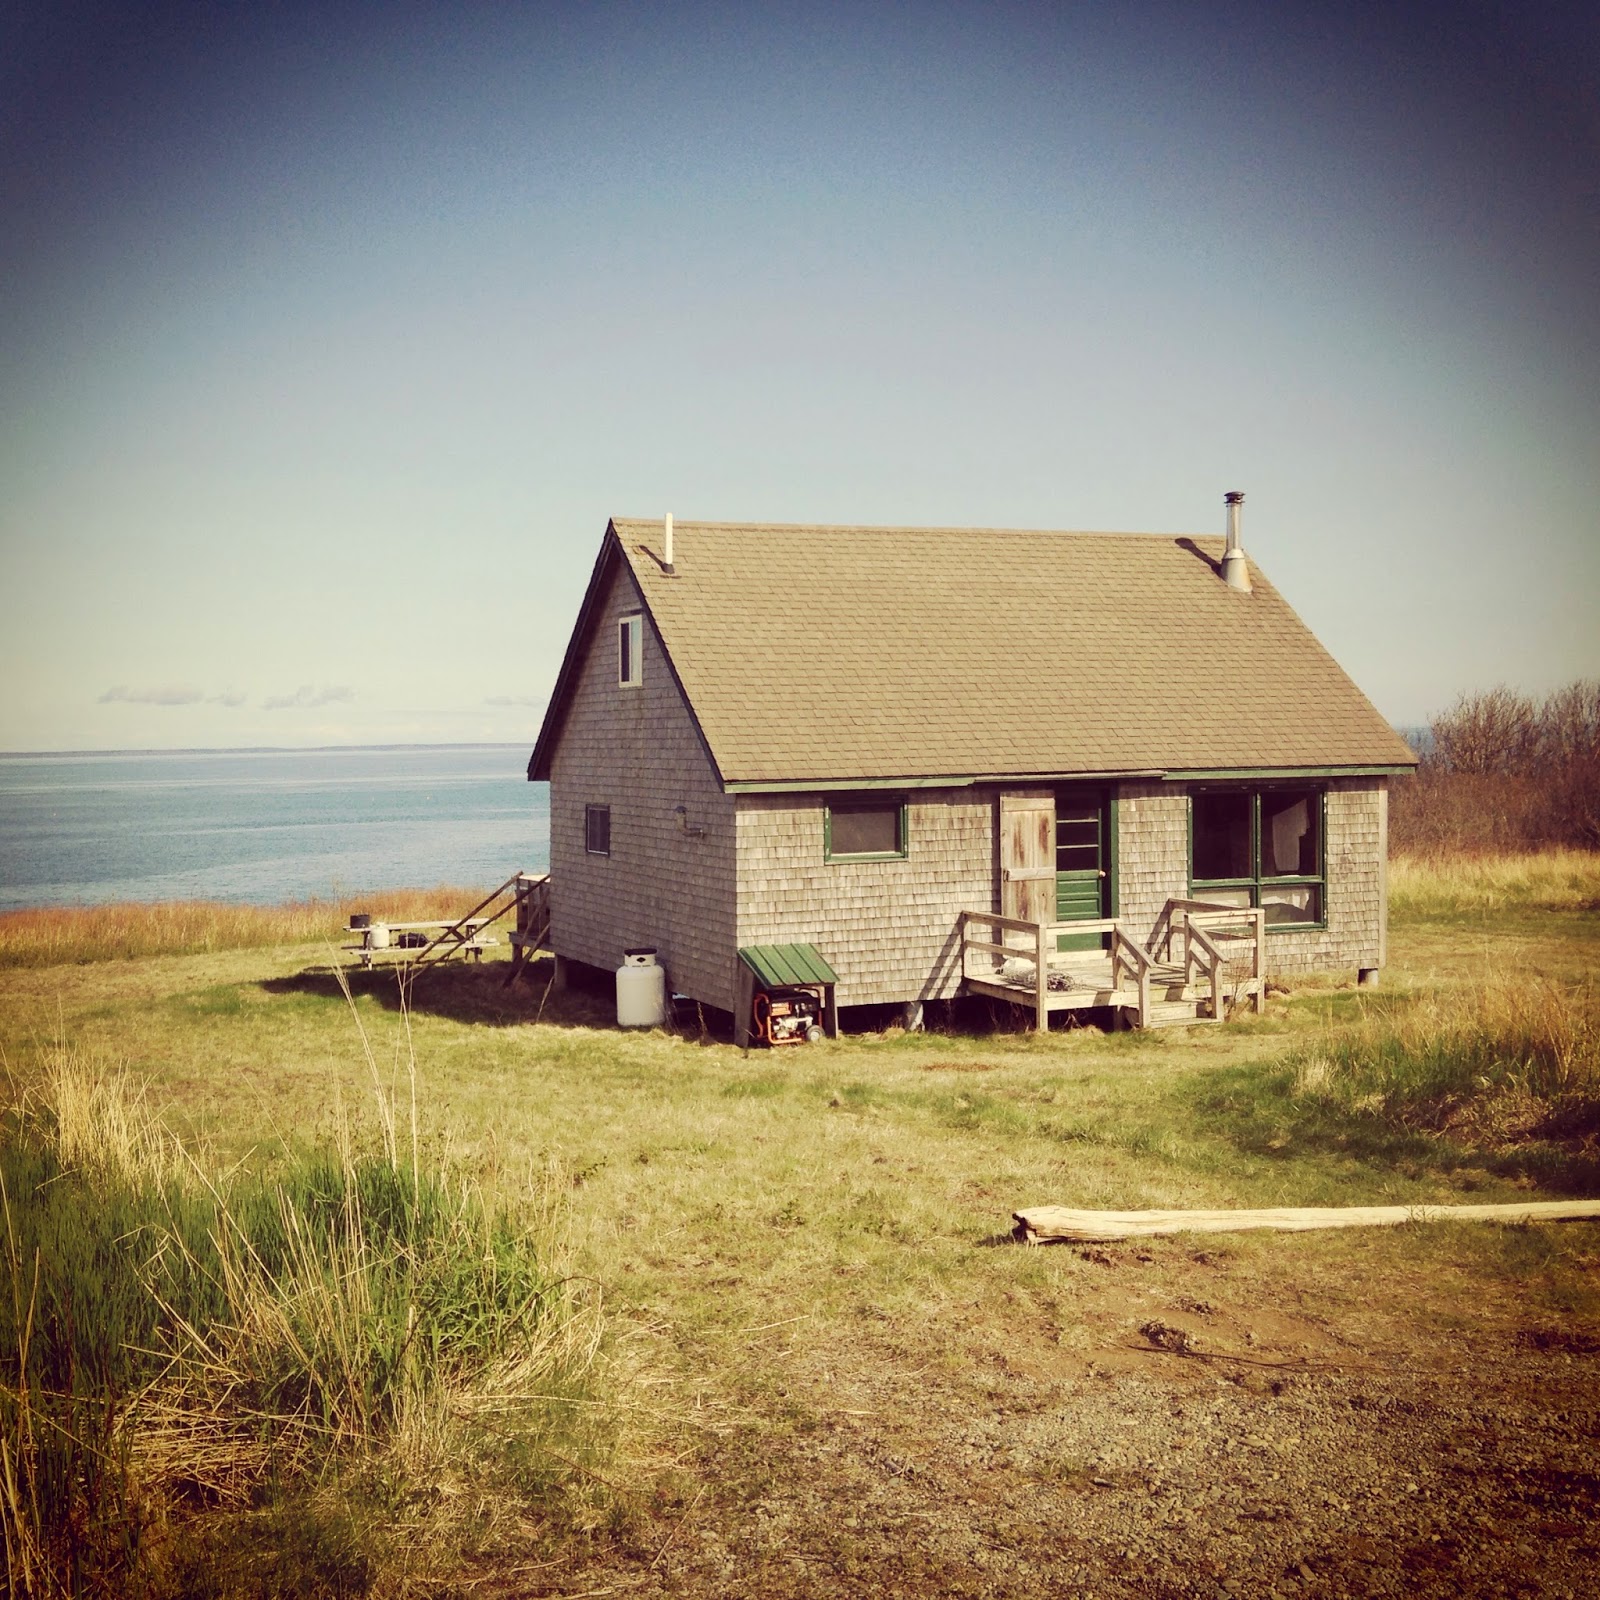
We returned in May 2014 and  had more commodious accommodations in the cabin on the Bog Brook Cove Preserve.  The cabin is used by the blueberry workers in season and by visiting scientists such as Daniel.  The cabin is right above the rocky shore with views of Canada.  While there is a generator, there is no electric light, heating, or other such conveniences.  Just propane for light and cooking.  


We spent some time exploring a beaver pond and admired the remarkable engineering.  


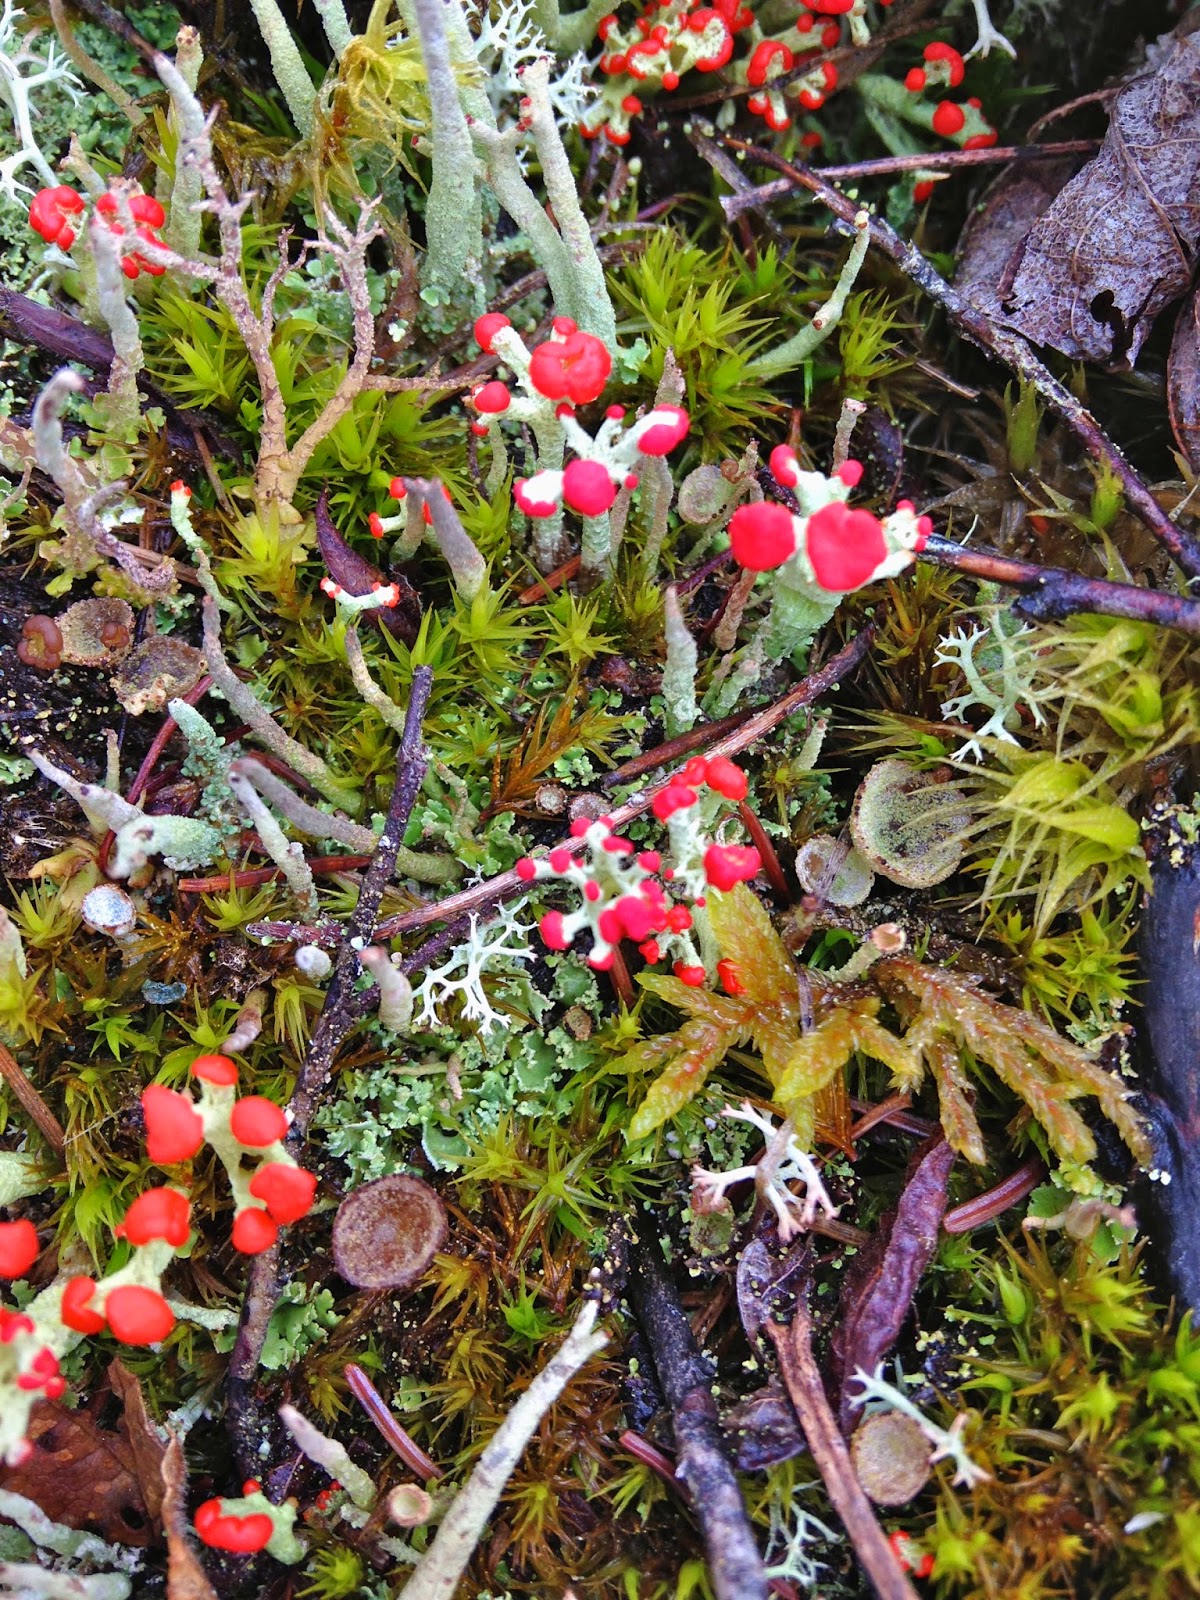
I loved these red soldiers growing on a log...


..and some colorful bracken on a tree.


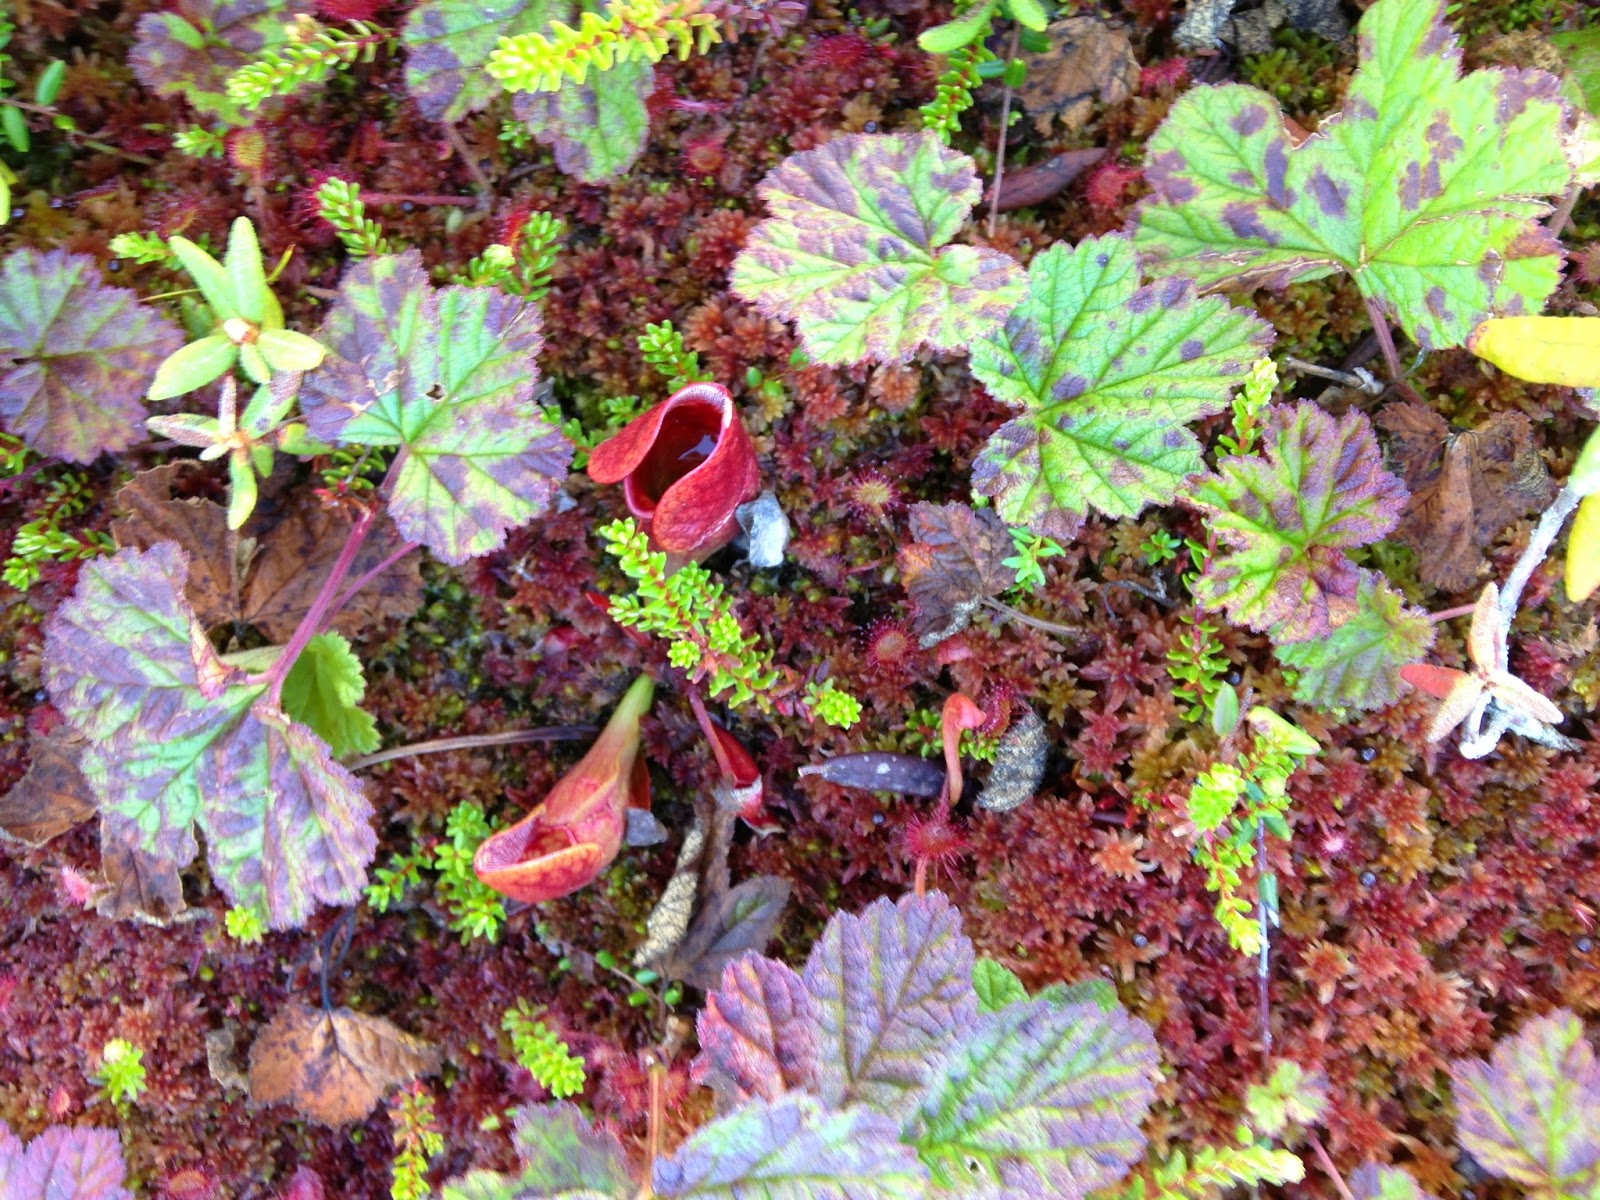
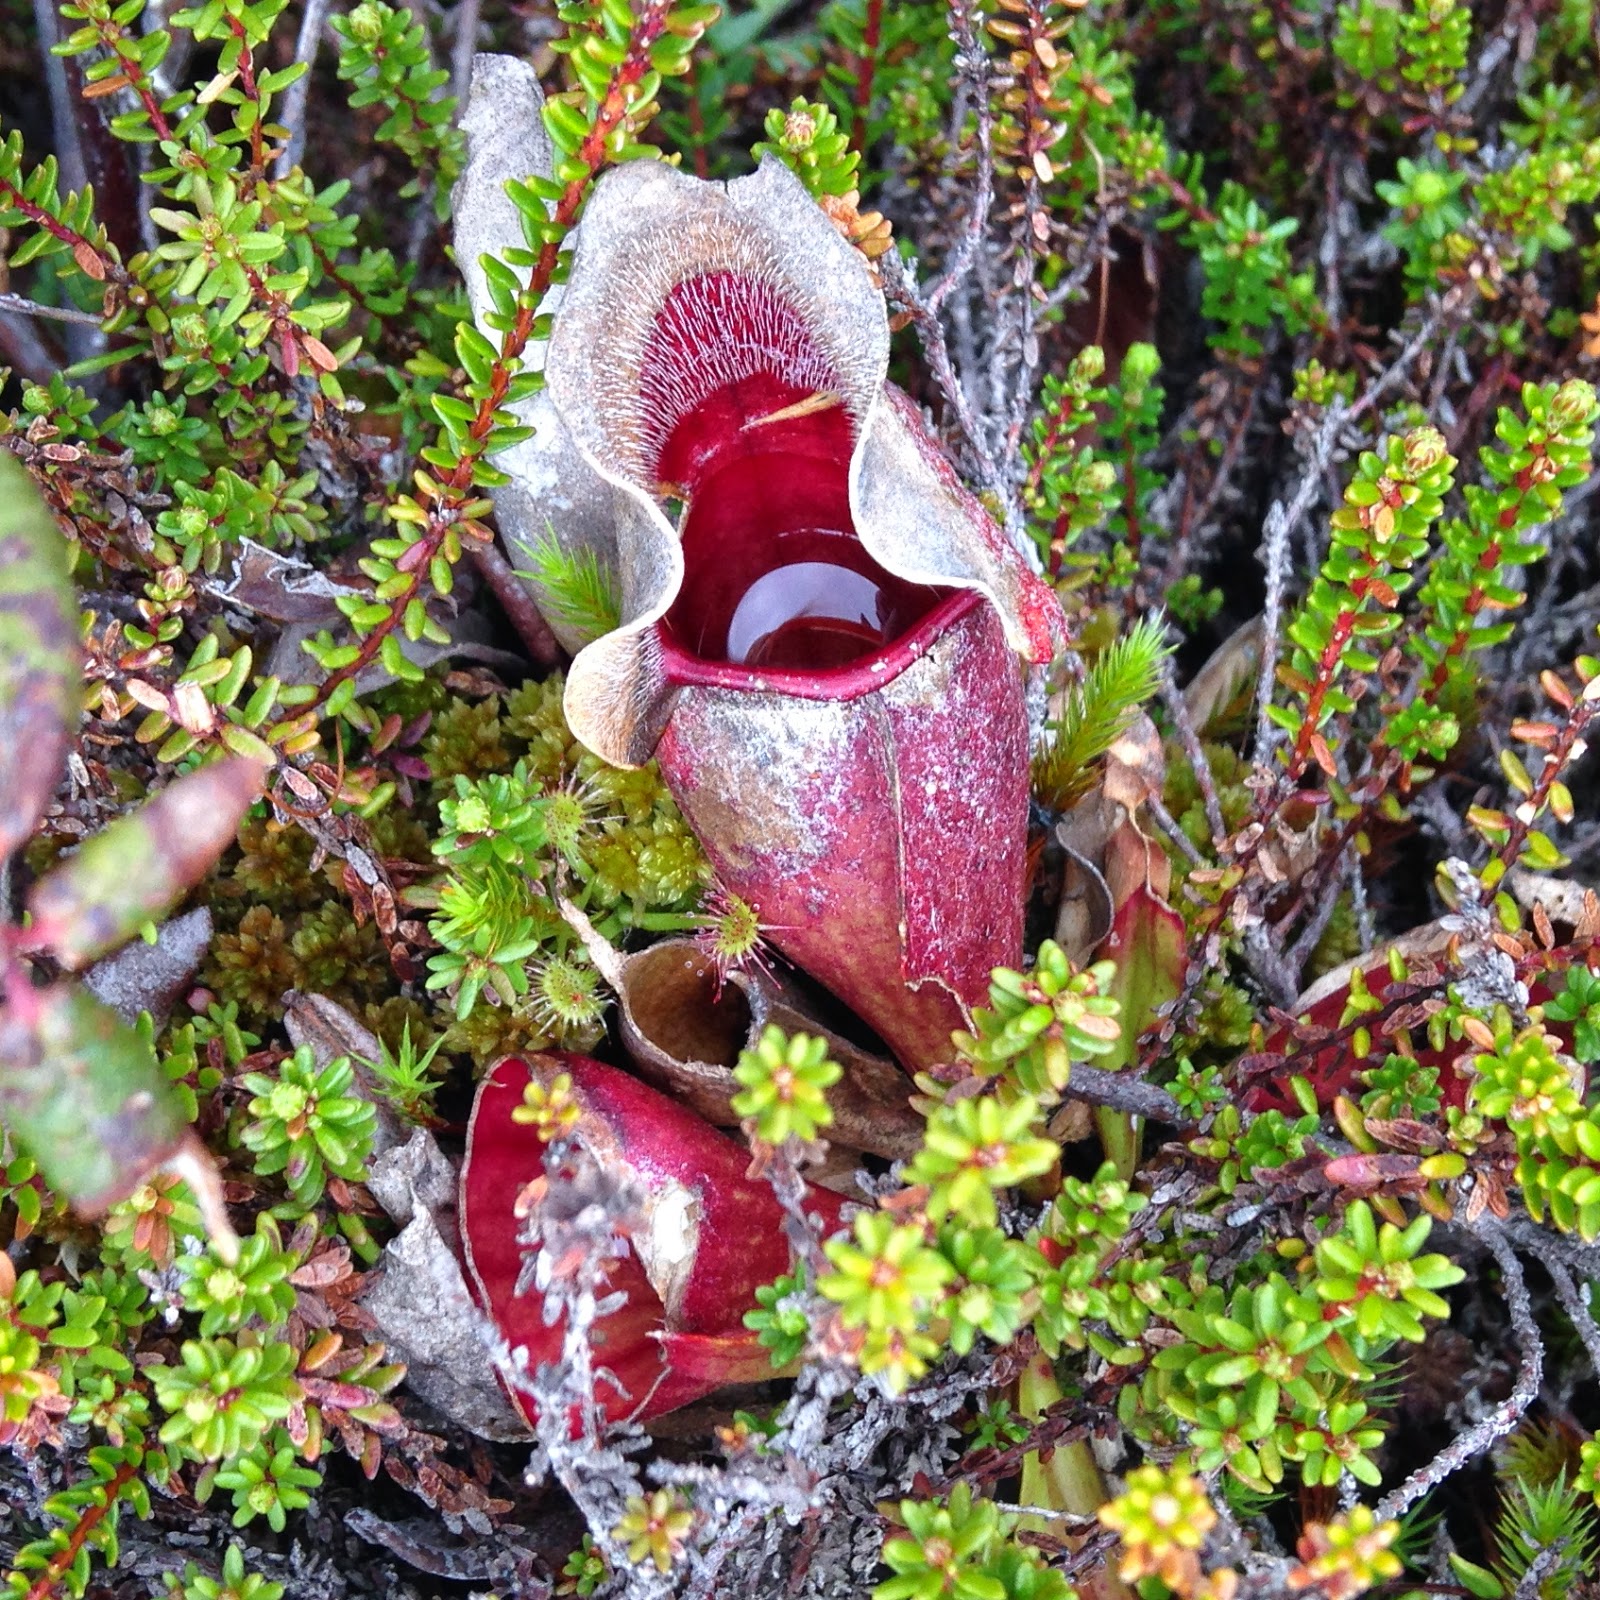
Best of all was the bog and the pitcher plants.  This is my favorite shot ever--two carnivorous plants here…the pitcher plant and the sundews.  Both perfectly designed to trap insects.  Feed me.  

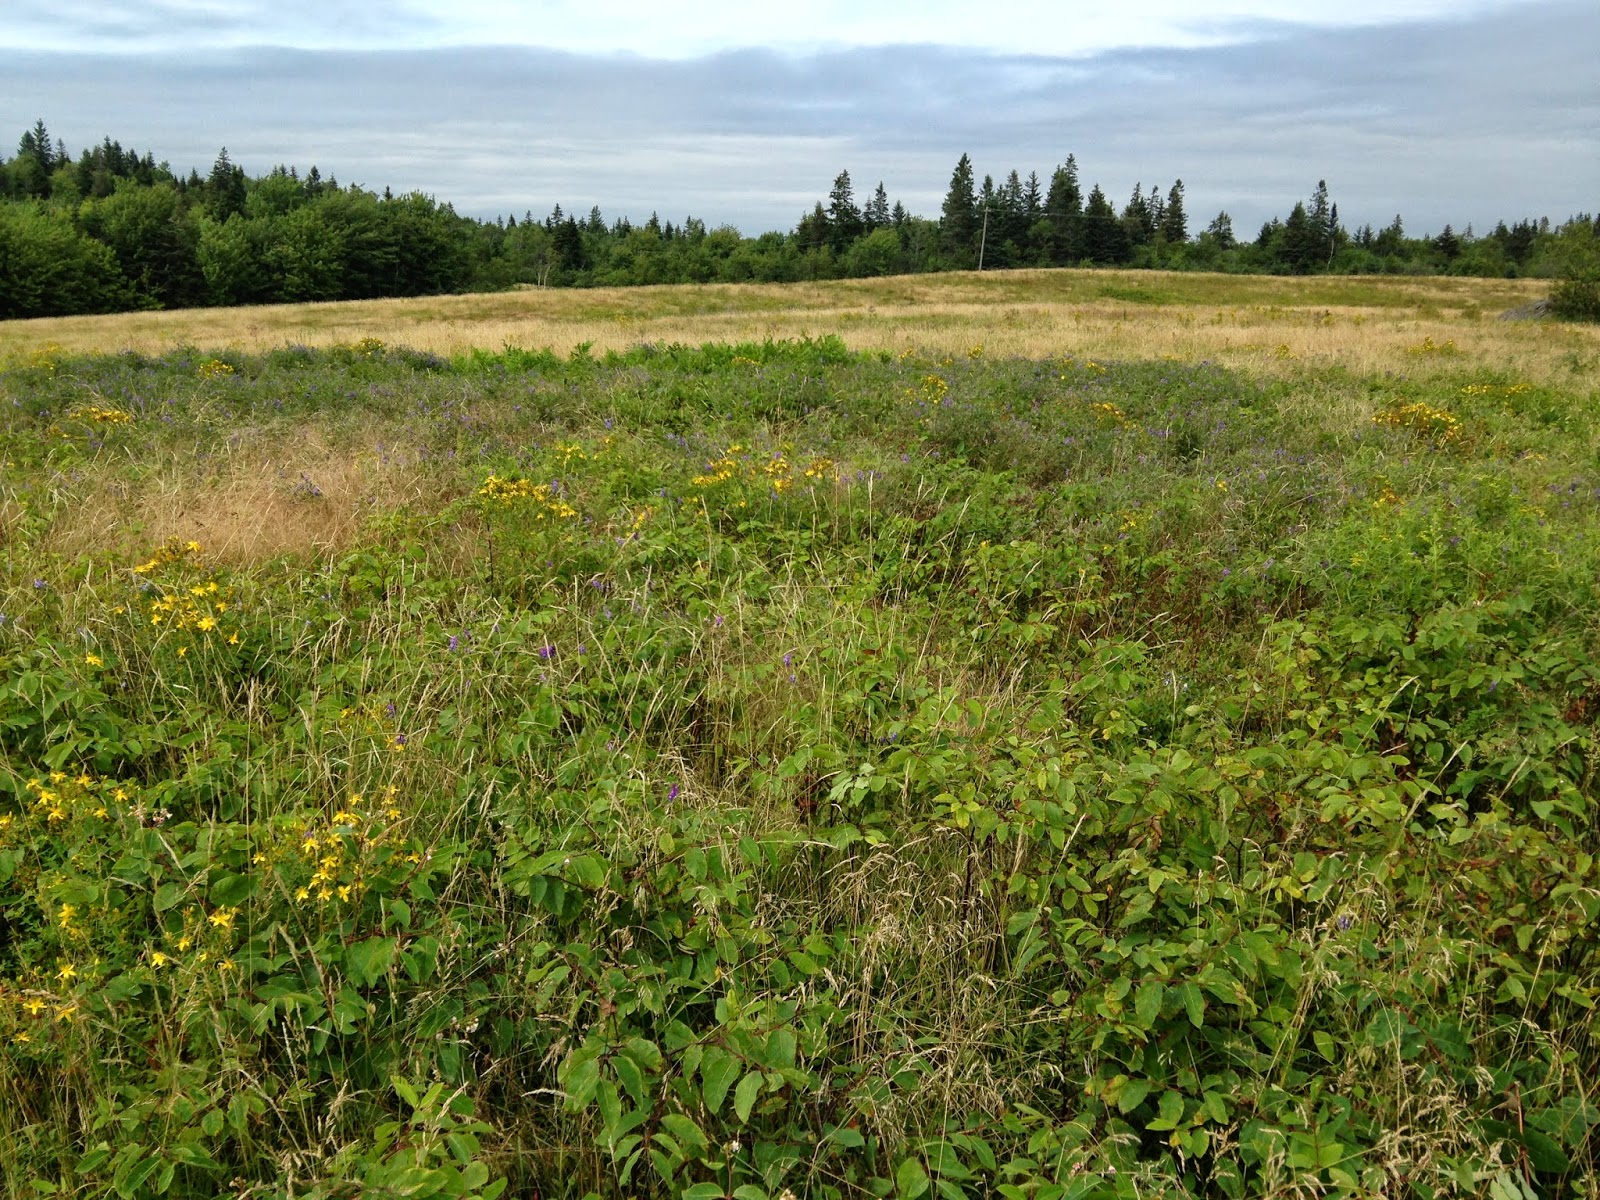
We collected in the blueberry barrens, which from a distance look like this: 


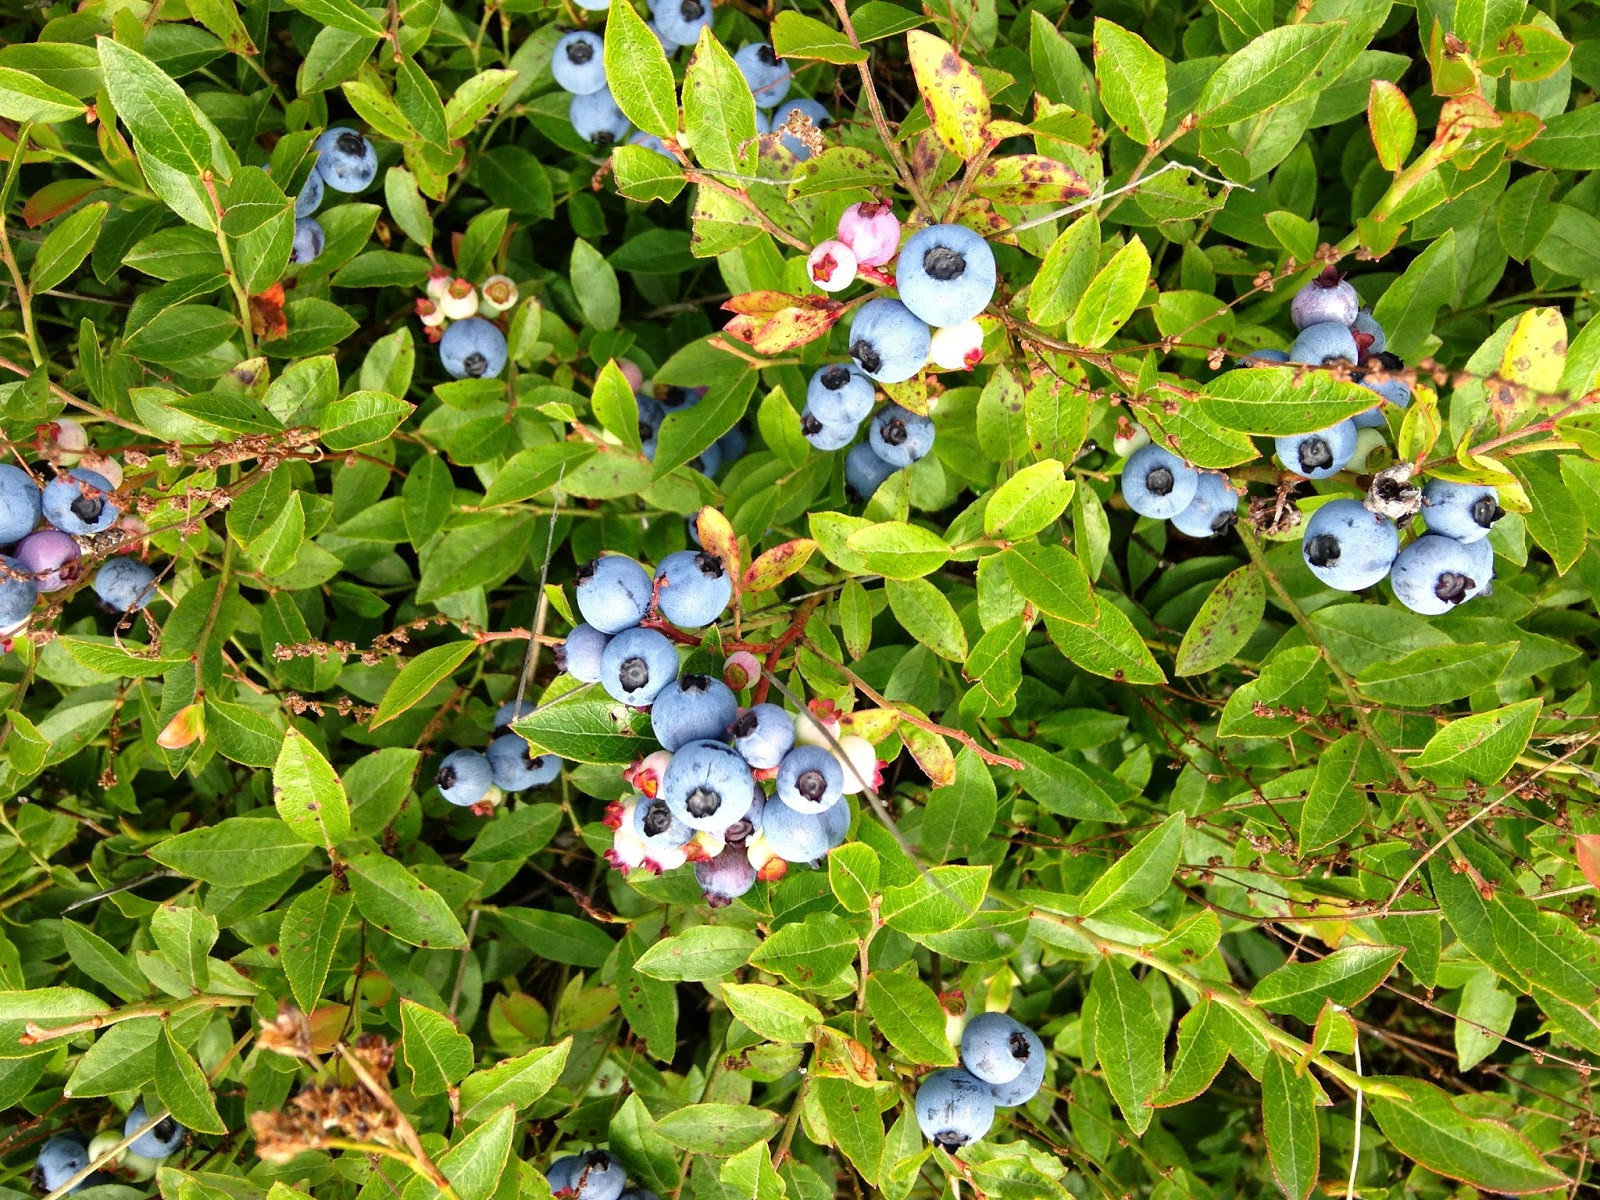
…but up close reveal their fruit.


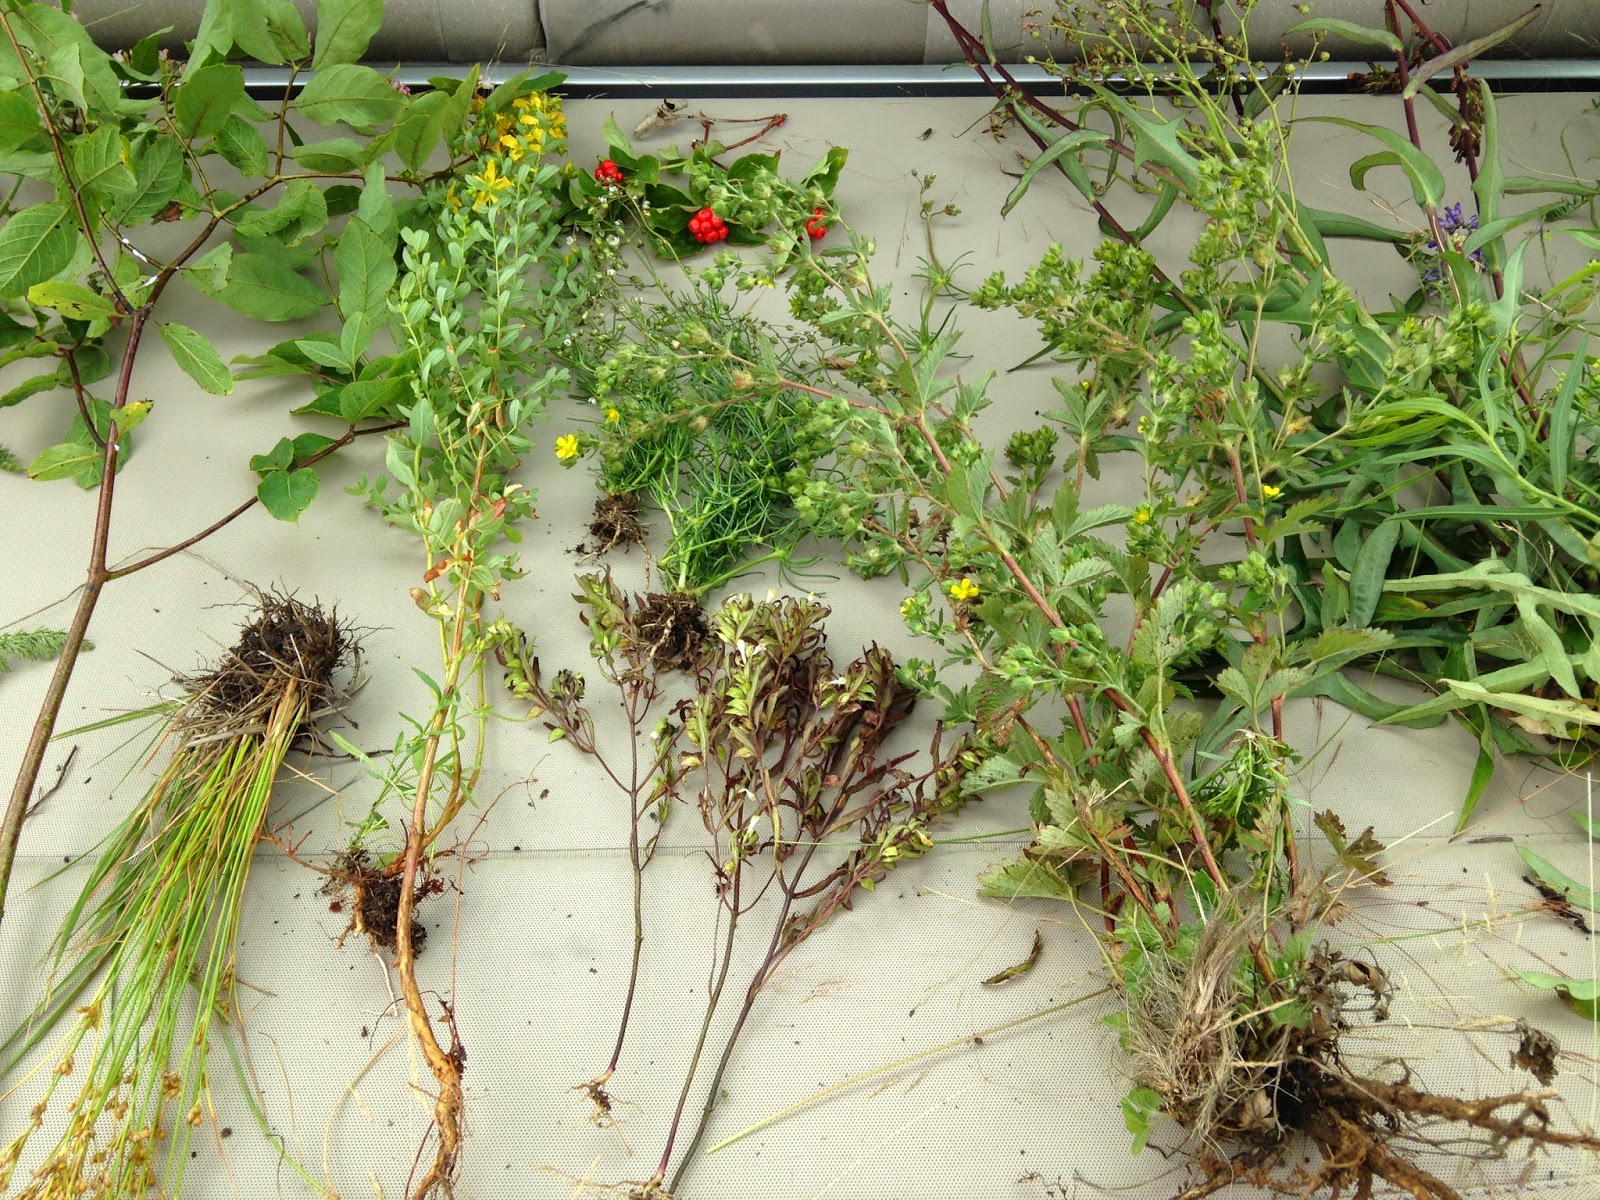
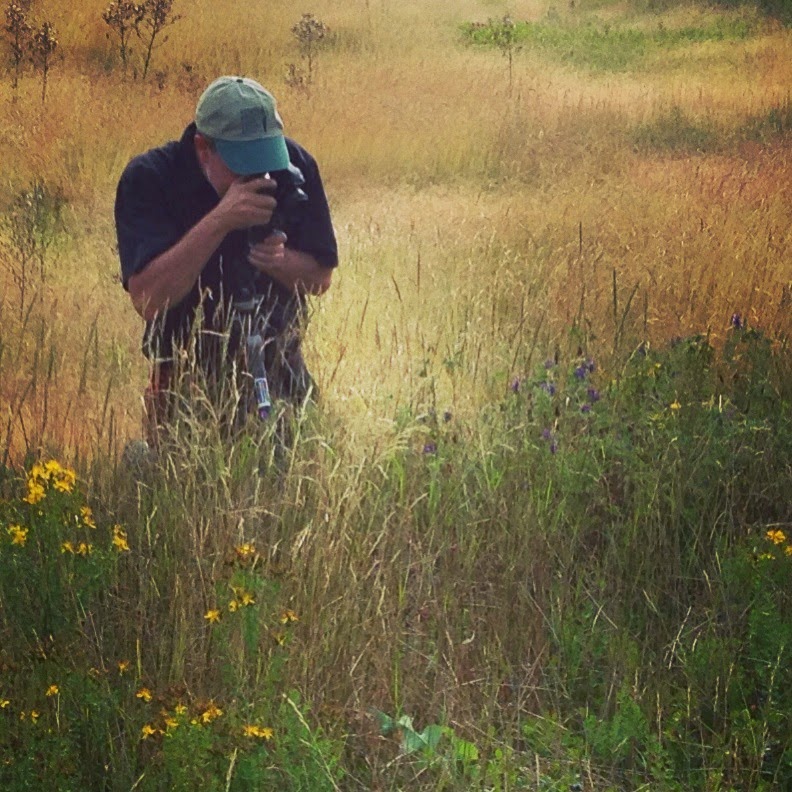
In the barrens, in addition to the blueberries, I collected a lot of specimens for Daniel to press.


Sometimes Daniel photographs the flora we collect.  The photos may help with the identification later before a specimen is filed in the herbarium.


We also visited a local bog, loaded with carnivorous pitcher plants, a favorite of mine.   Some of them are red, some are green.  All waiting for their dinner to come in and become trapped.  Feed me. 


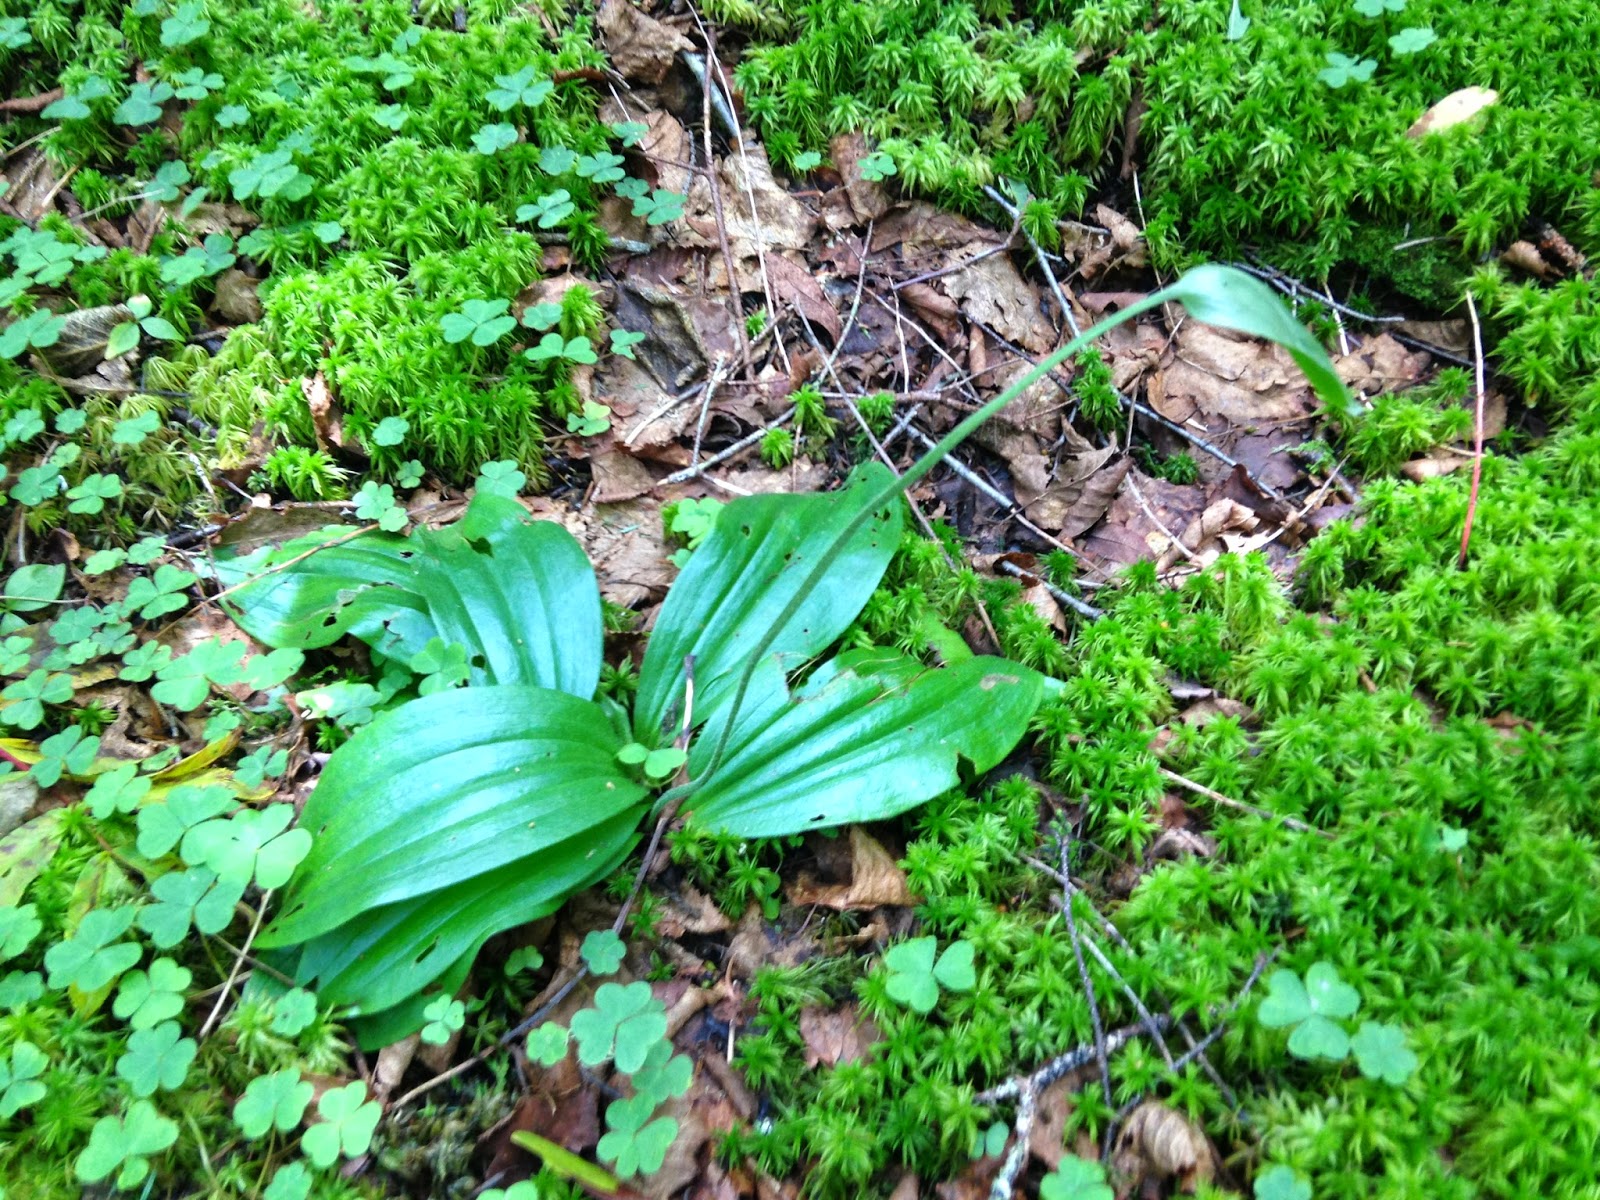
I also found this rare orchid, sadly not in bloom.  We did not collect this as it is endangered.  


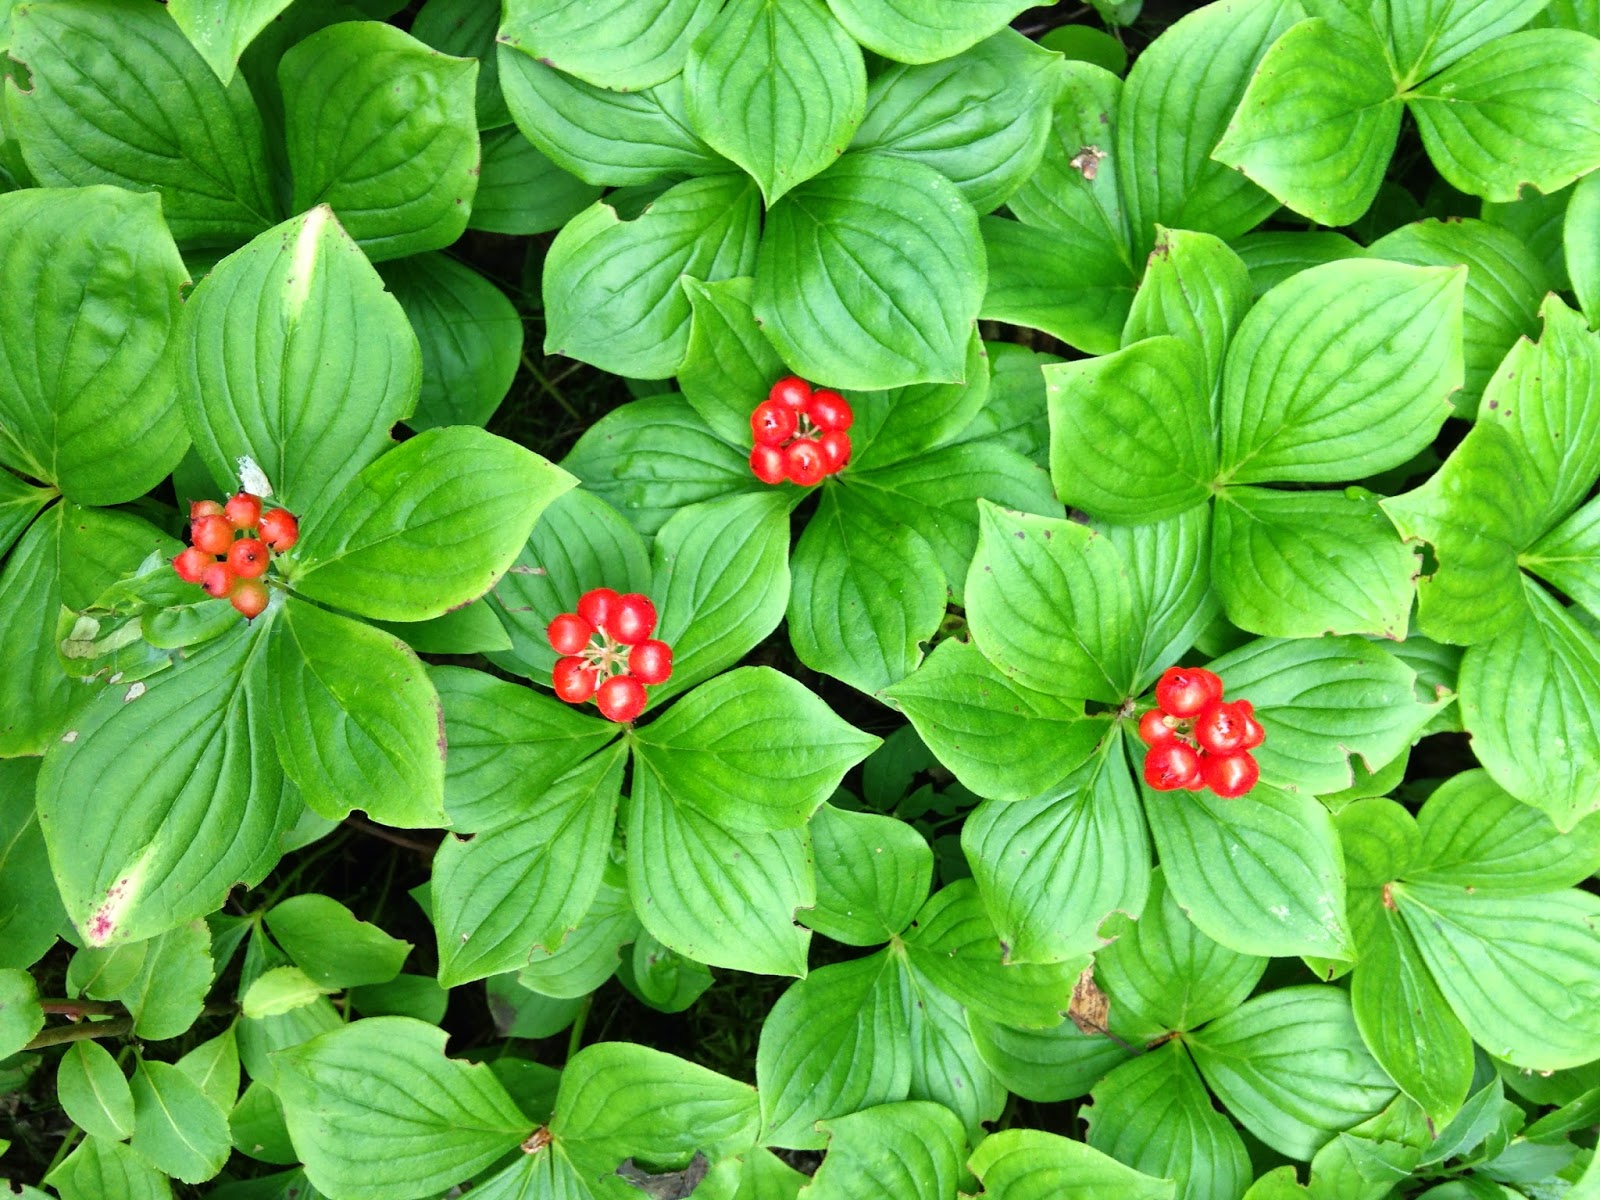
In the summer the bunchberries are everywhere, the woods are carpeted with them.  


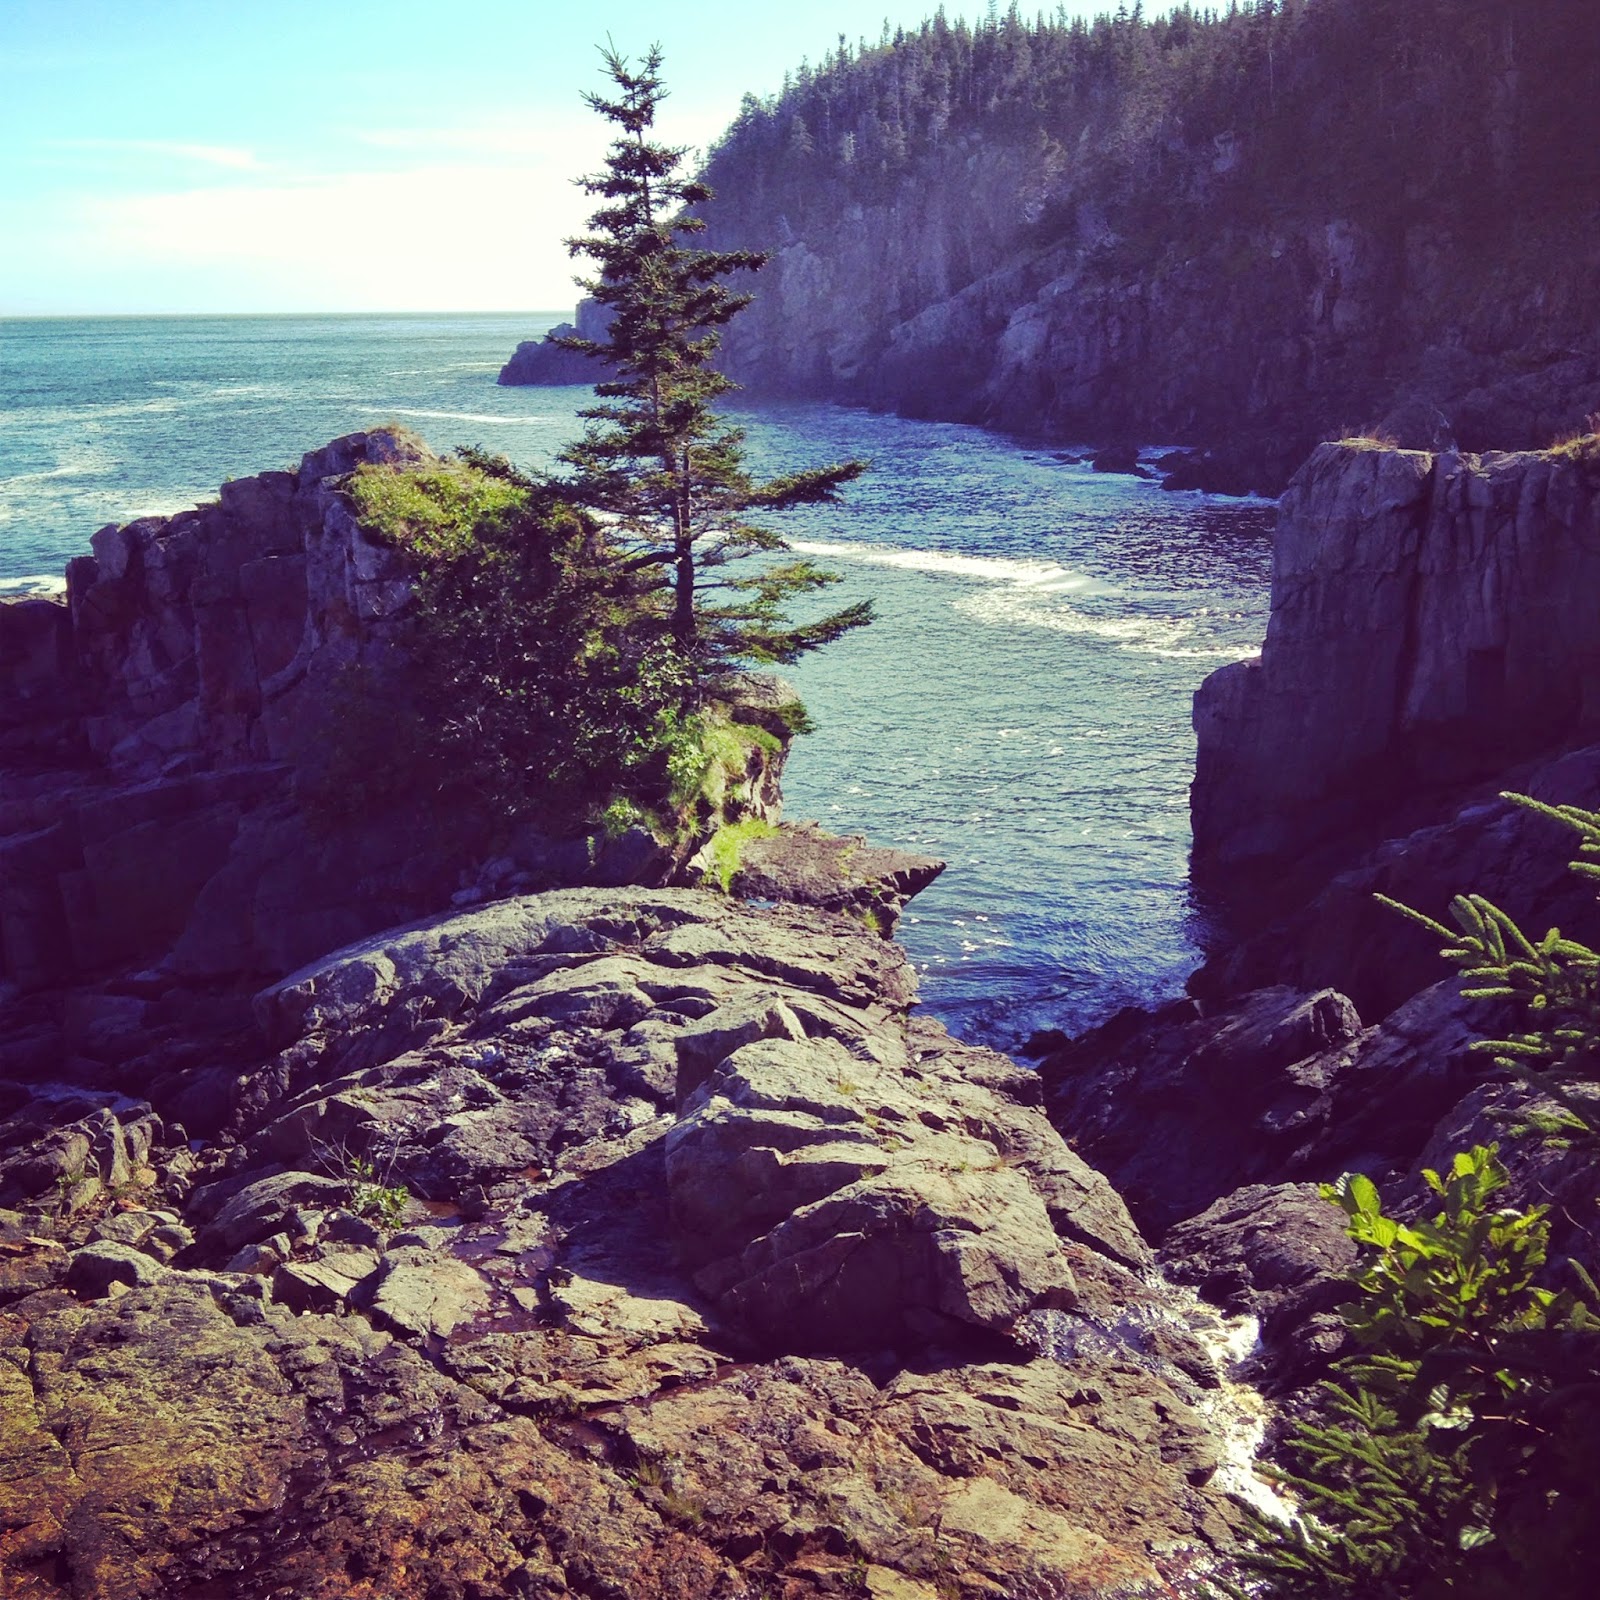
They don't call it the Bold Coast for nothing.  It is a real treat to hike to the coastline and see surf crashing on rocks.  


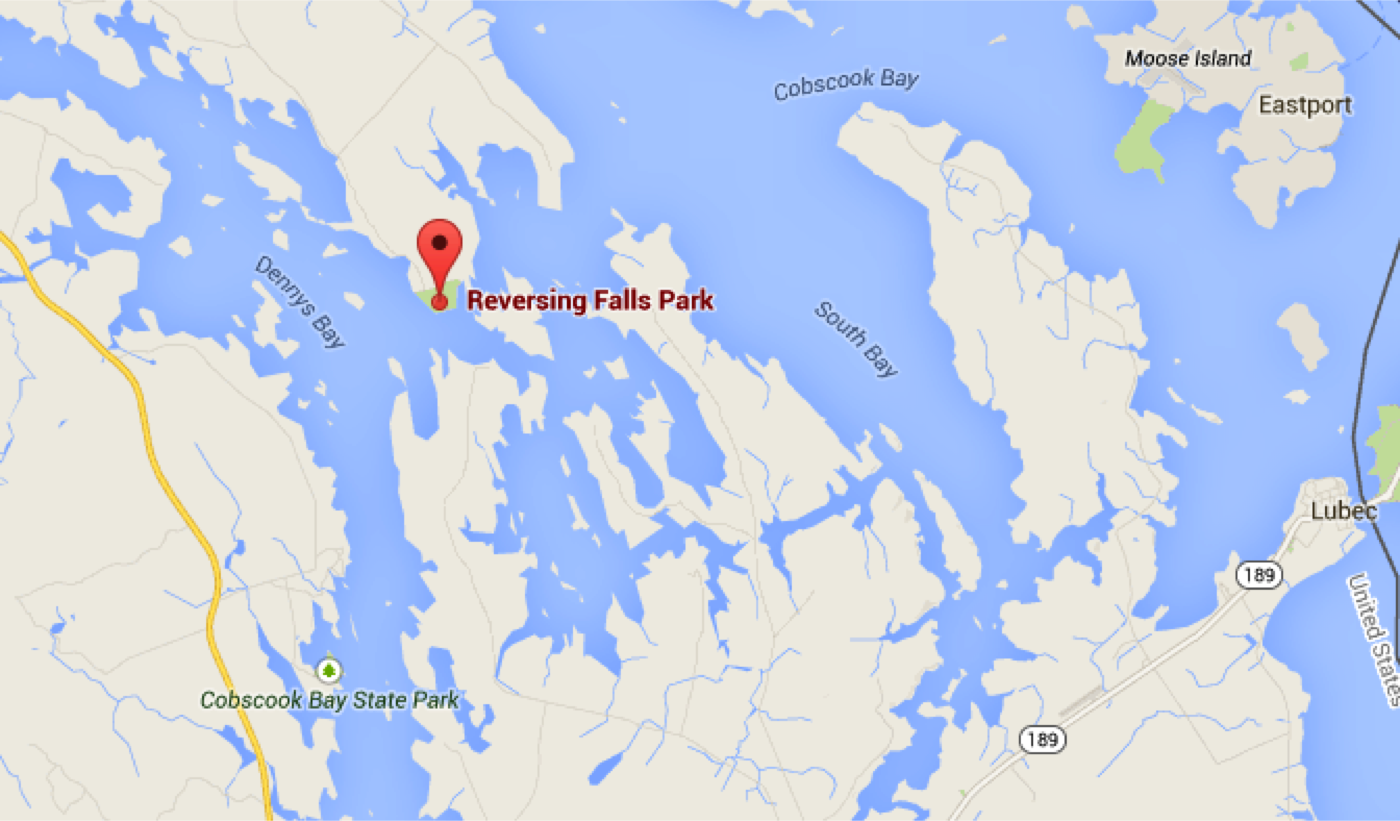
A highlight of the August trip was a visit by kayak to Reversing Falls.  Reversing Falls is a narrow passage where the tide from Denny's Bay rushes between rocks to Cobscook Bay.  The tidal change in the area is one of the most extreme on the planet with a 30' drop.  The velocity of the water when the tide changes is incredible and creates a real roar of water.  You can hear it from far off.  It makes for thrilling kayaking--it's a fun series of rapids and whirlpools.  Once through them though there is no return, that is until the tide changes.  There were bald eagles flying overhead.  The weather was perfect and we had the whole area to ourselves, not a soul in sight.  No pics of kayaking--we were too busy negotiating the whirlpools and rapids.


We stopped here on the way to Reversing Falls to wait until the tidal conditions were just right.  The outgoing tide is building momentum almost ready for a good run.  


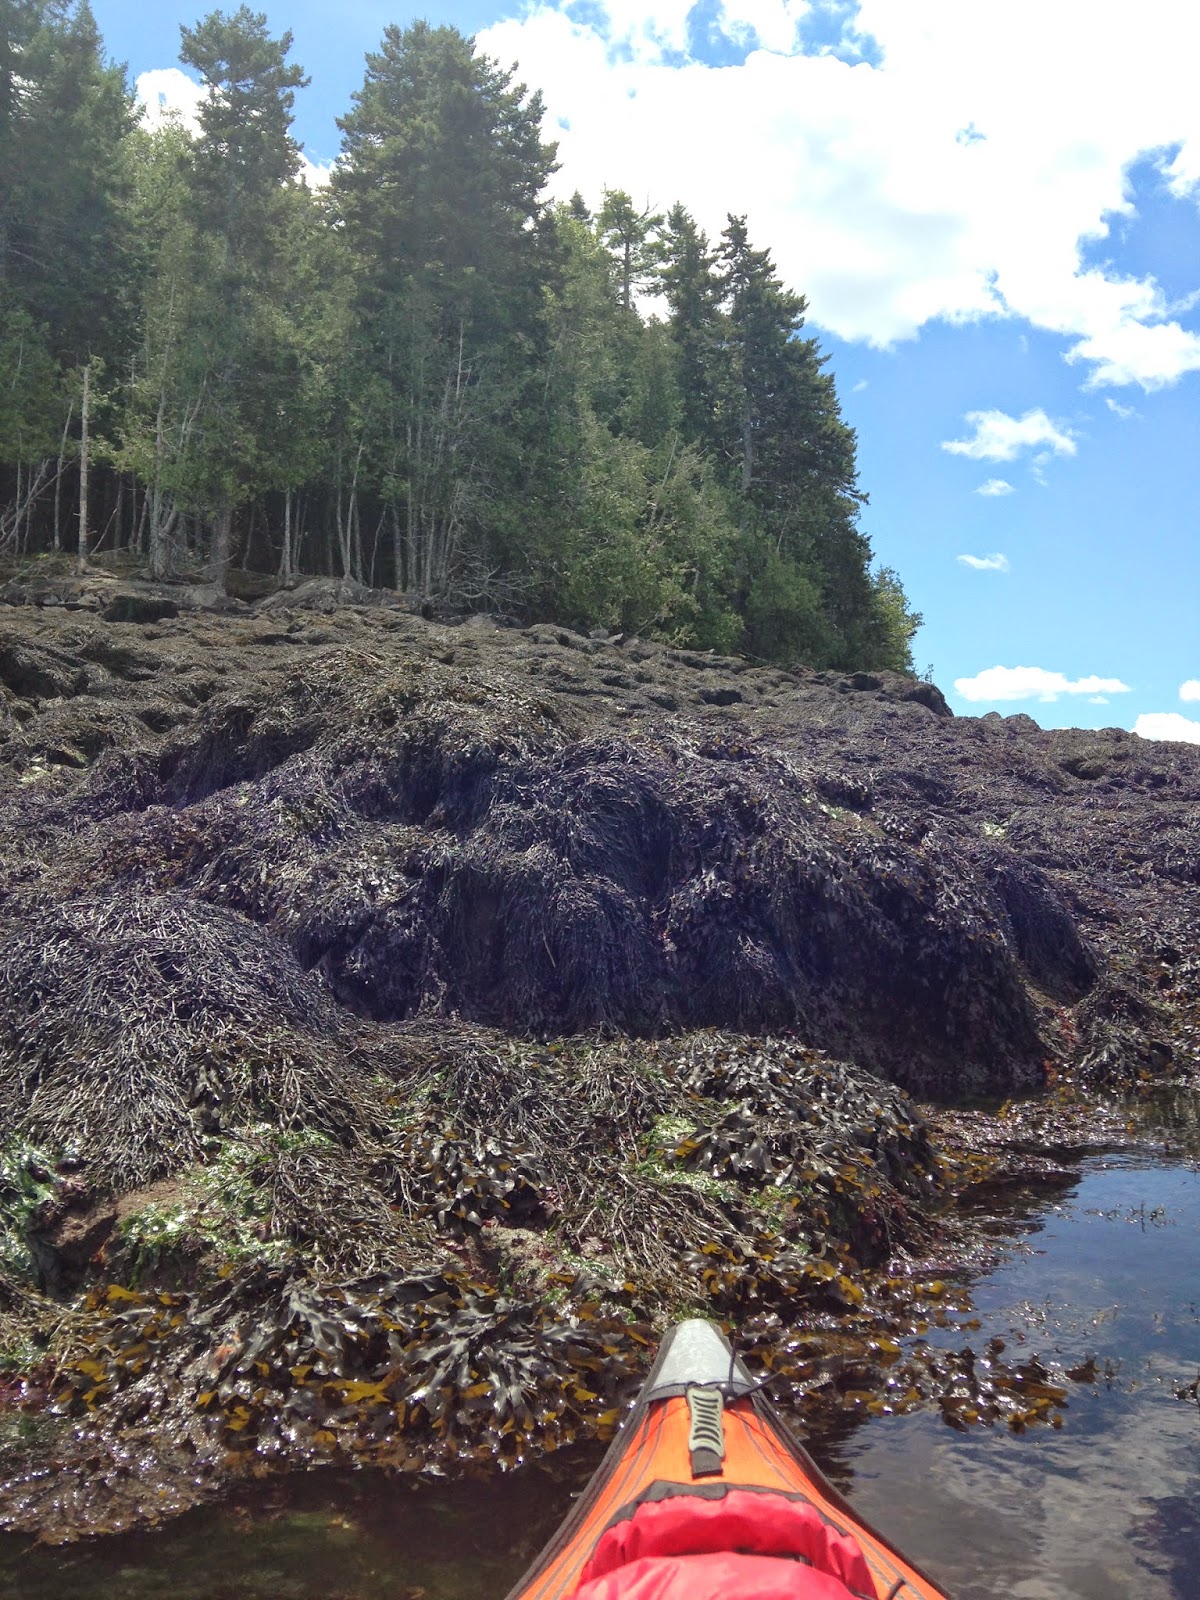
After running the rapids I parked in a tidal pool and relaxed in the sun while I waited for the tide to let up so I could kayak back.  The high tide mark is up at the base of the trees--pretty extreme.  


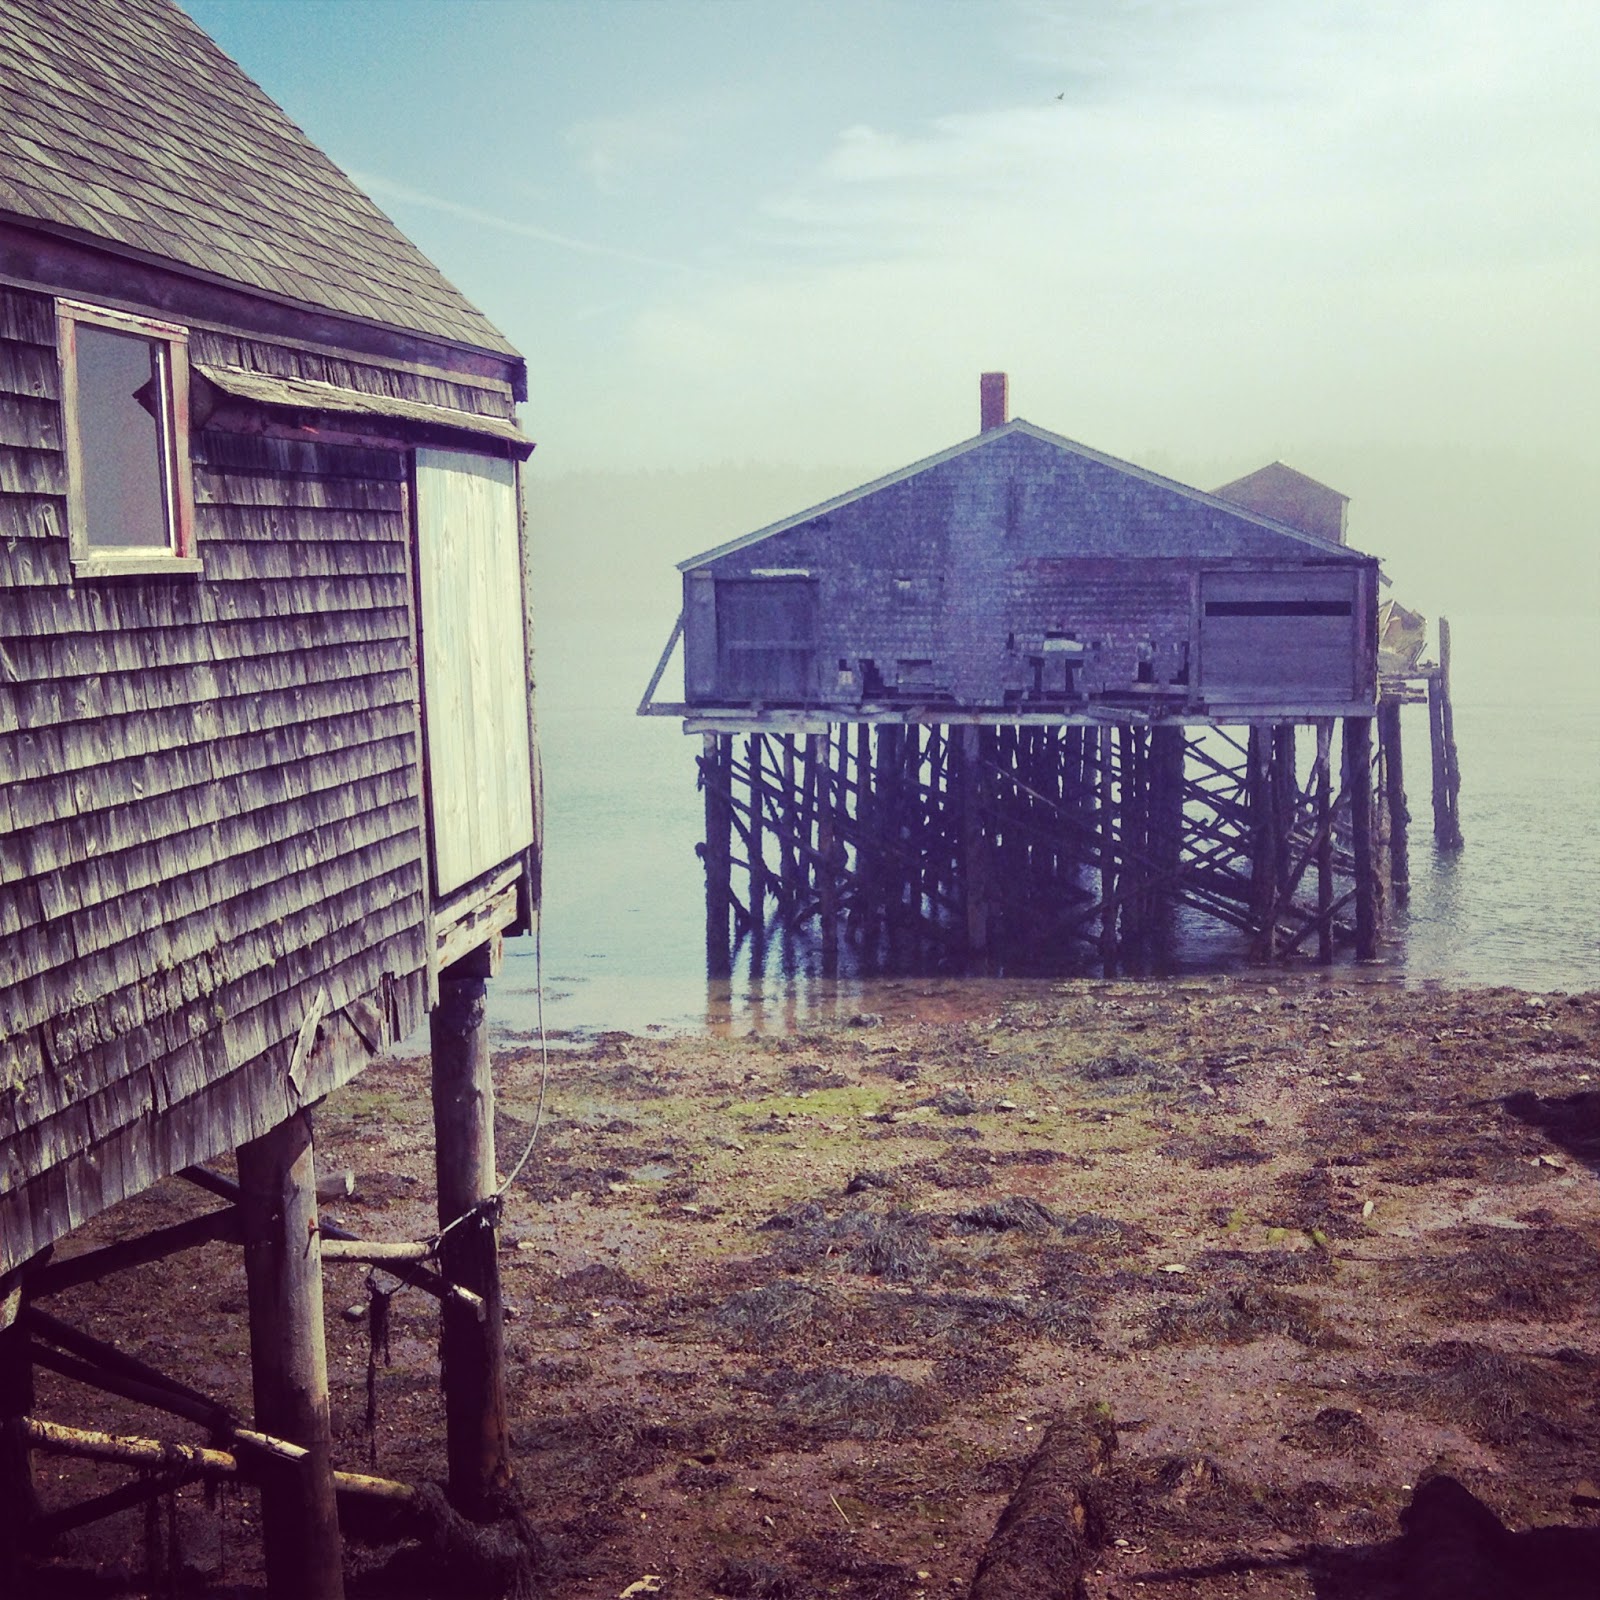
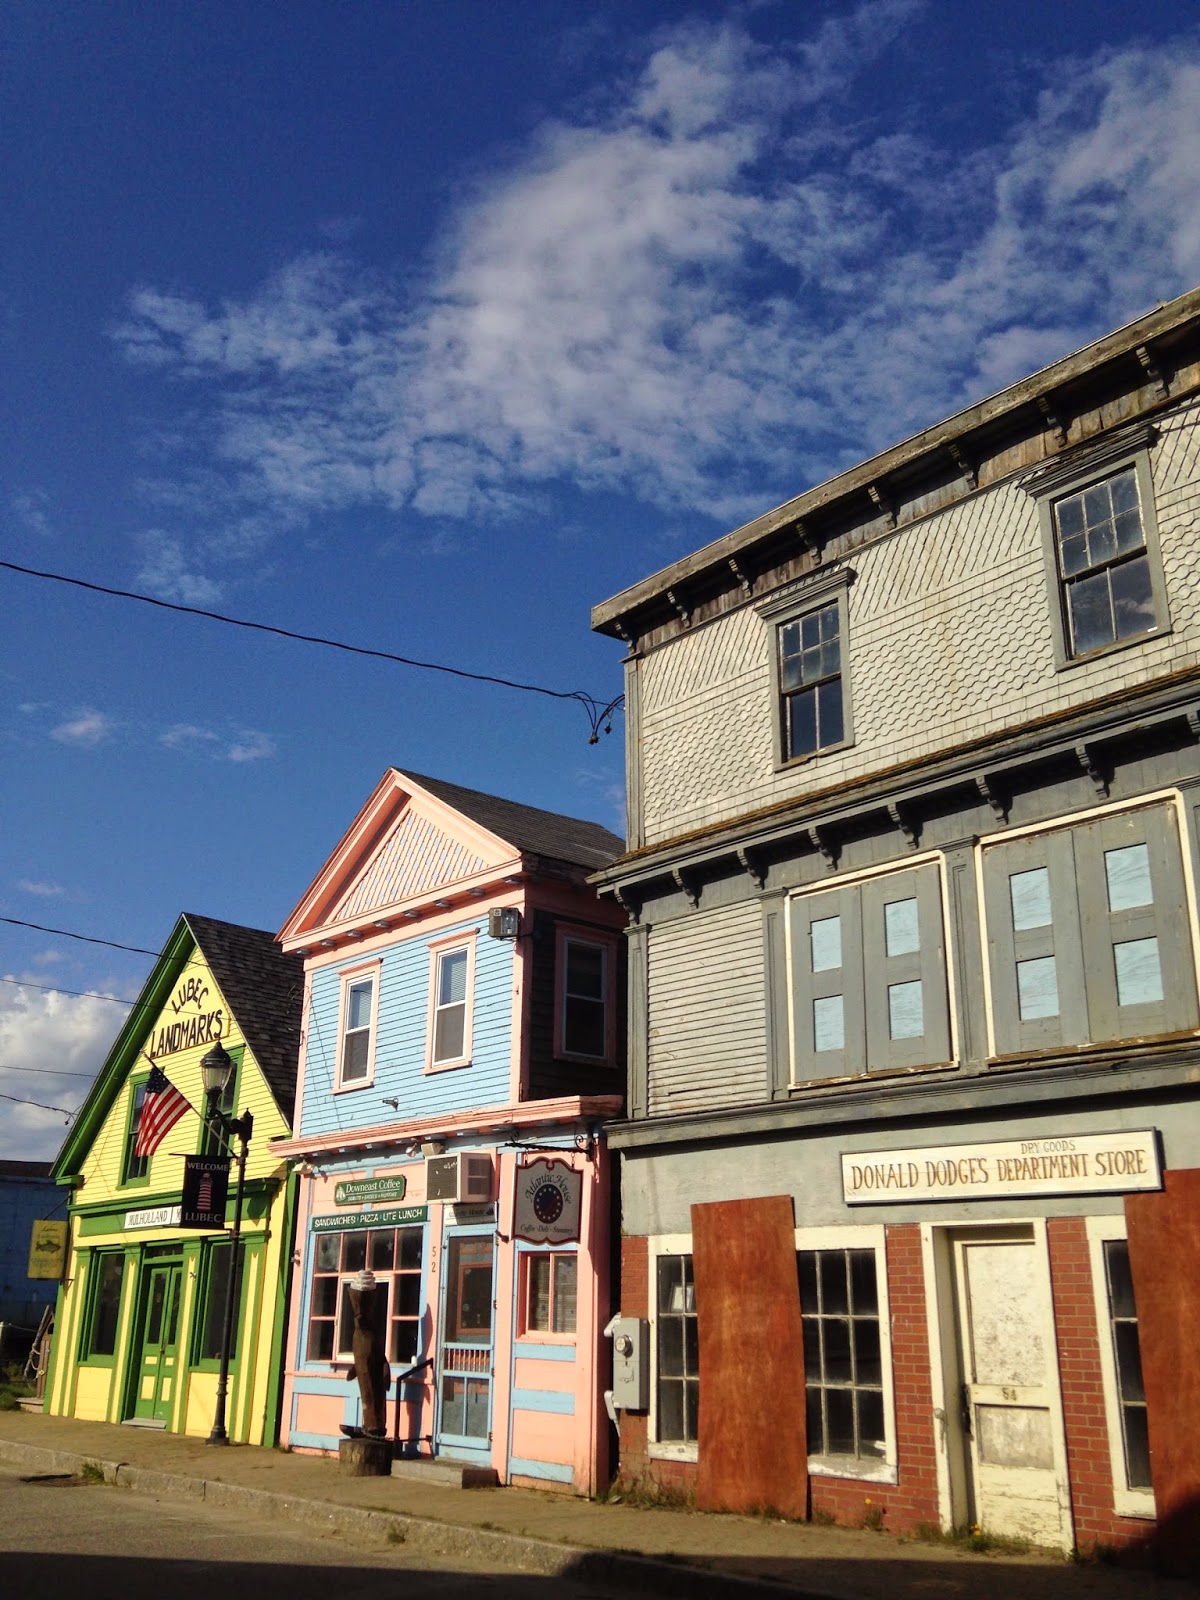
We spent some time in Lubec, a tiny town that was once a busy fishing port.  Locals are trying to create a museum from the derelict smokehouse and skinning shed.  The smokehouse has a distinctive odor as you can imagine.  Strong woodsmoke, the sea, and time.  


The town of Lubec is cute but struggling.  Lubec is the easternmost town in the continental US.  


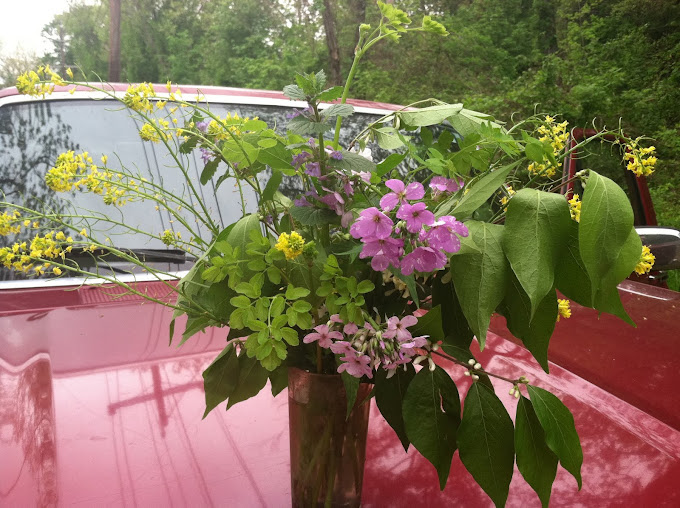
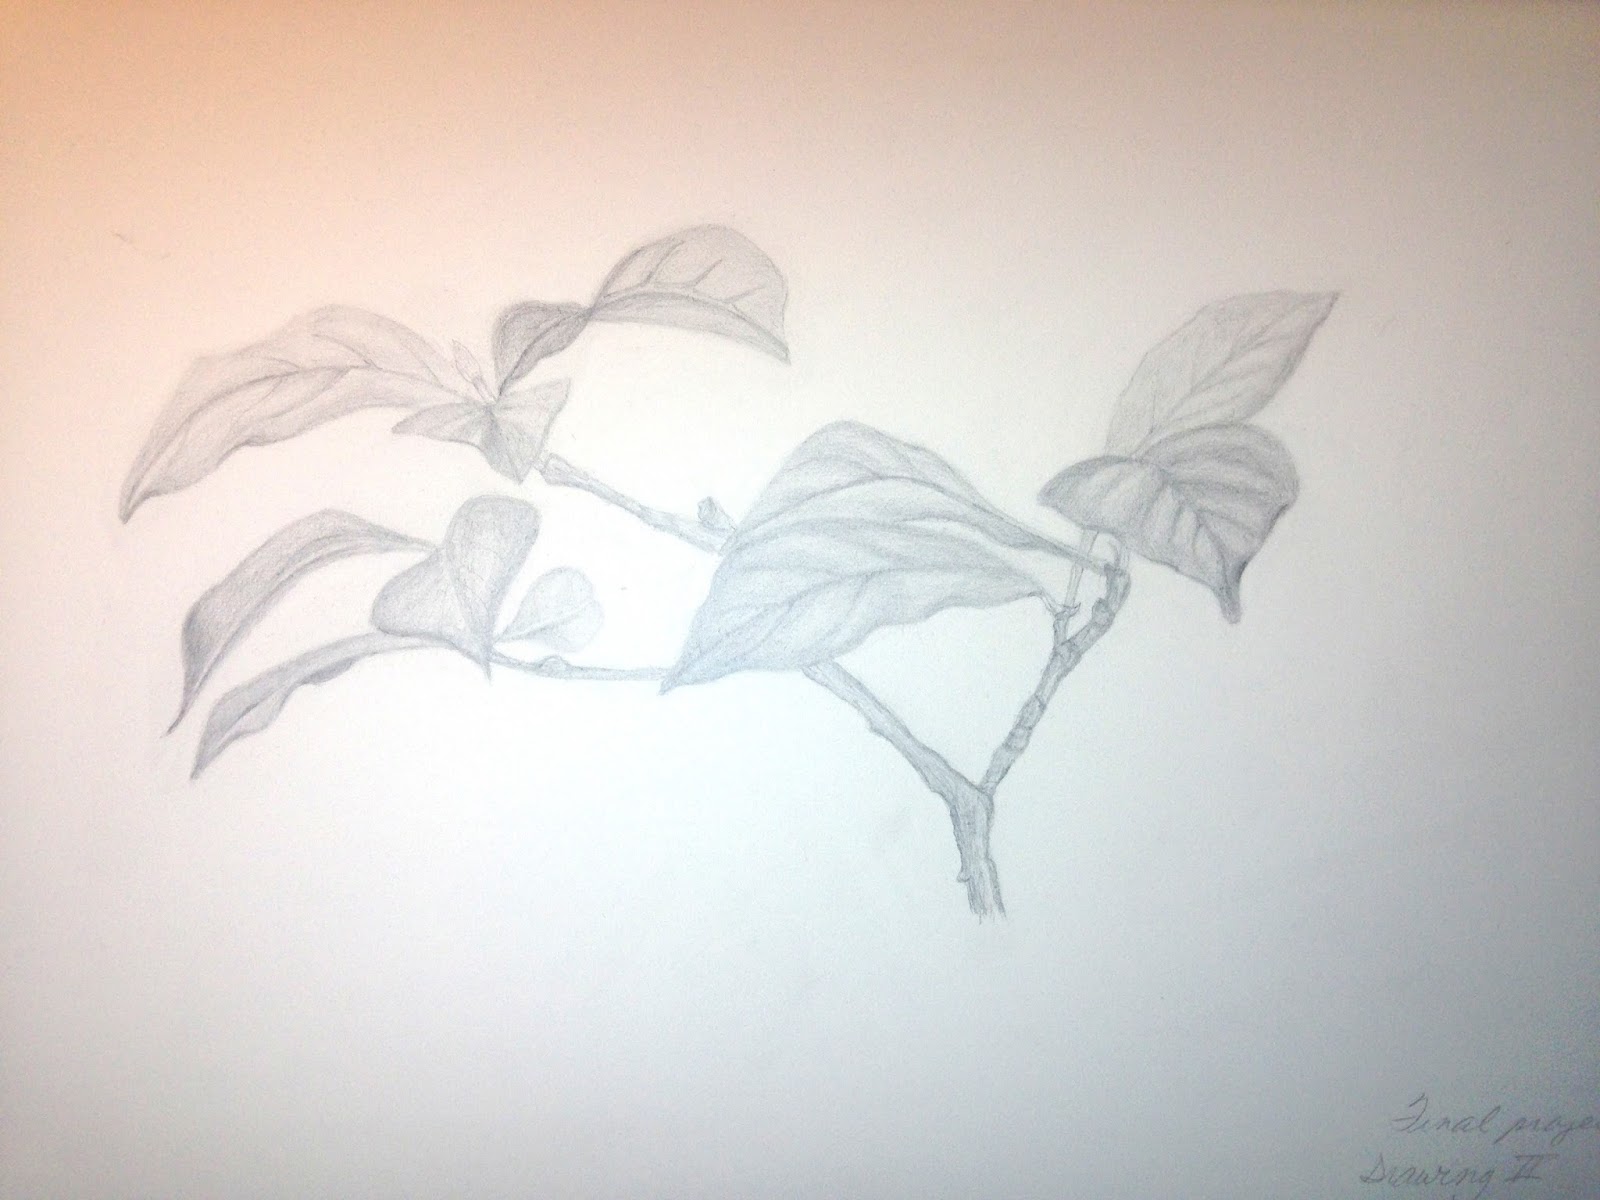
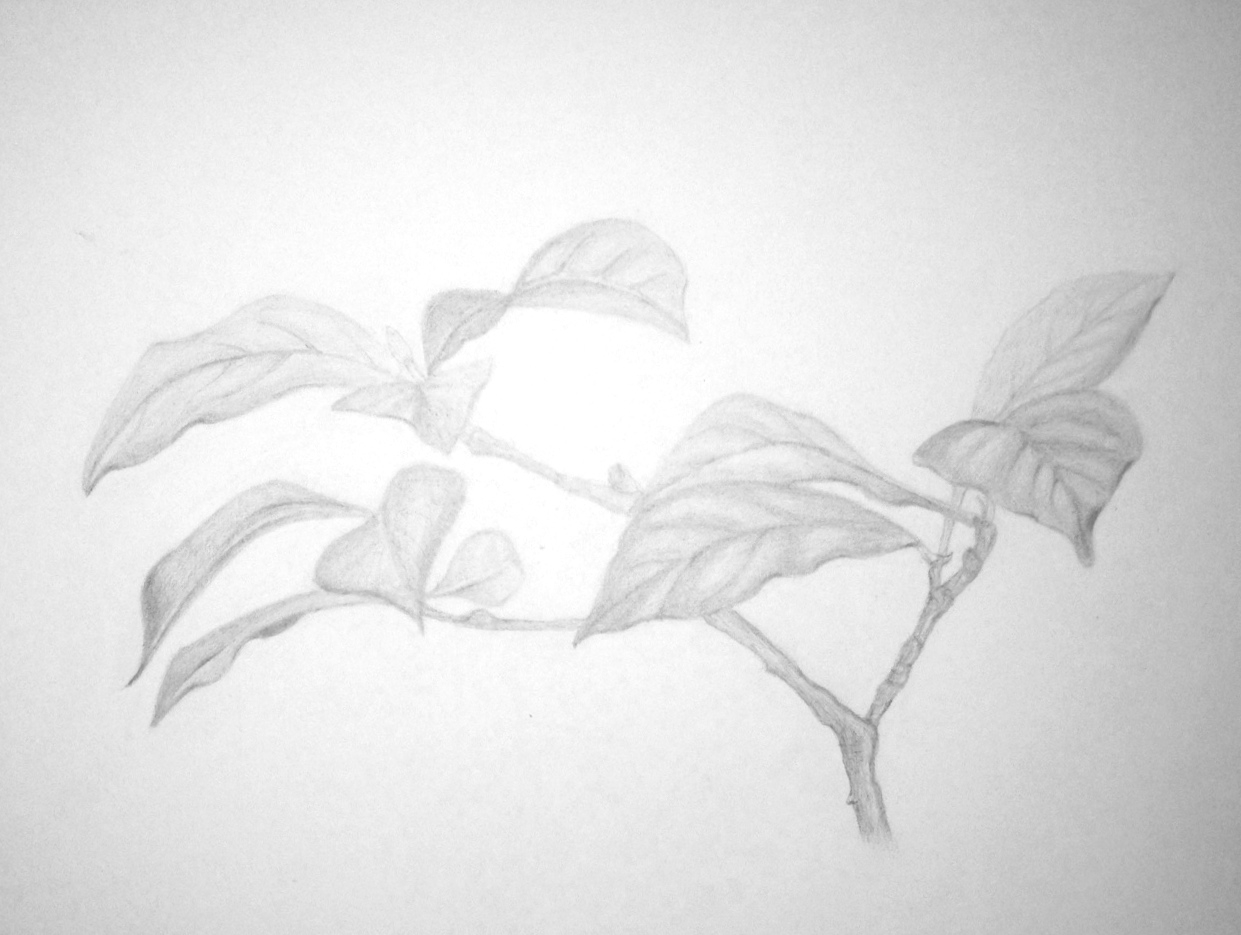
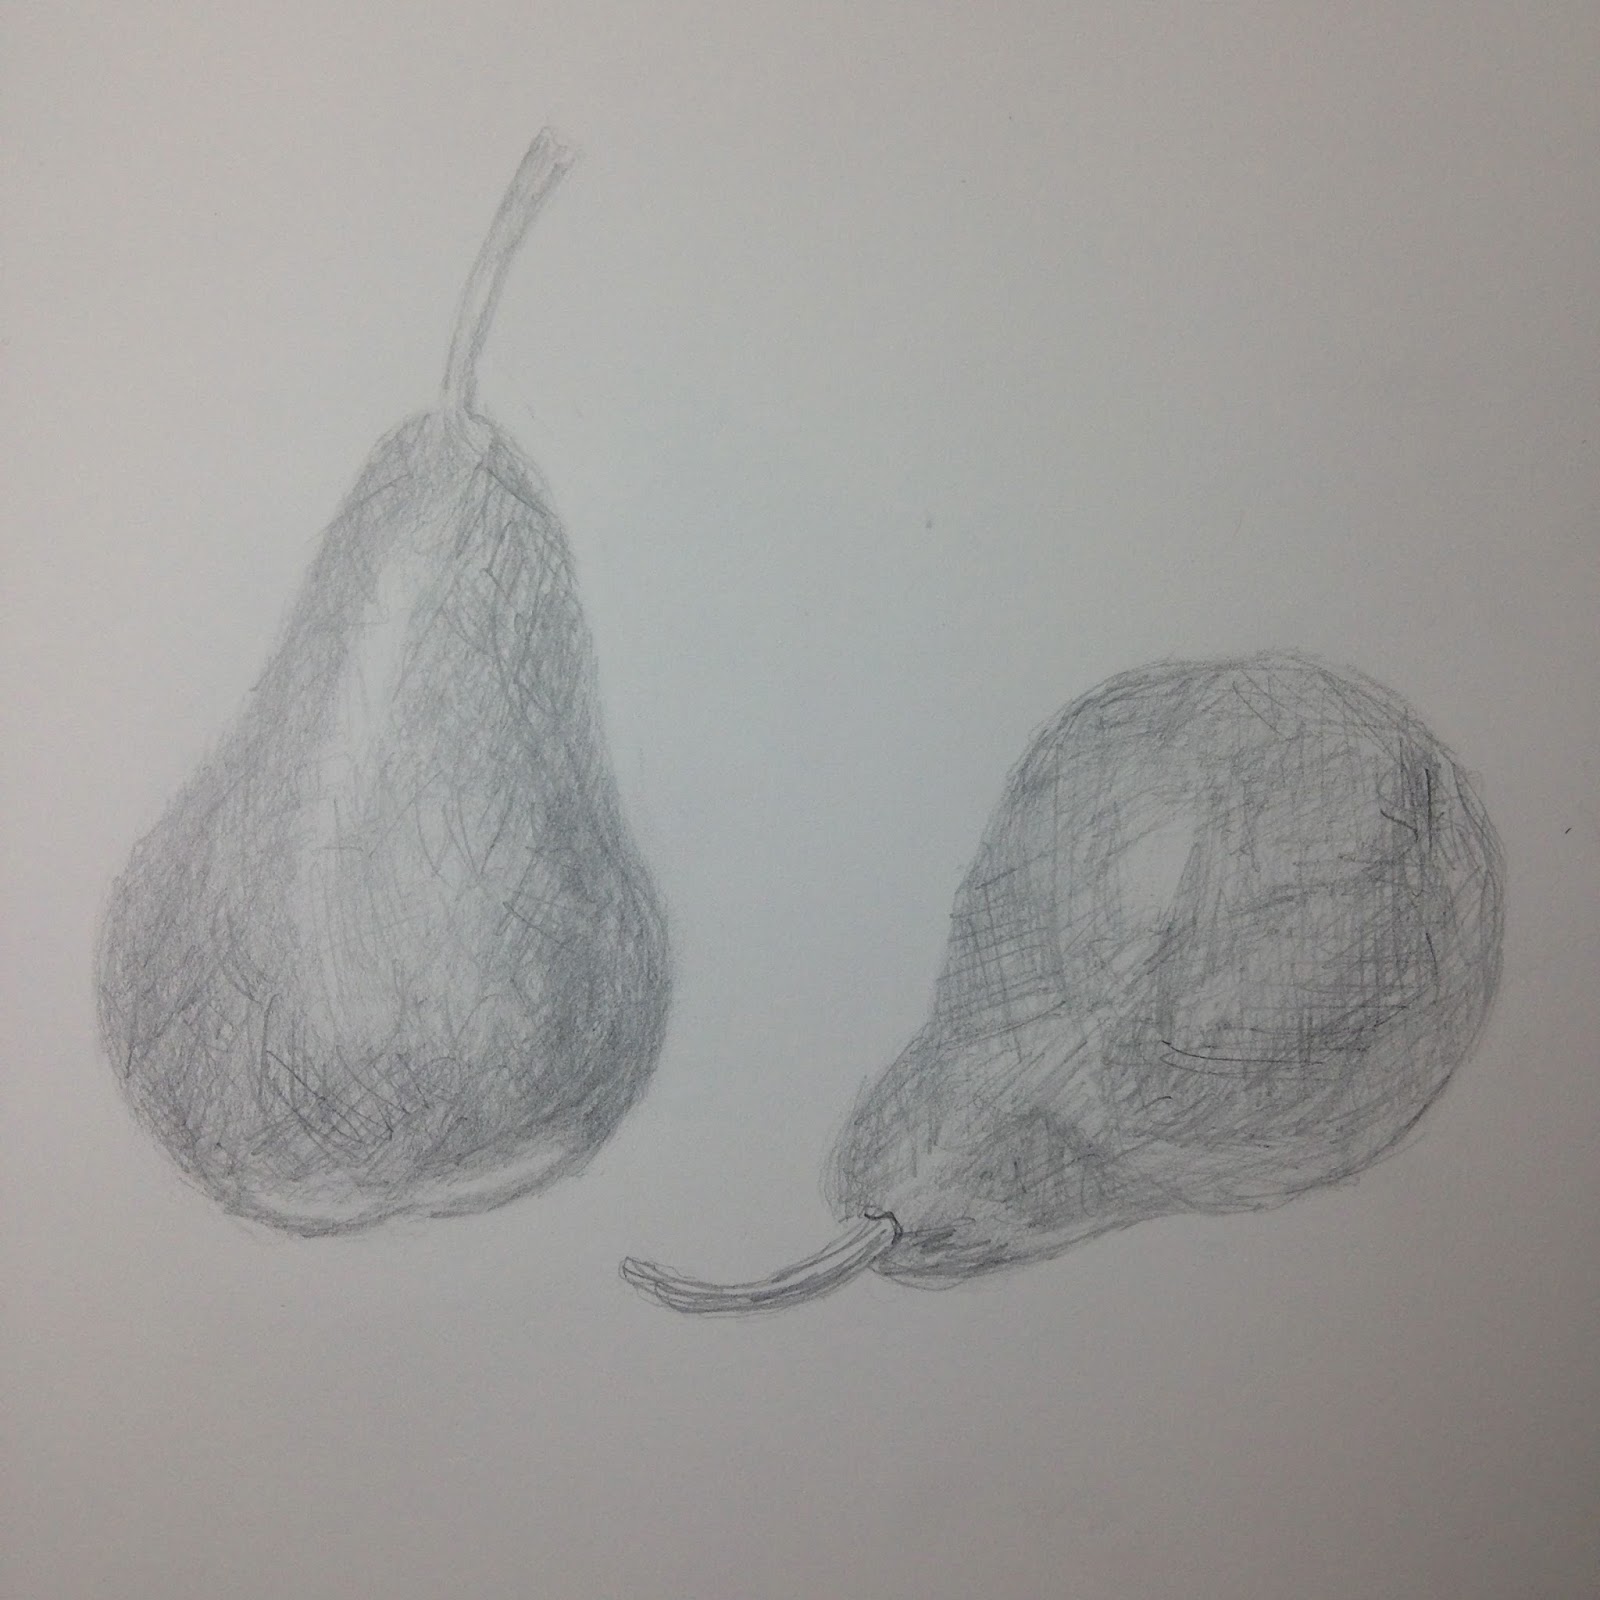
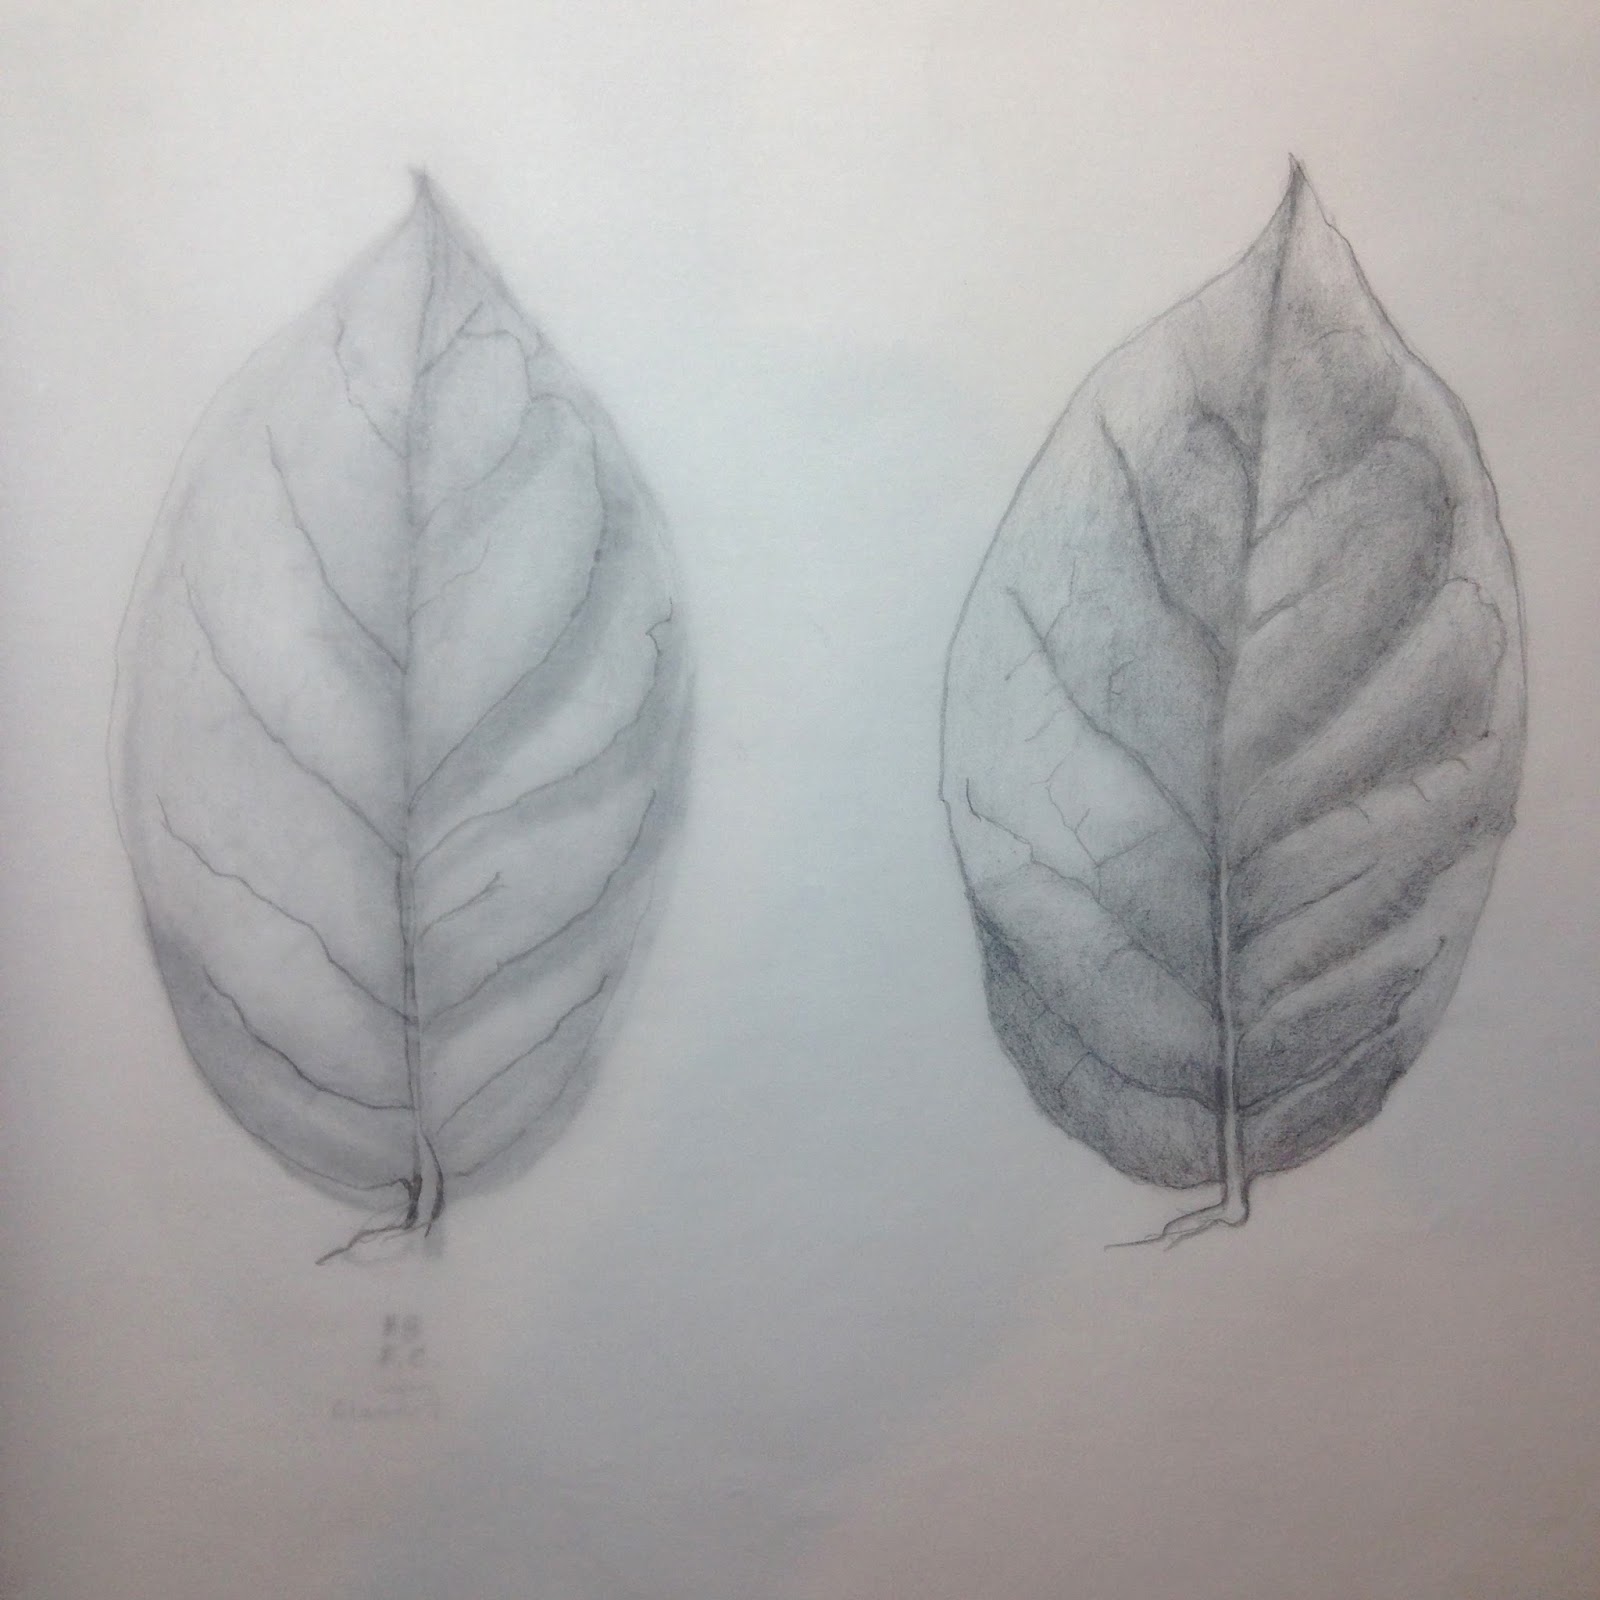
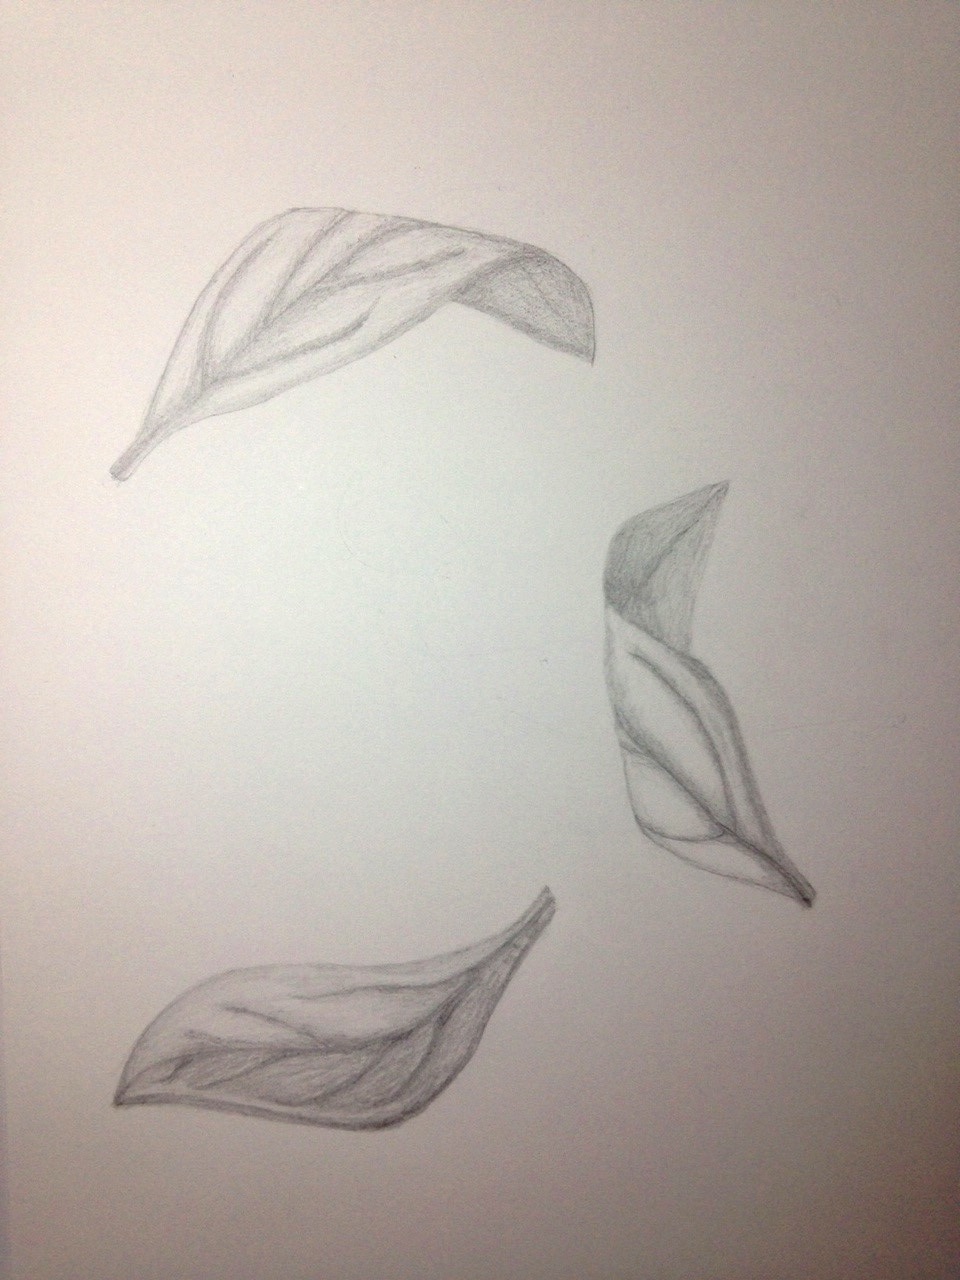
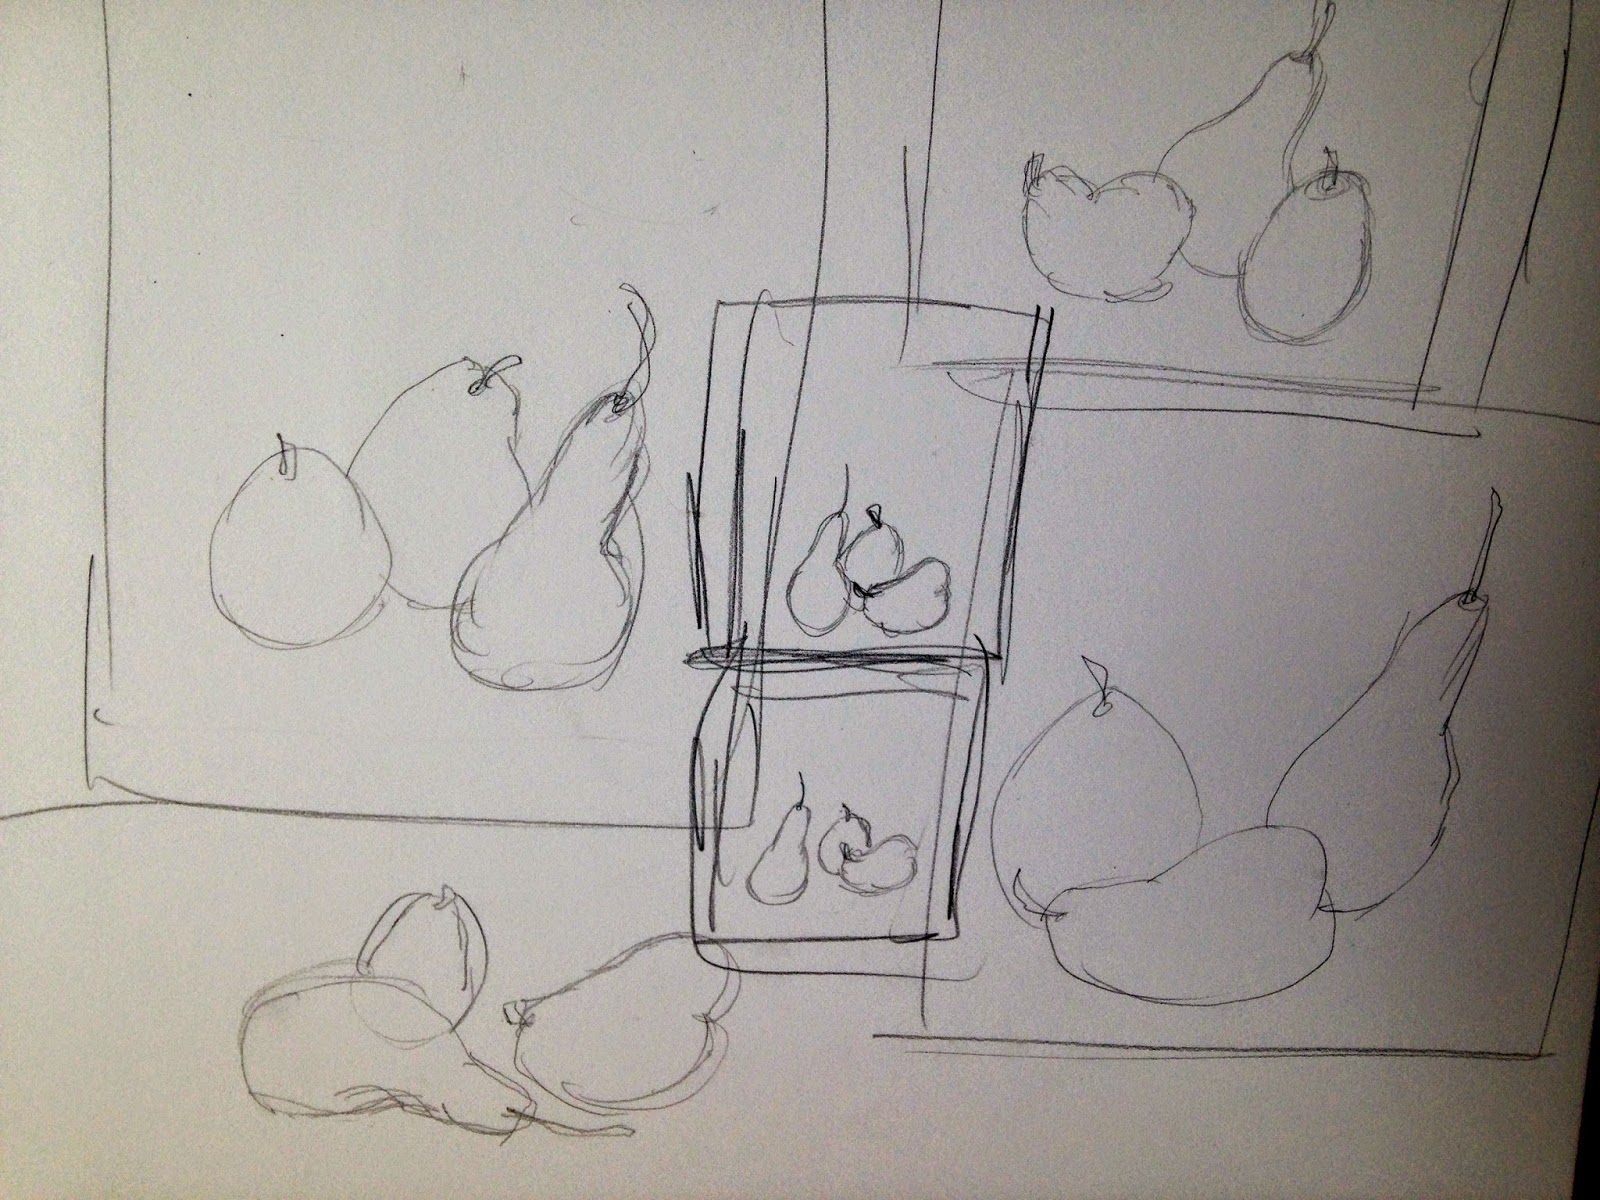
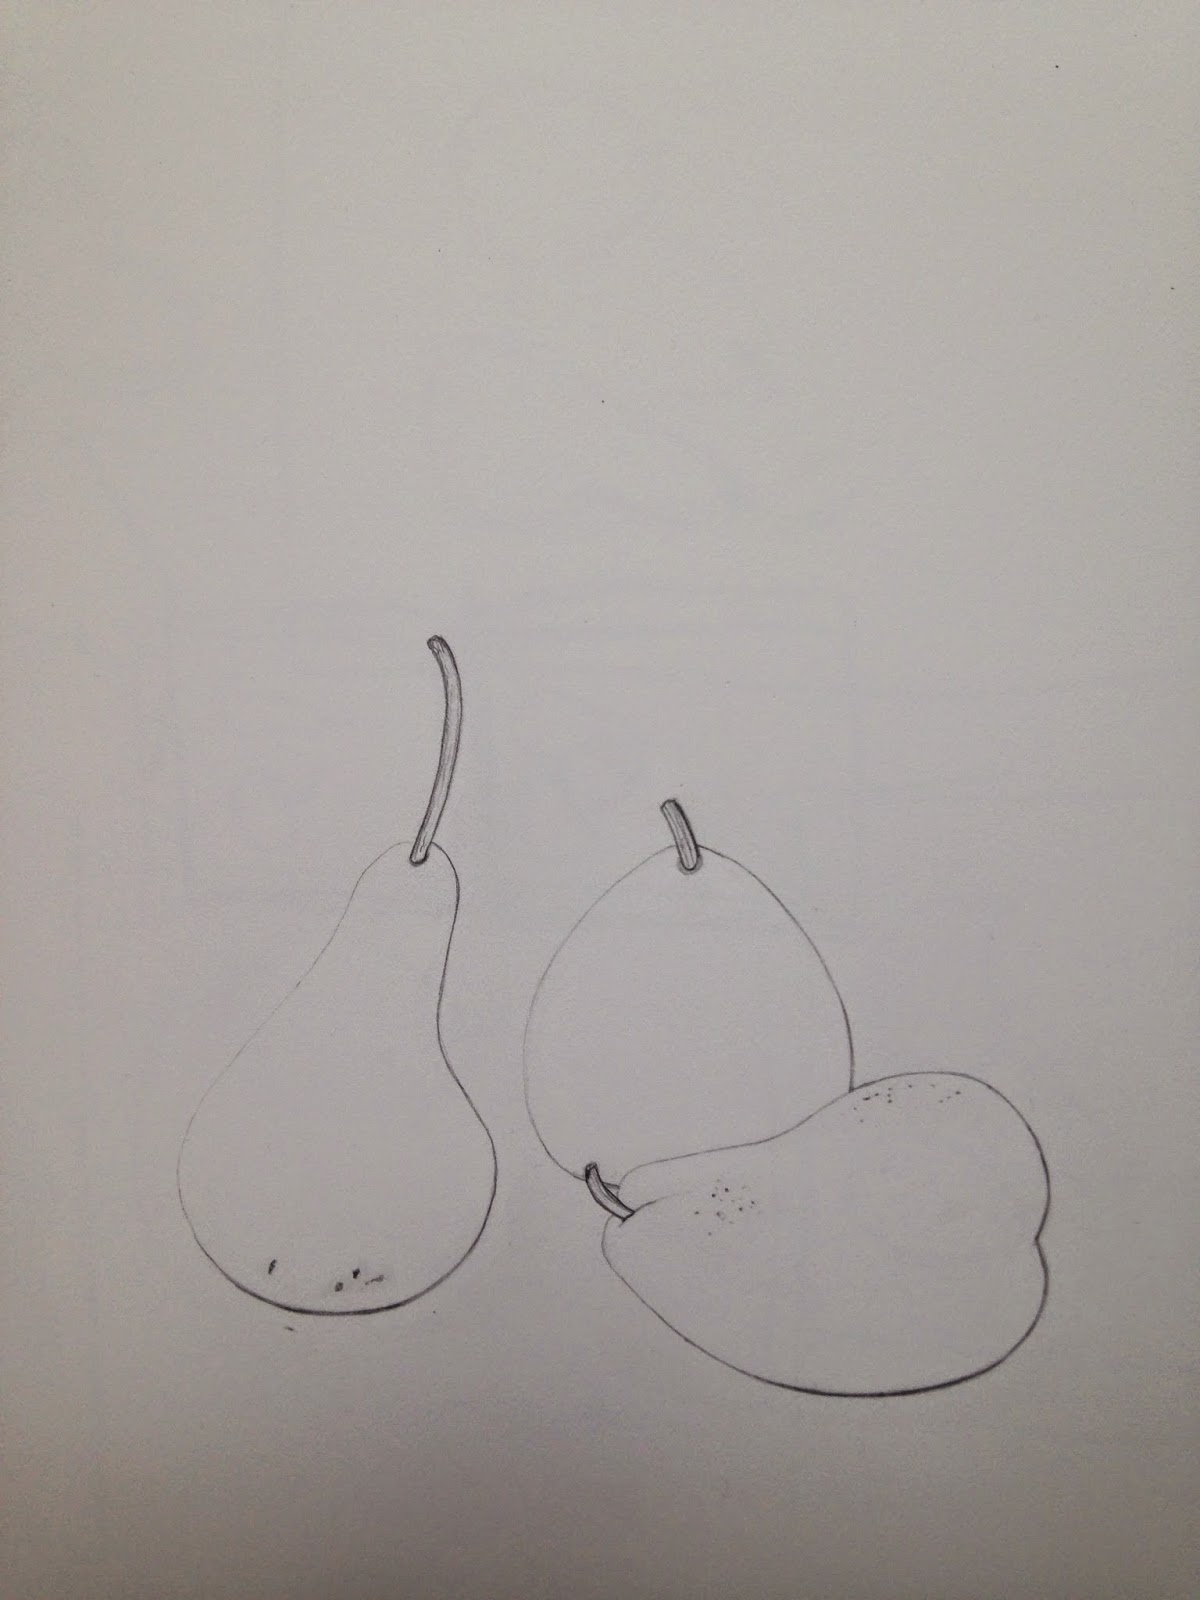
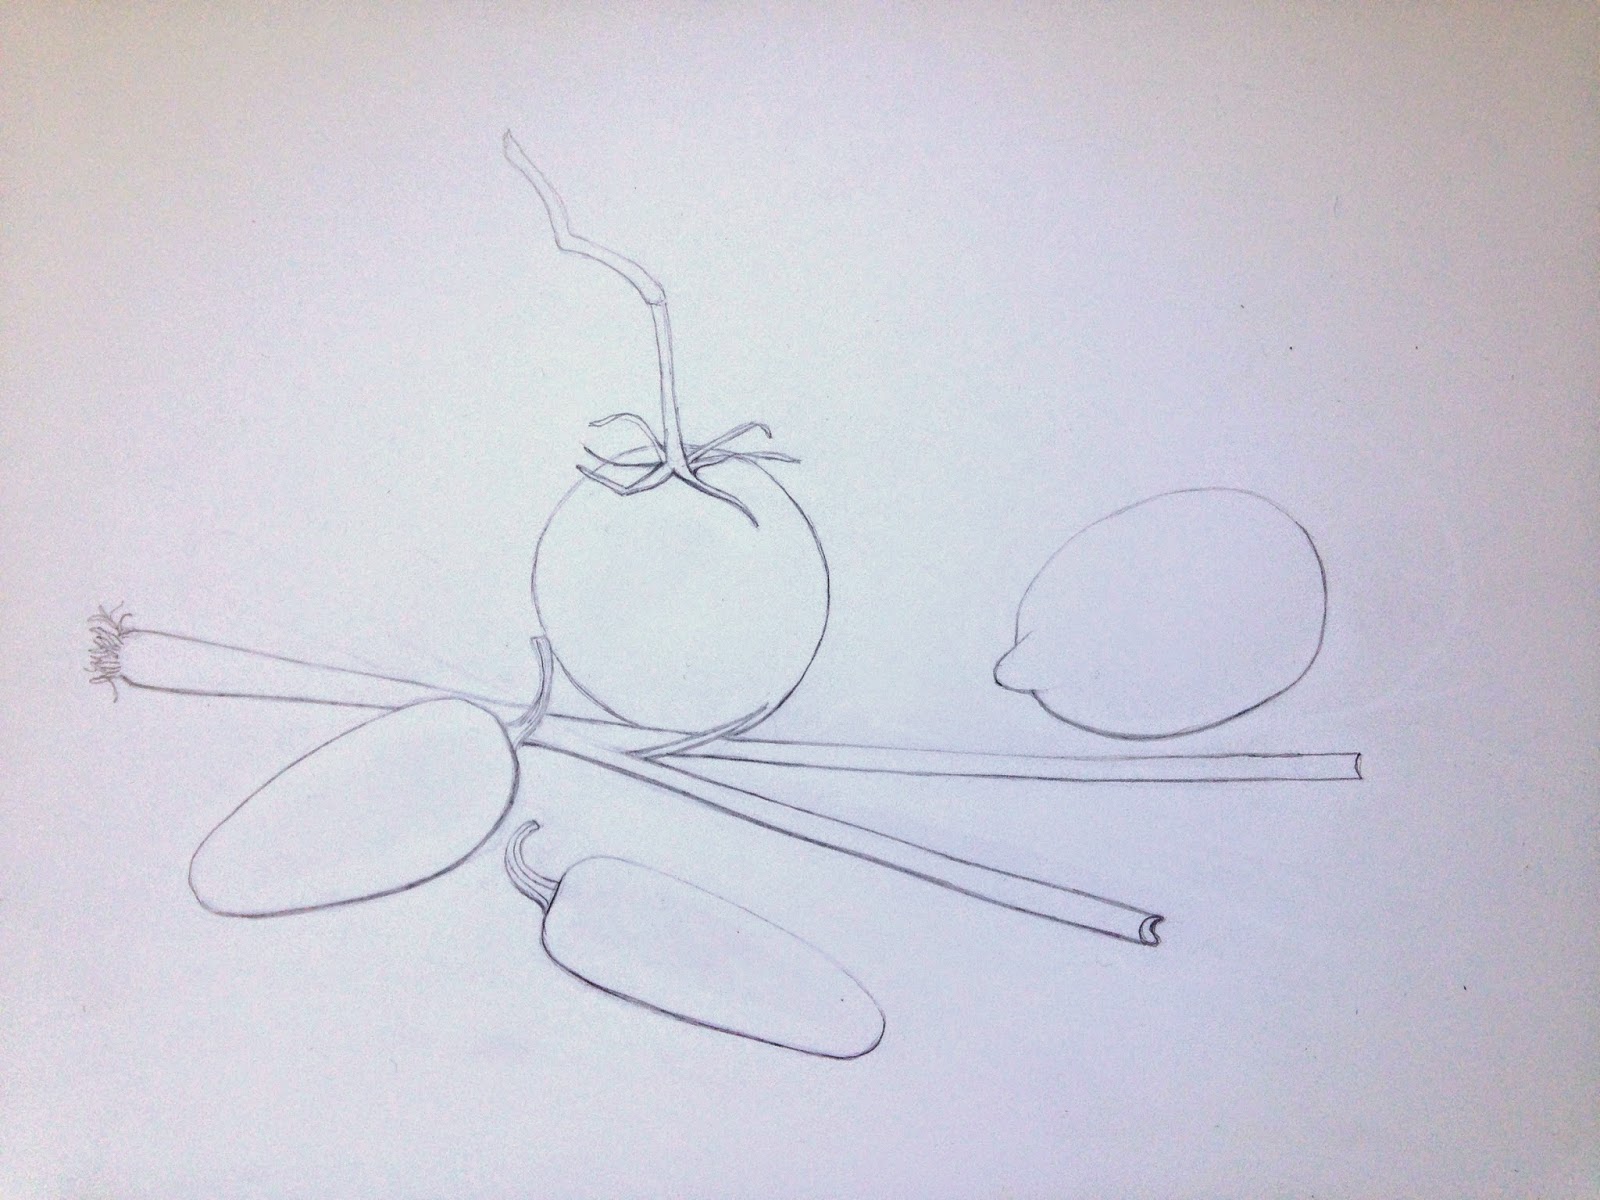
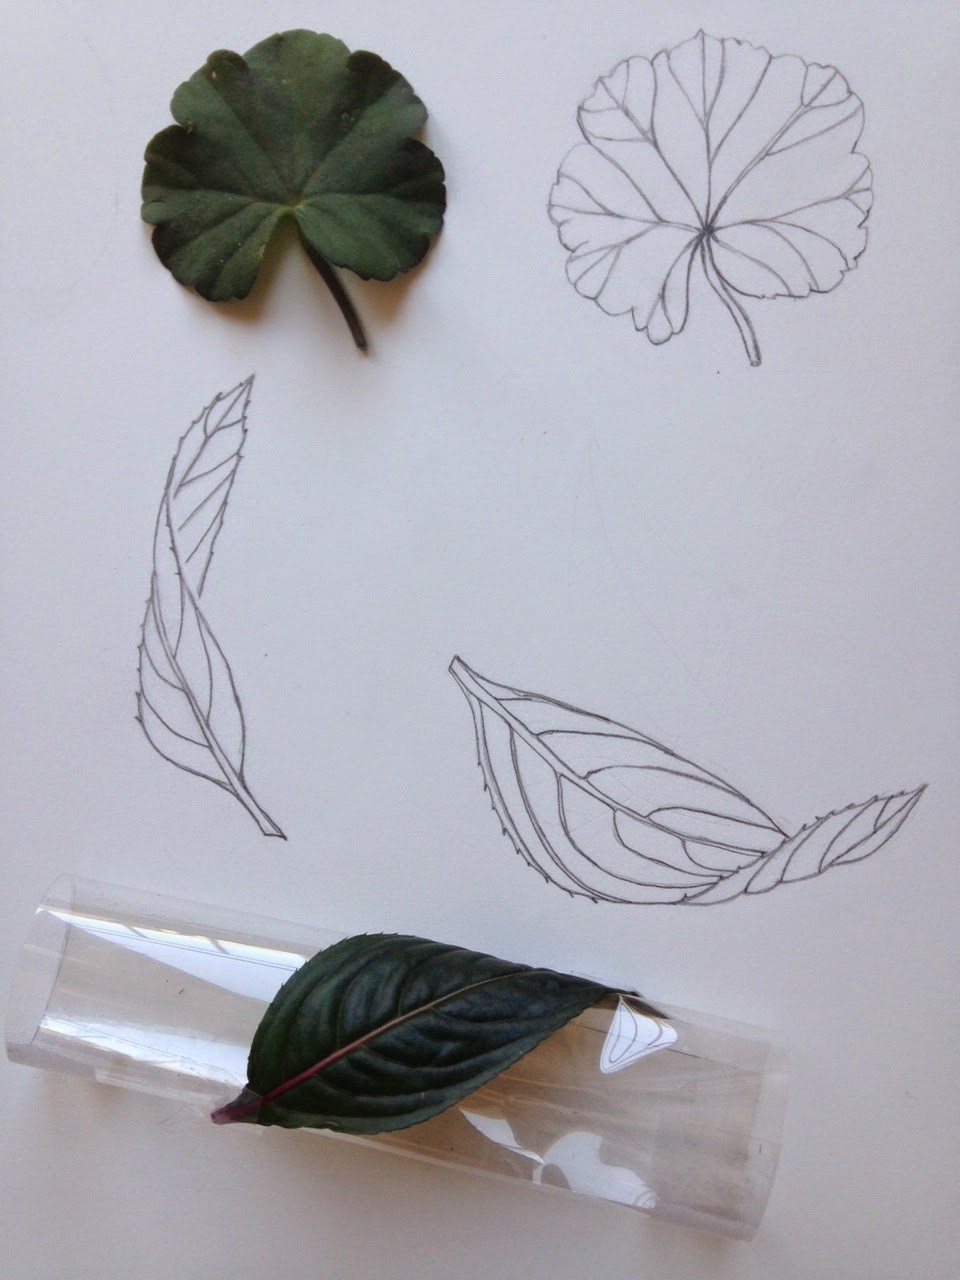
We had some cool and crummy days when I amused myself by painting some of the local flora I collected from around the cabin.  I pinned the sketches to the cabin wall and Daniel, who returned there without me later in the summer, said they were still there! 


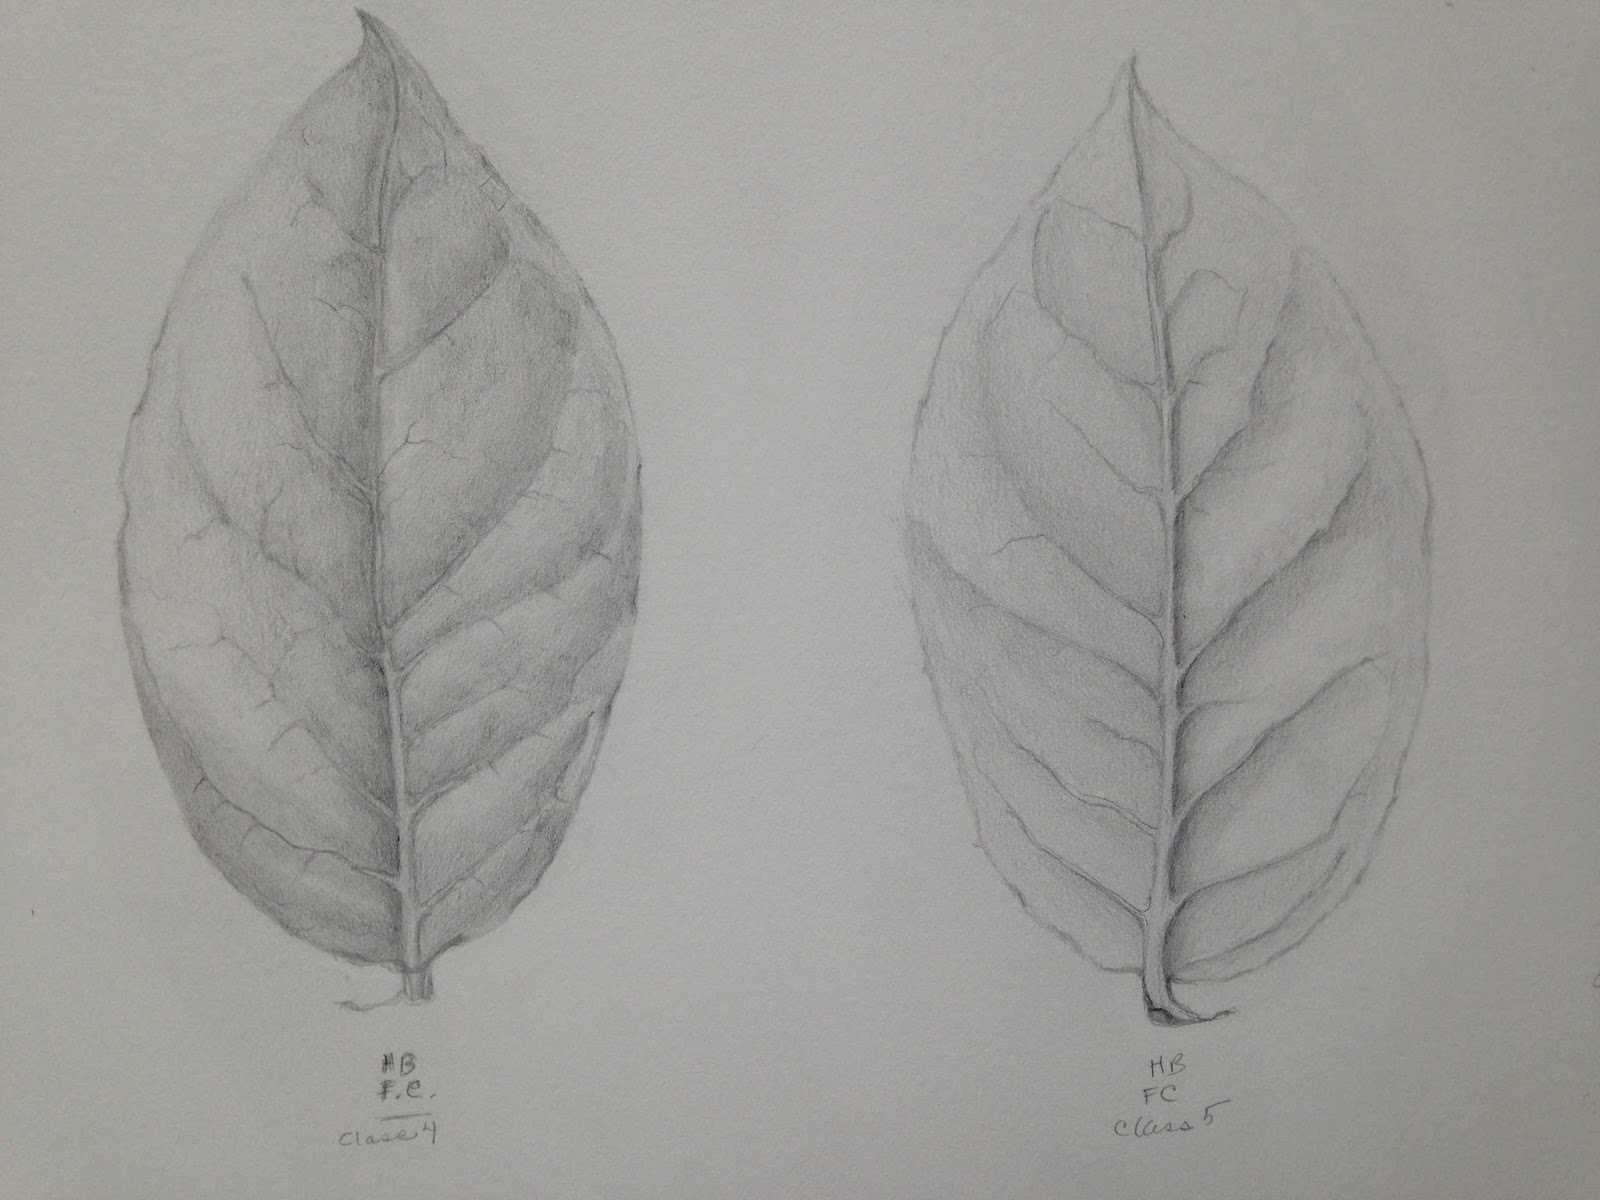
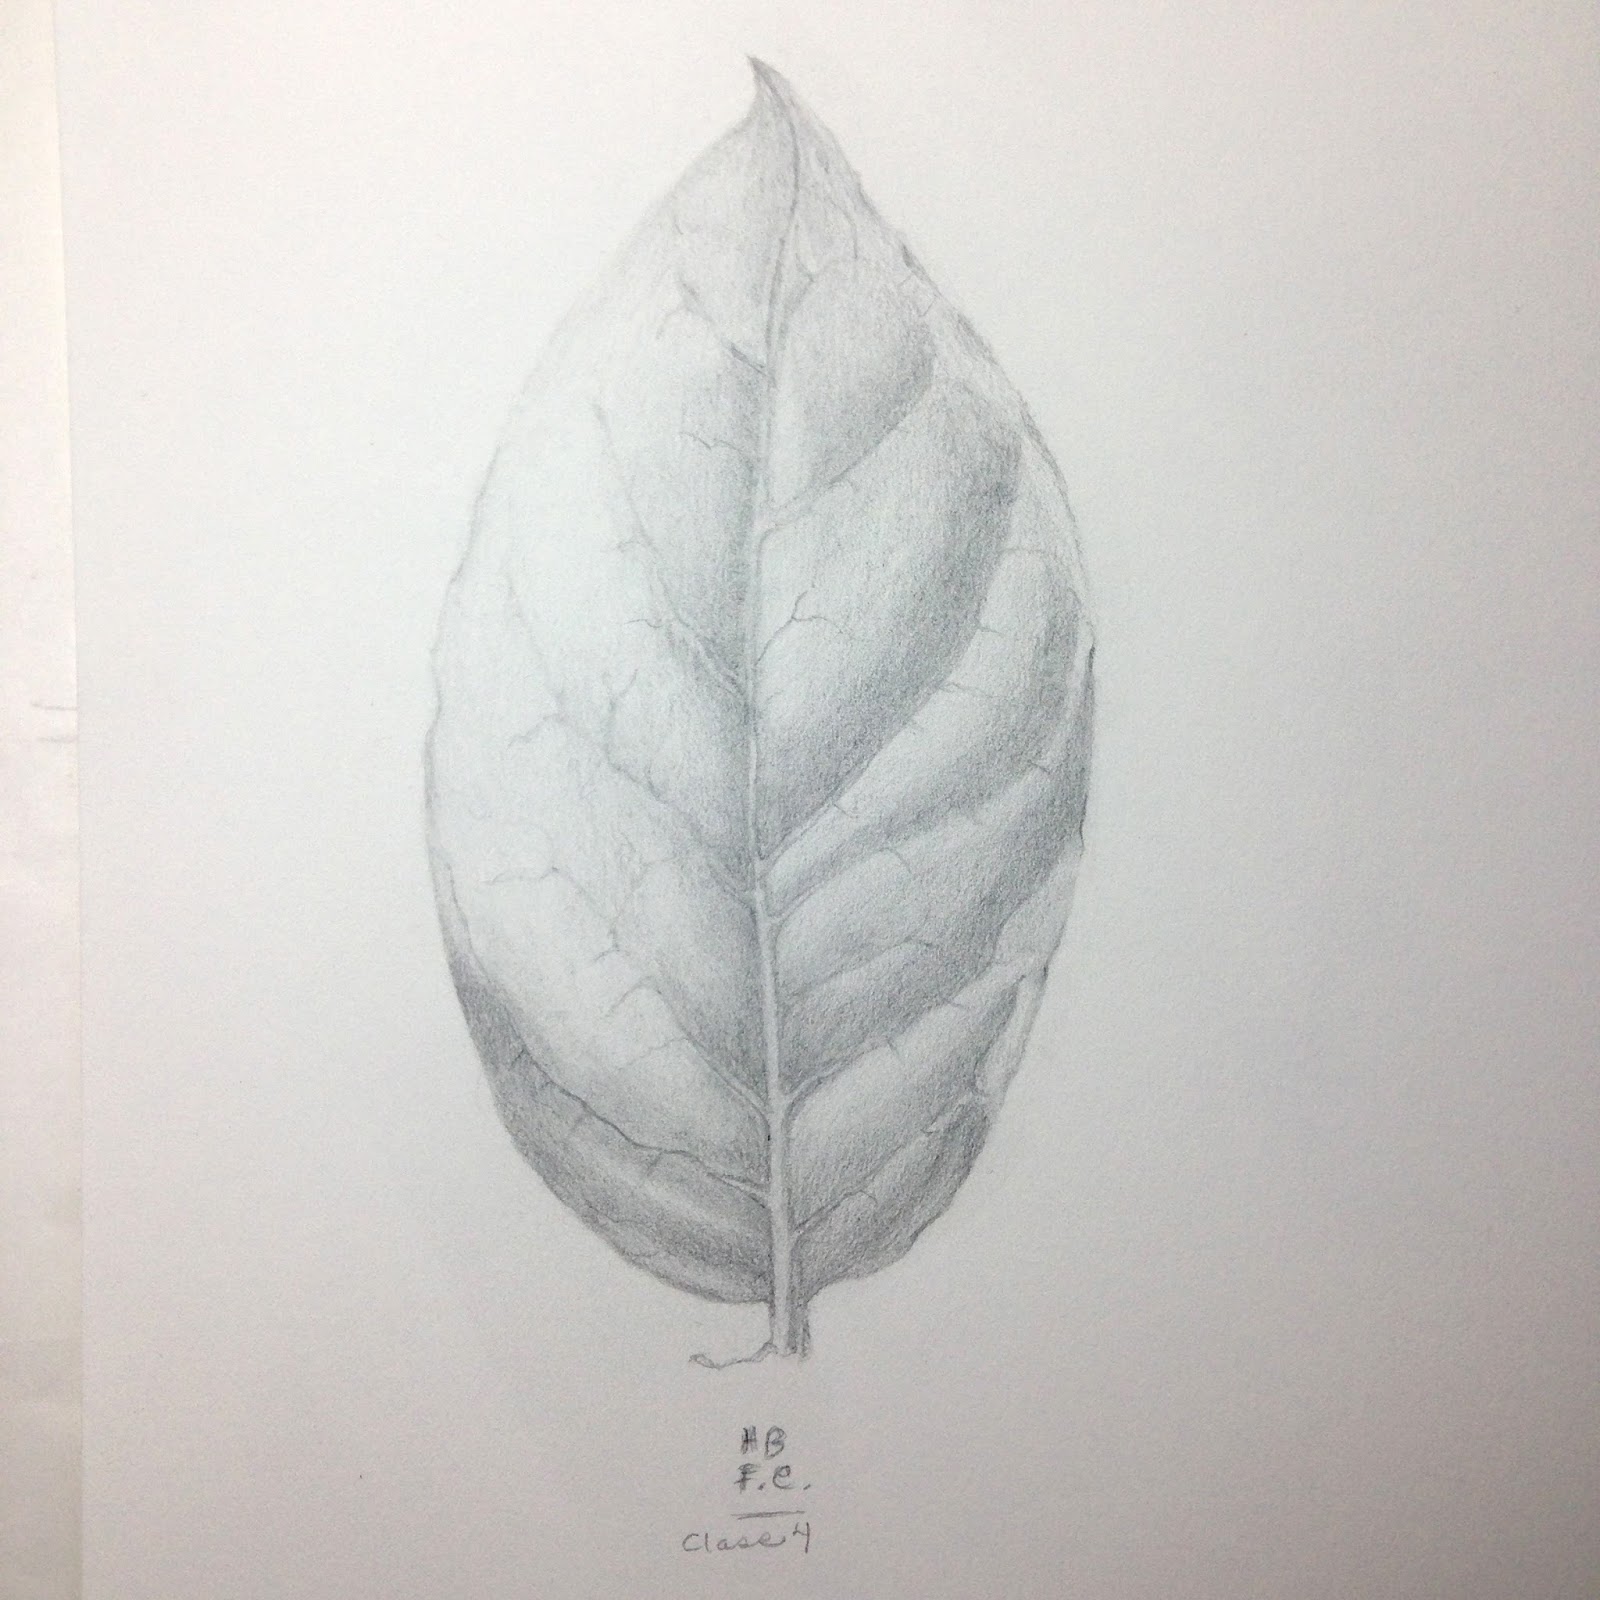
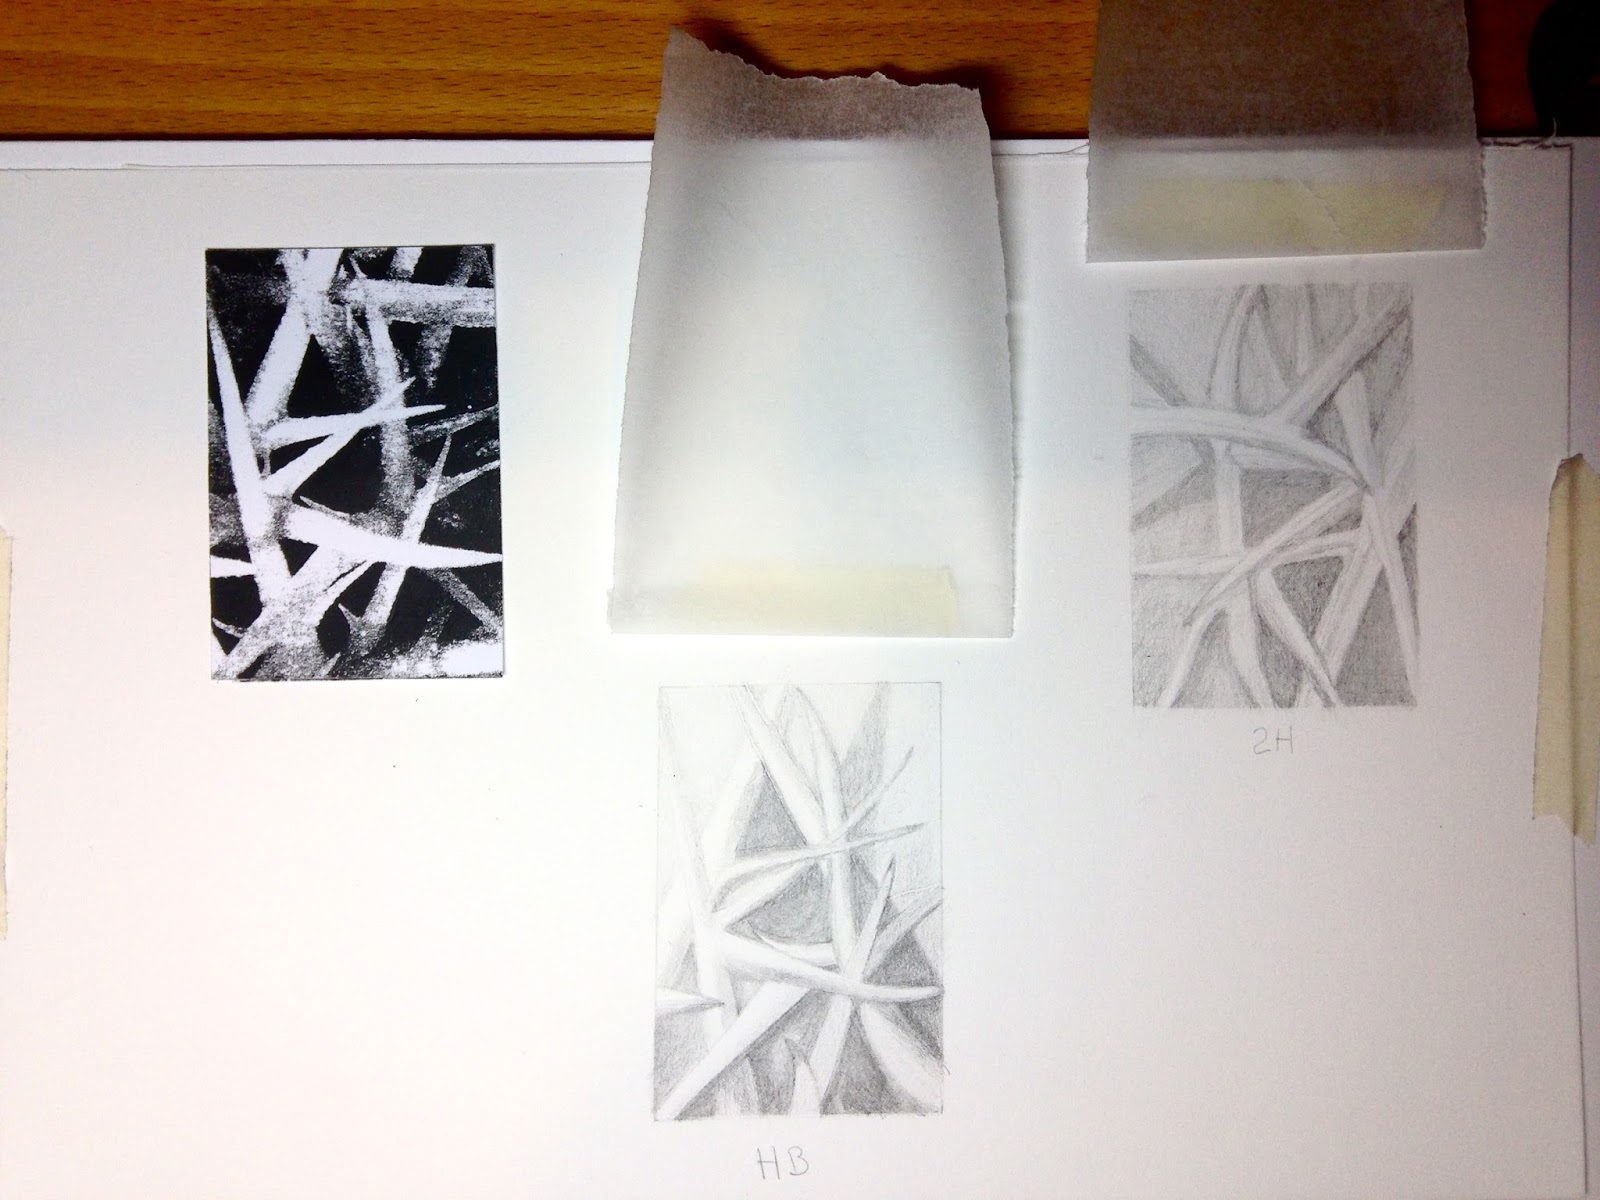
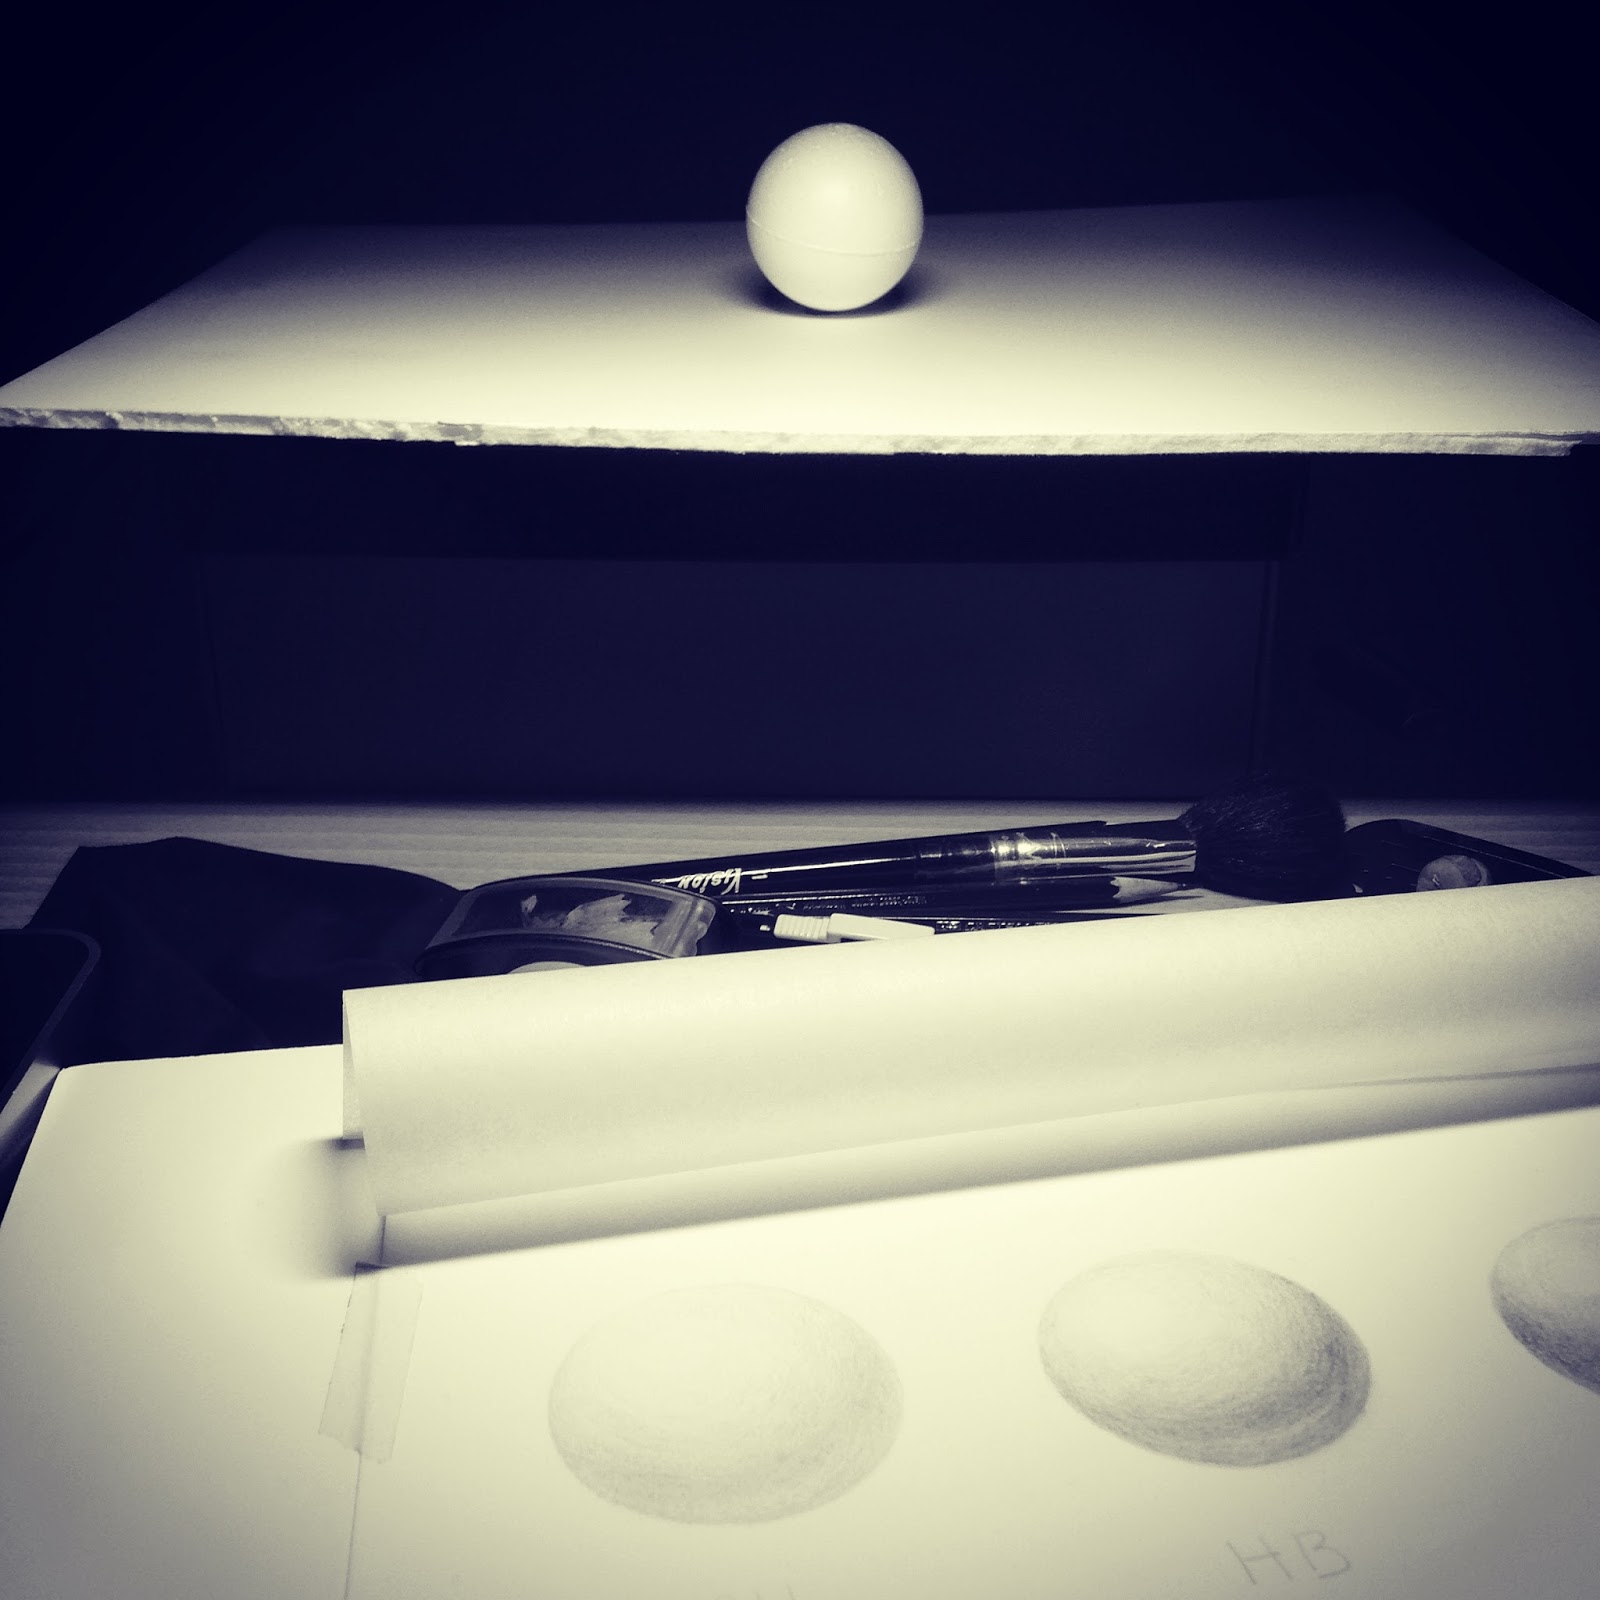
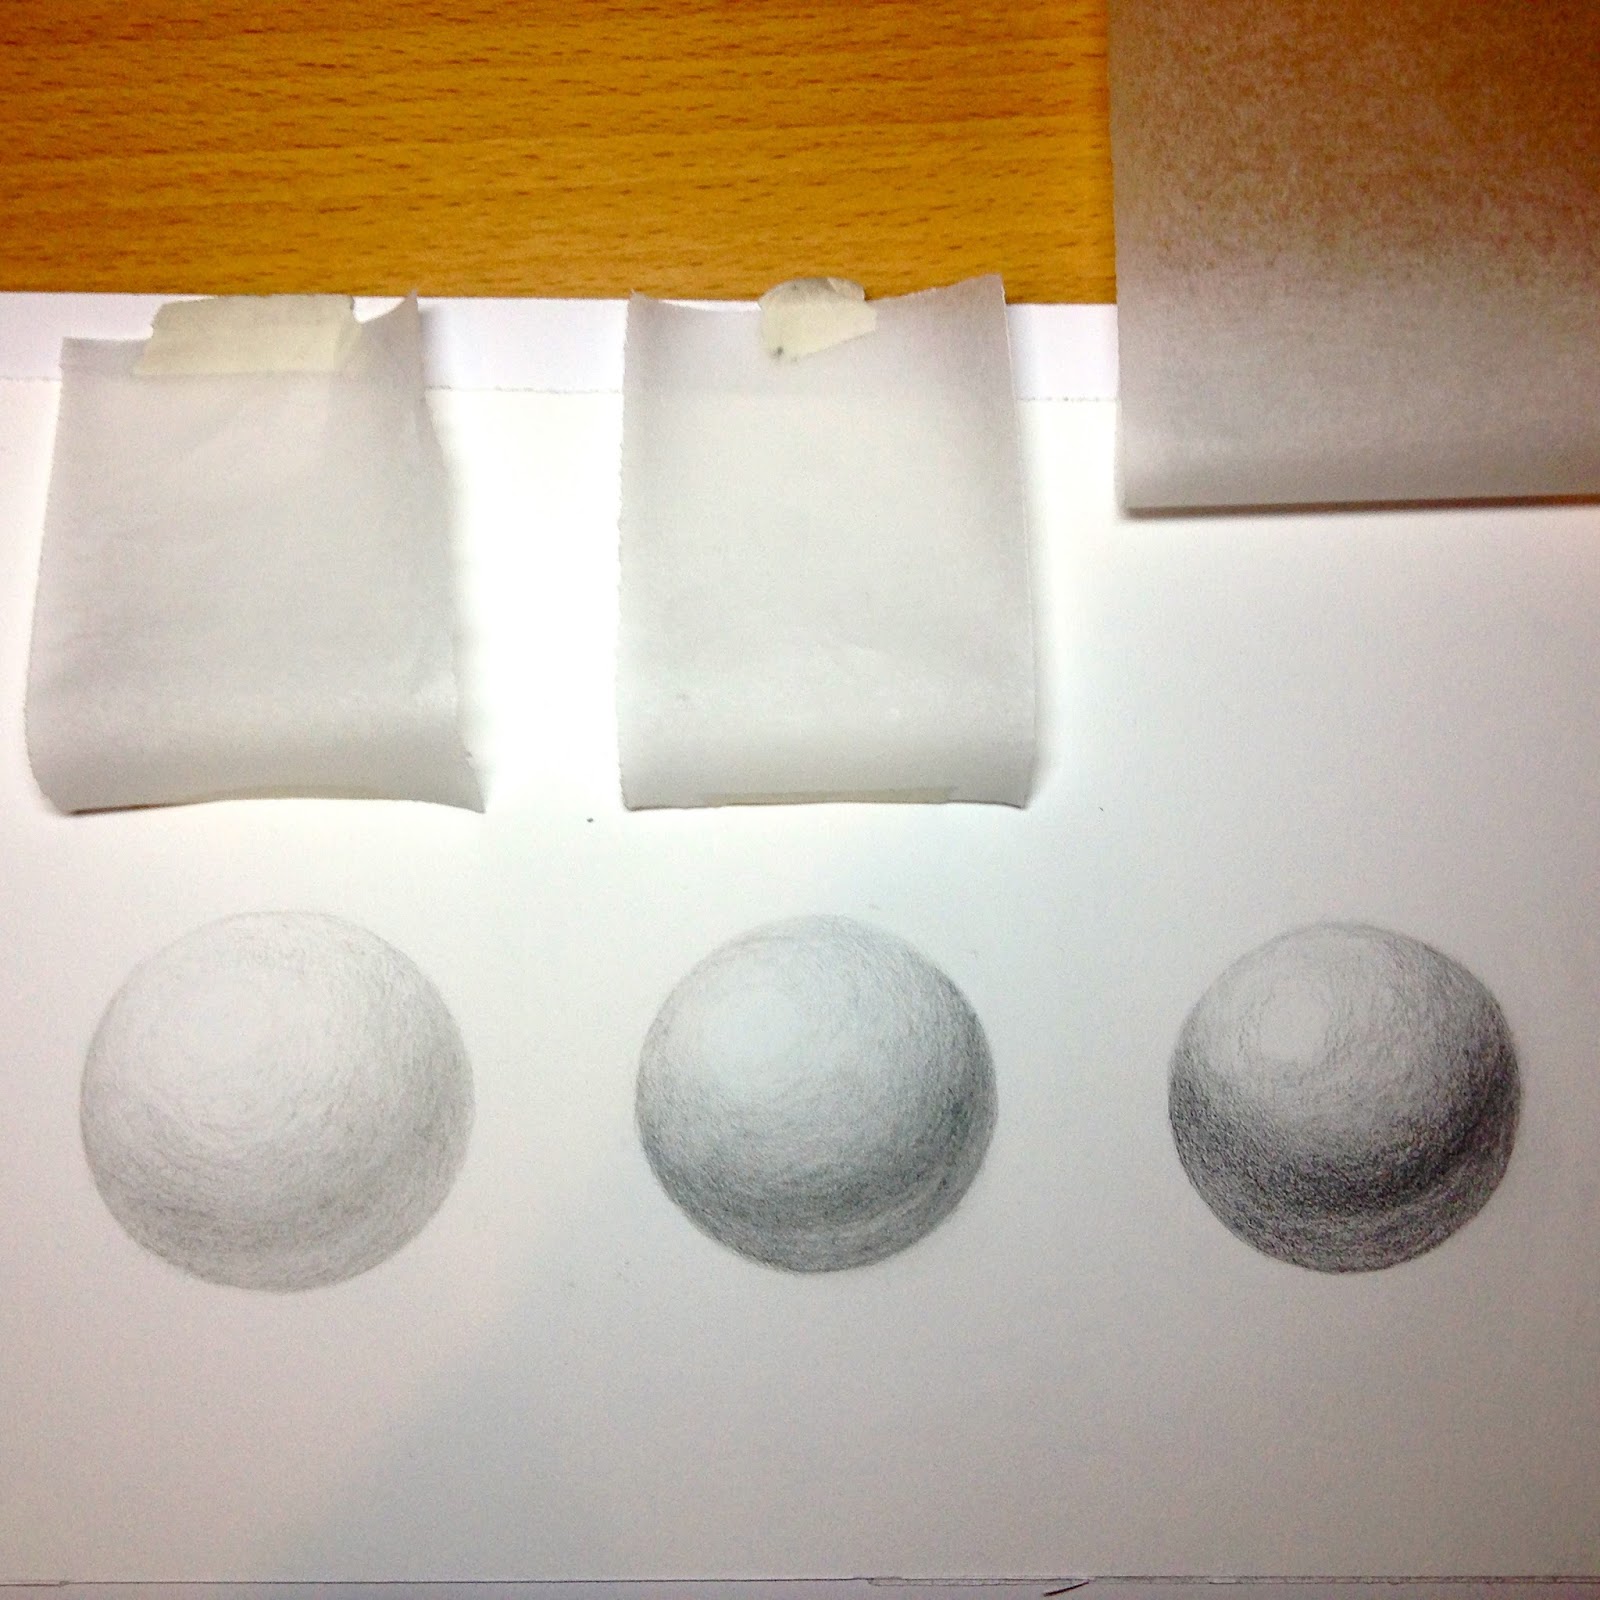
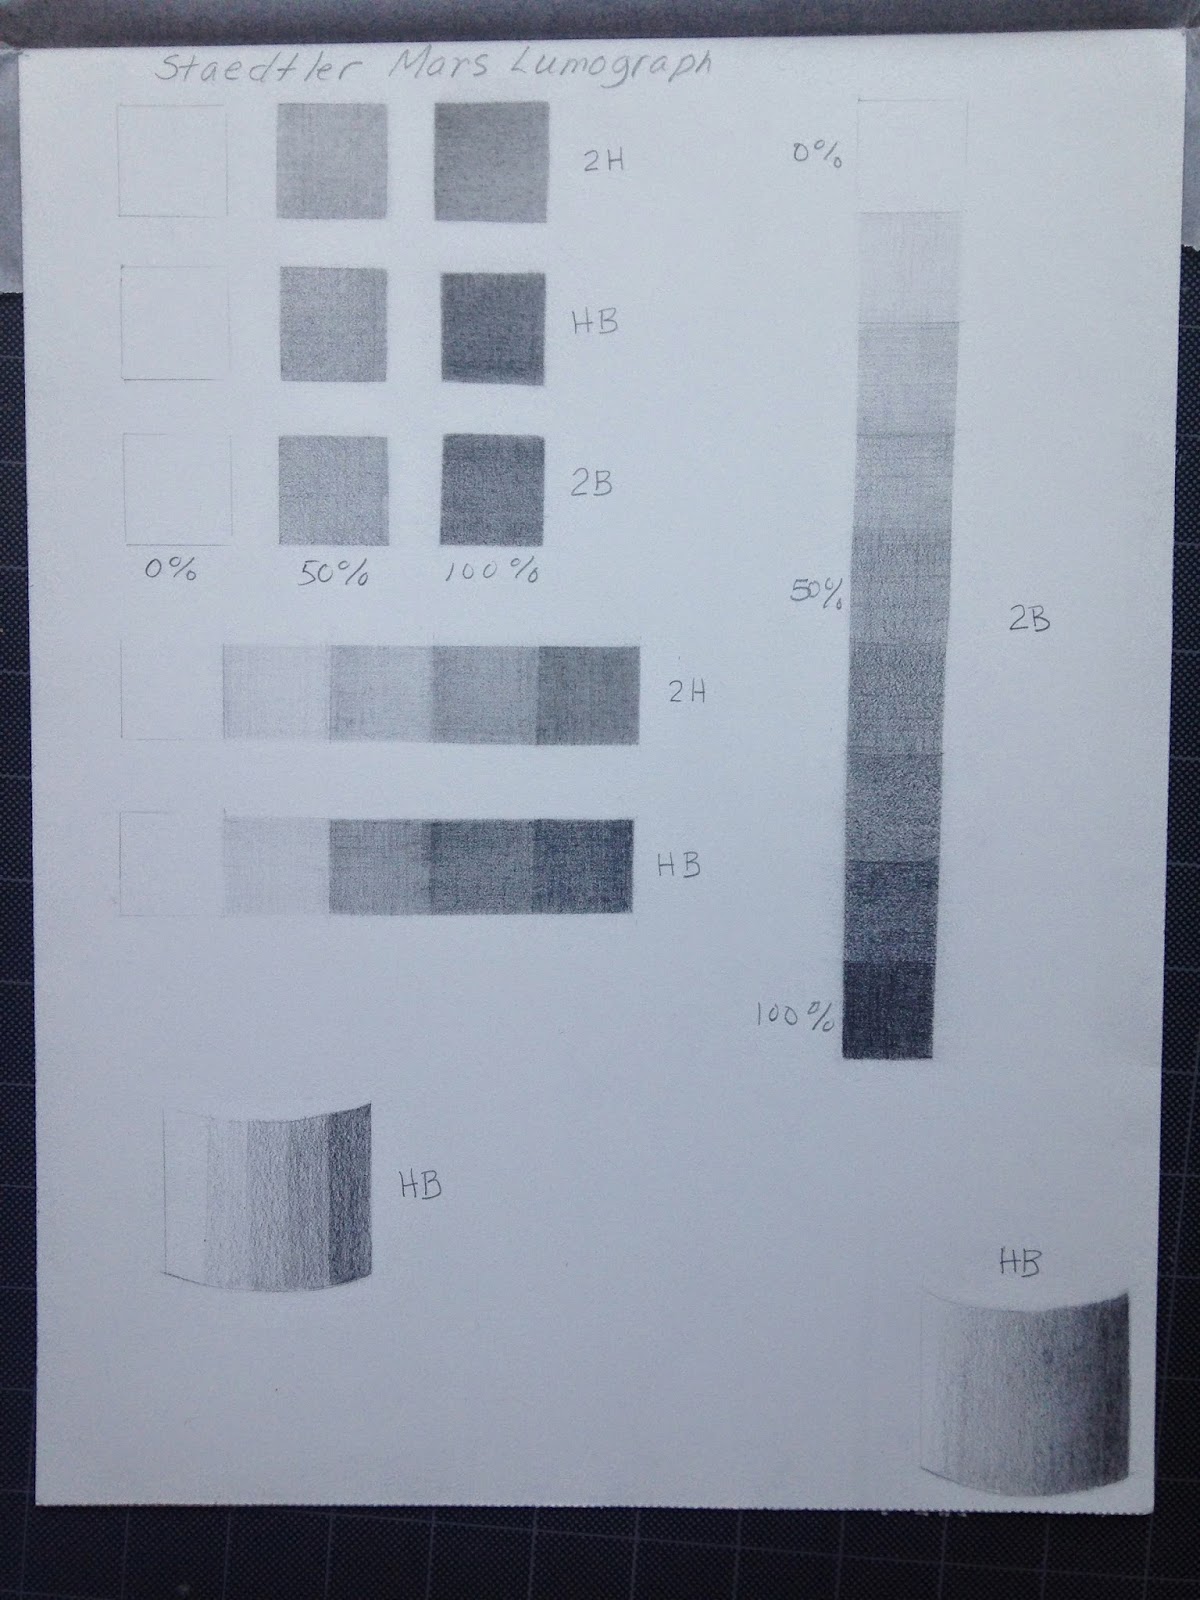
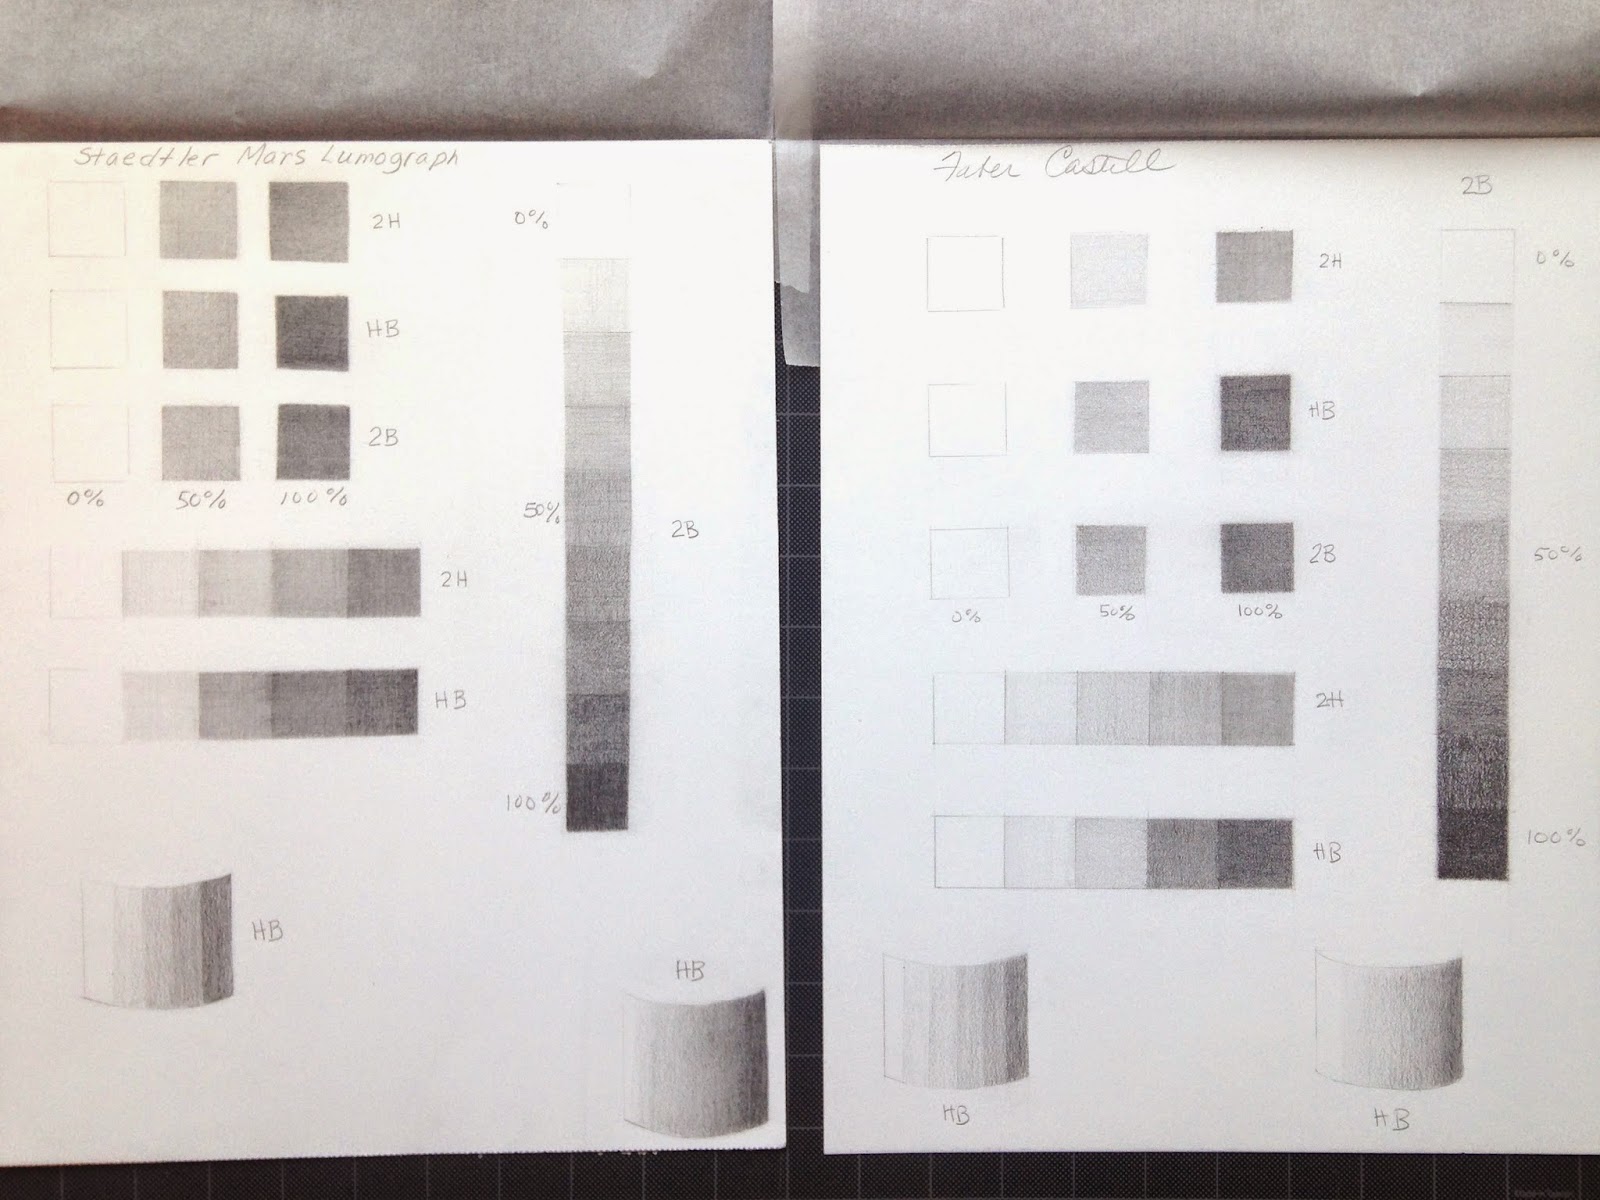
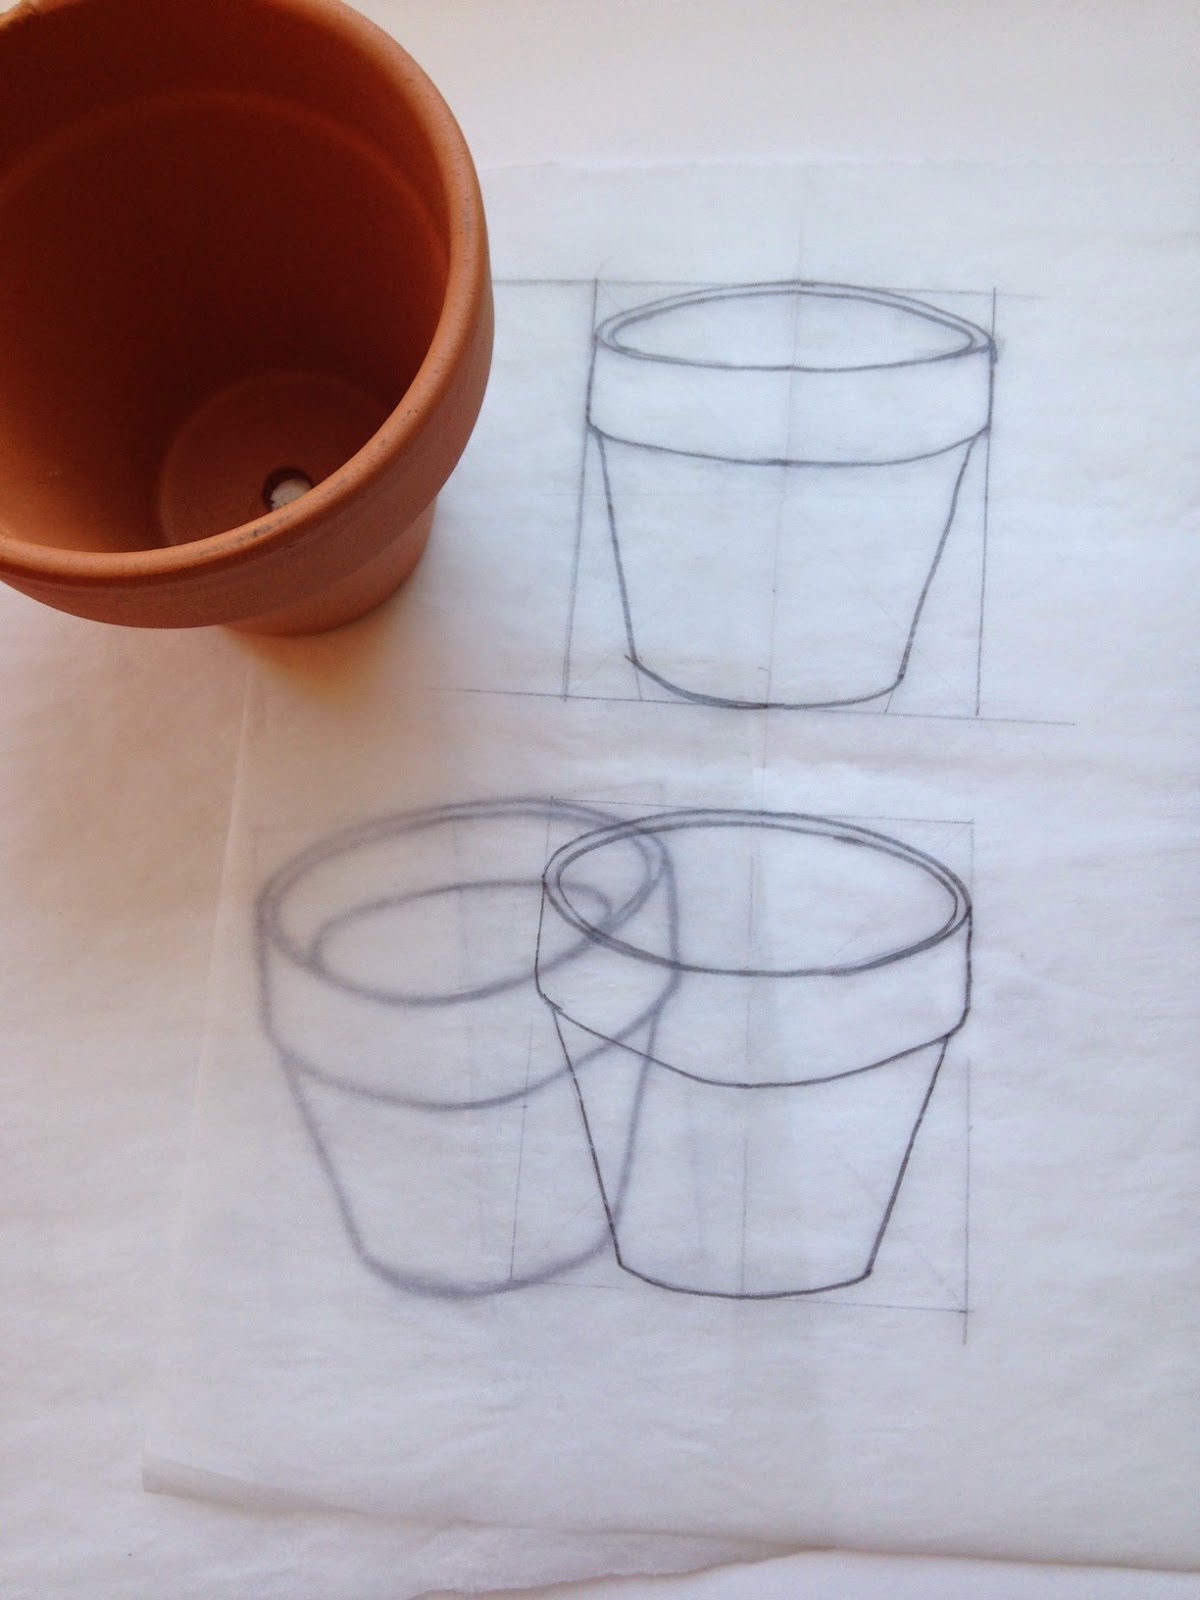
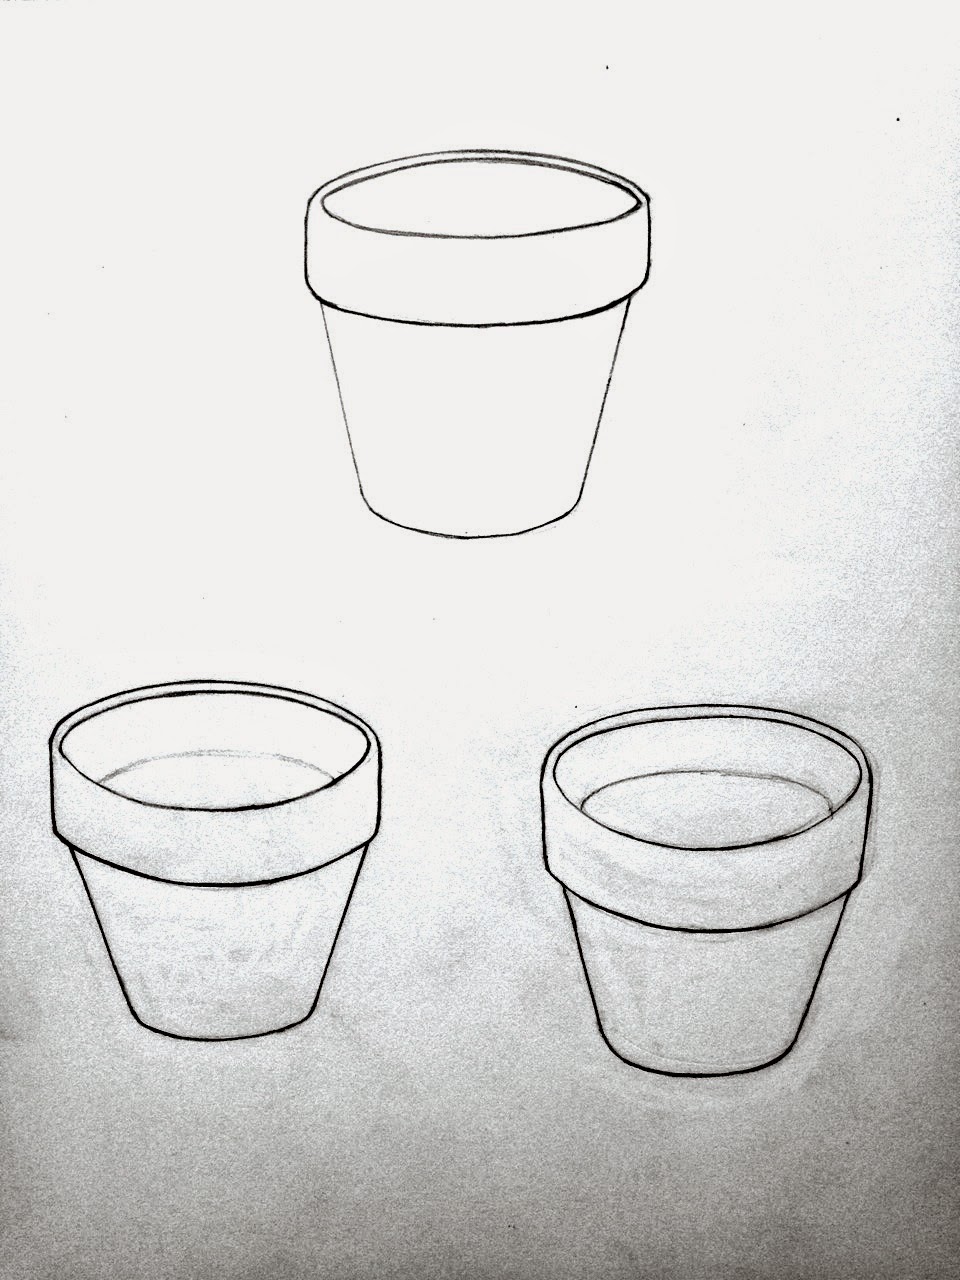
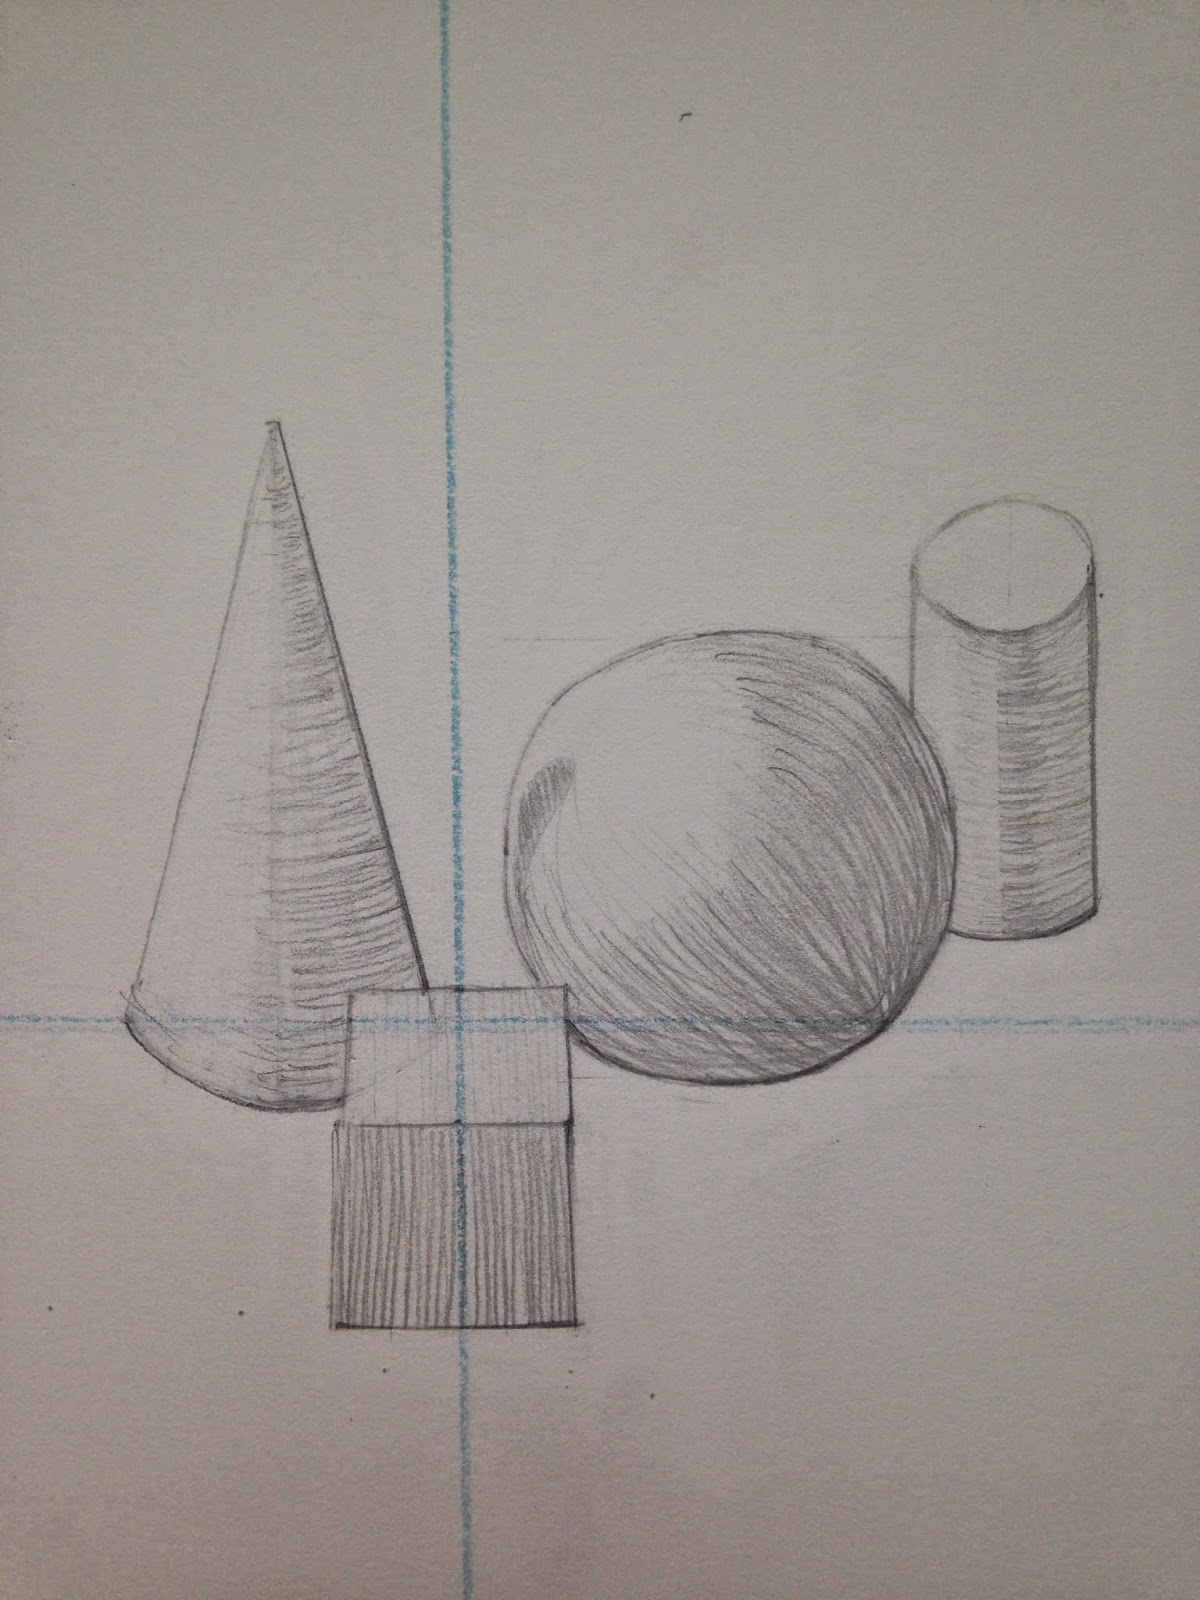
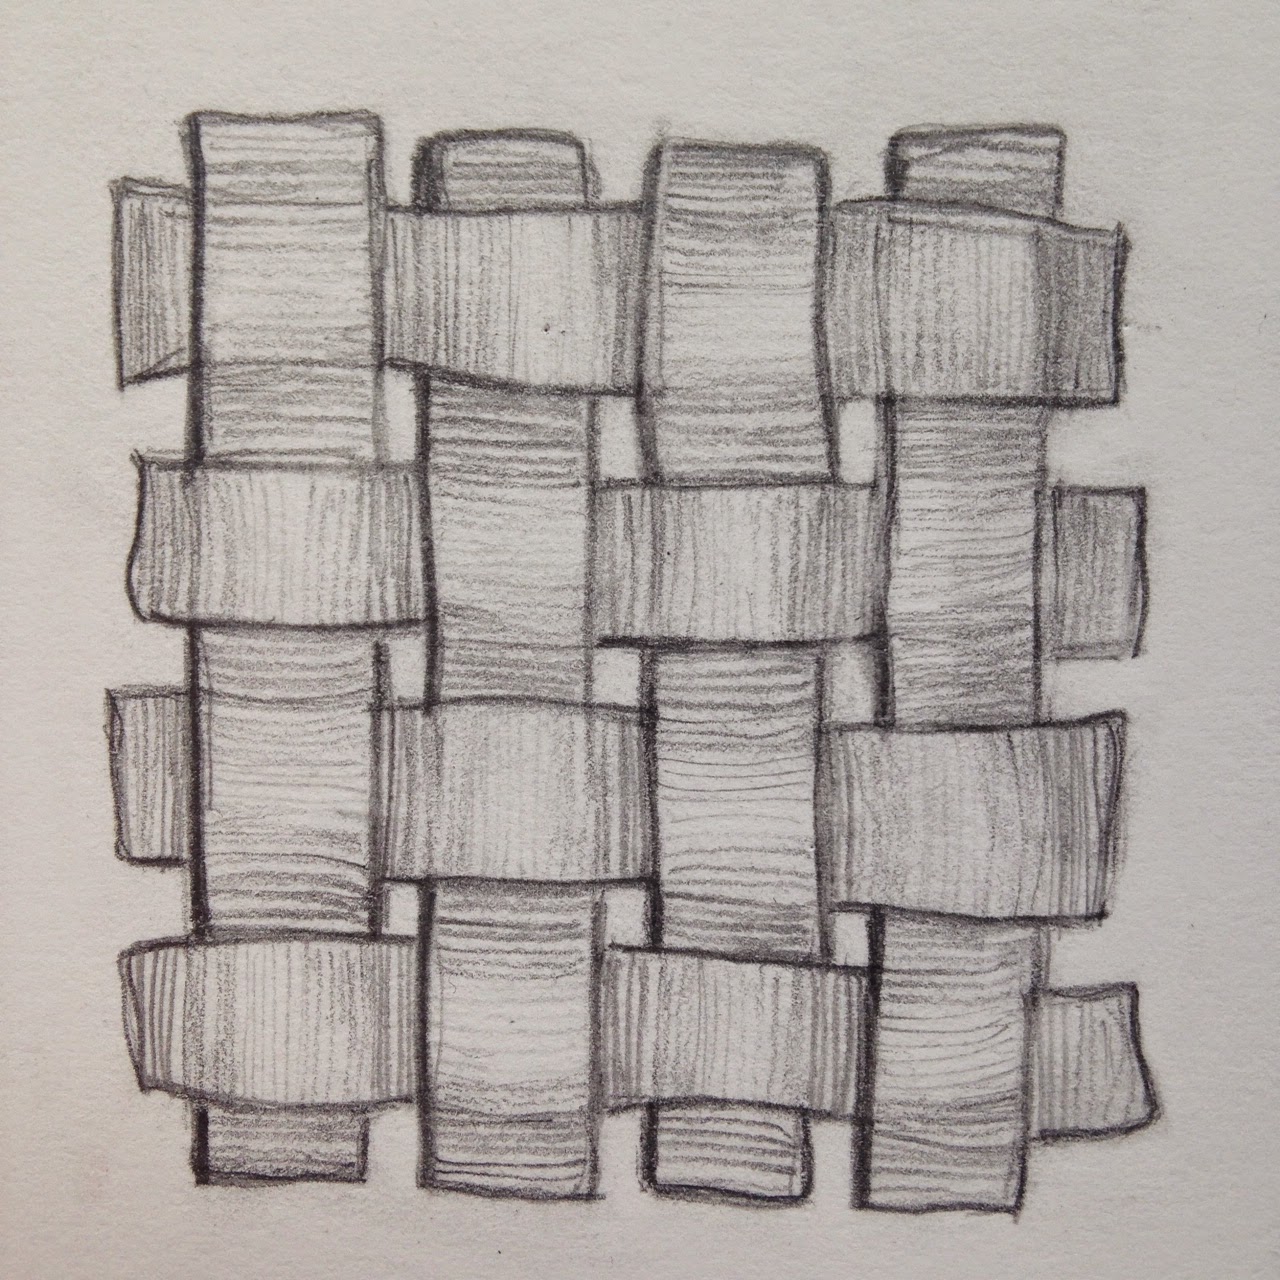
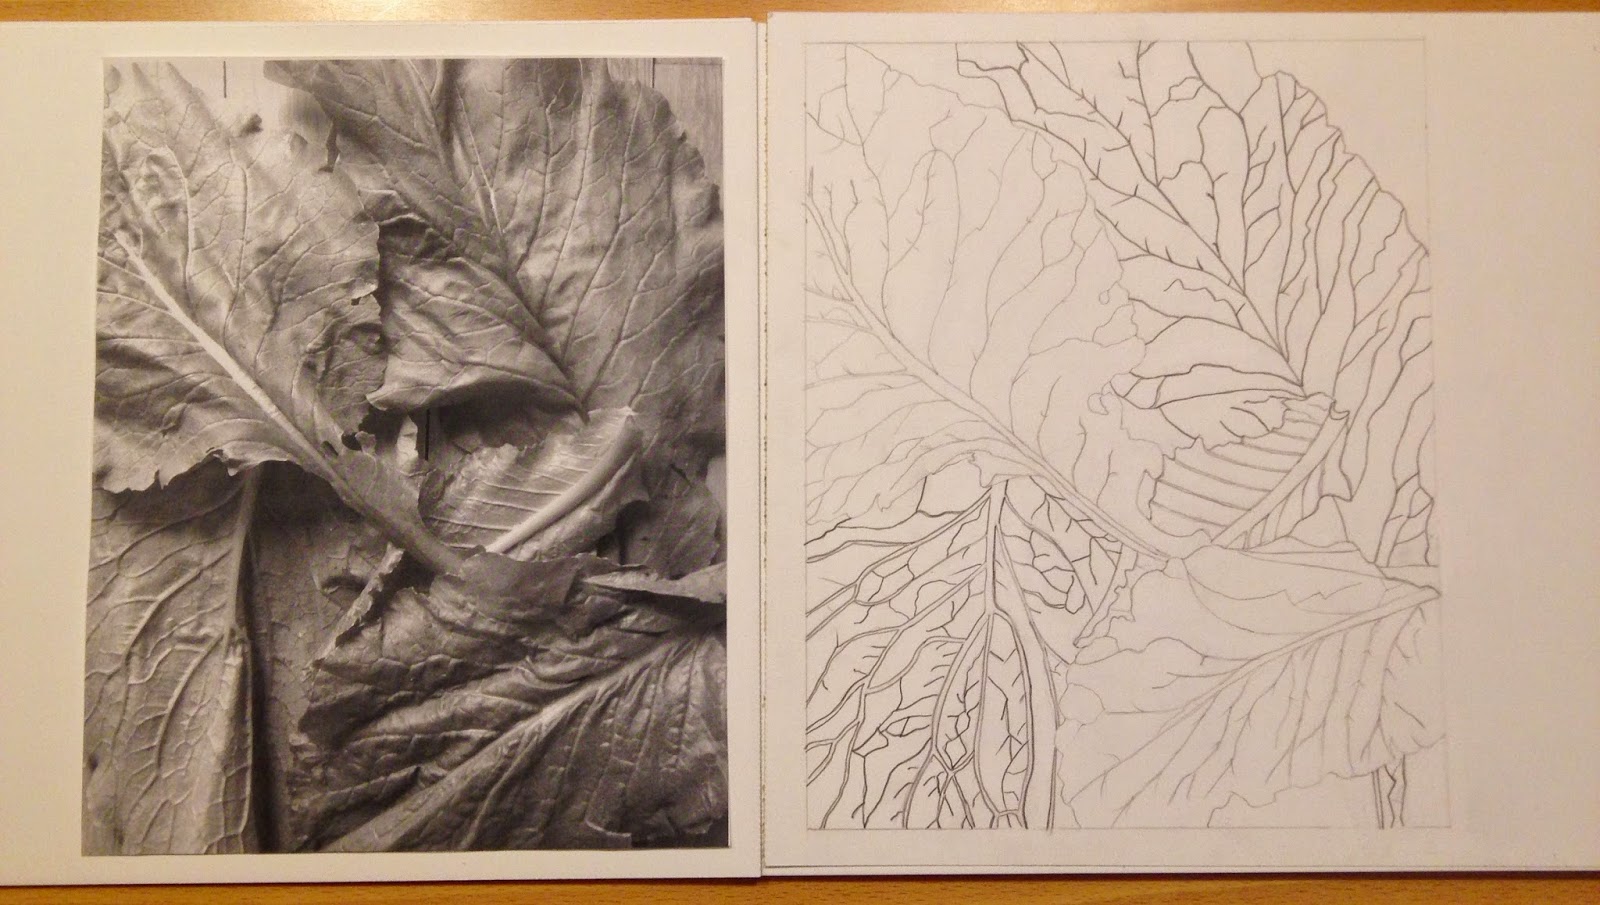
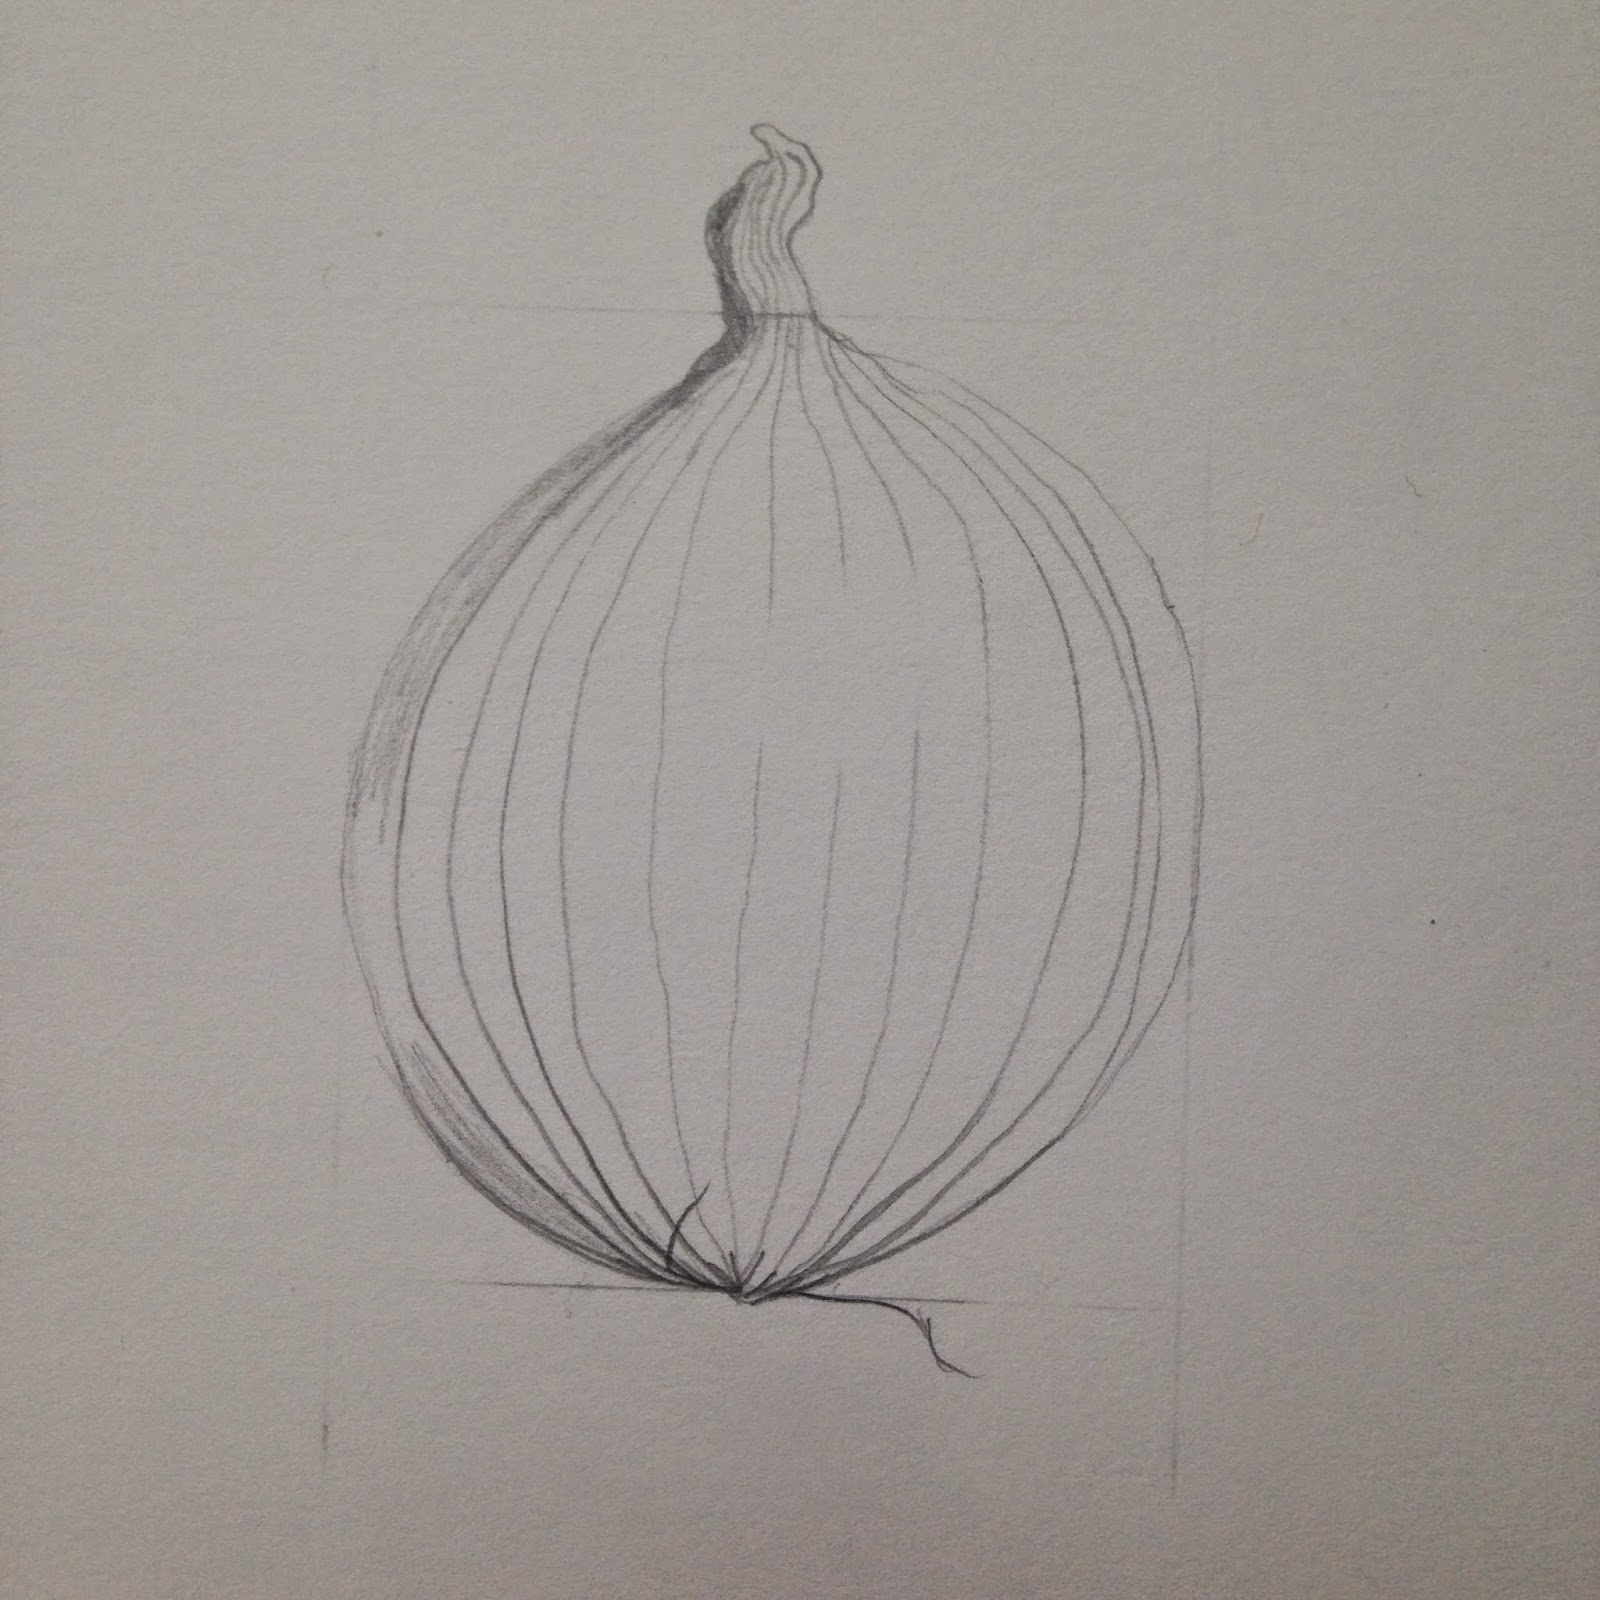
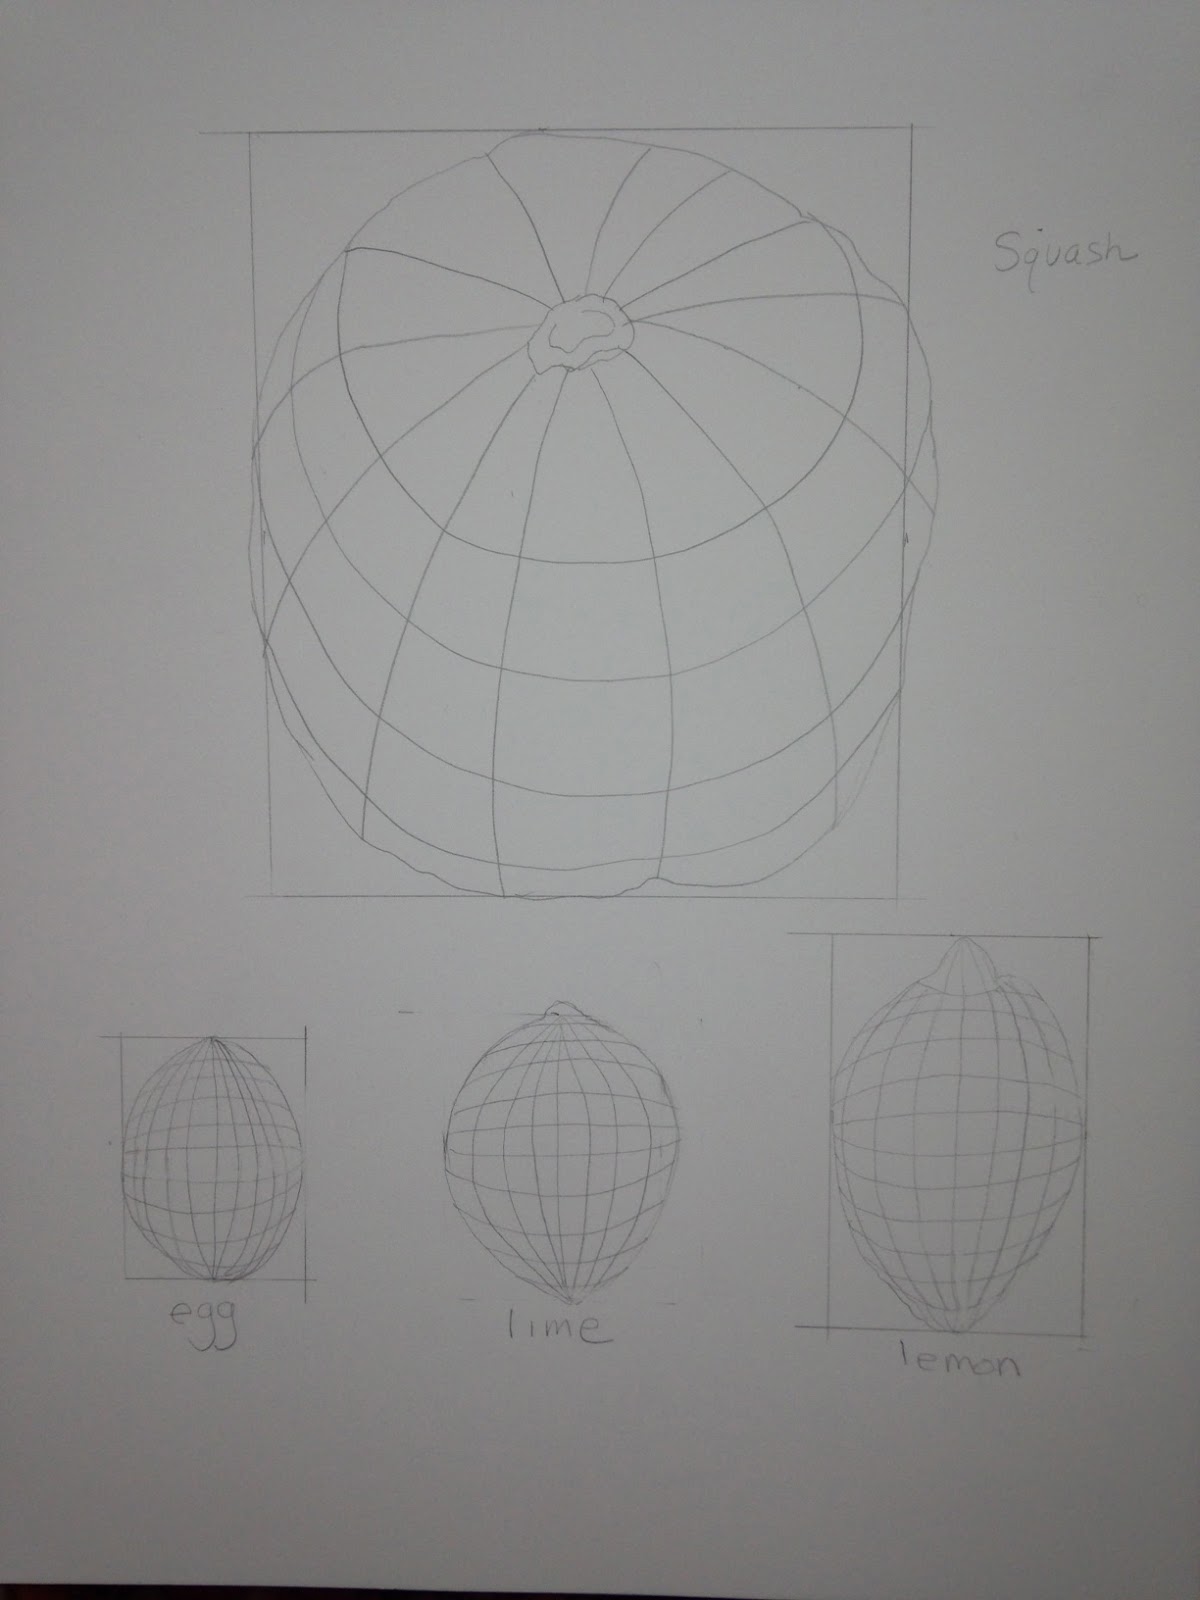
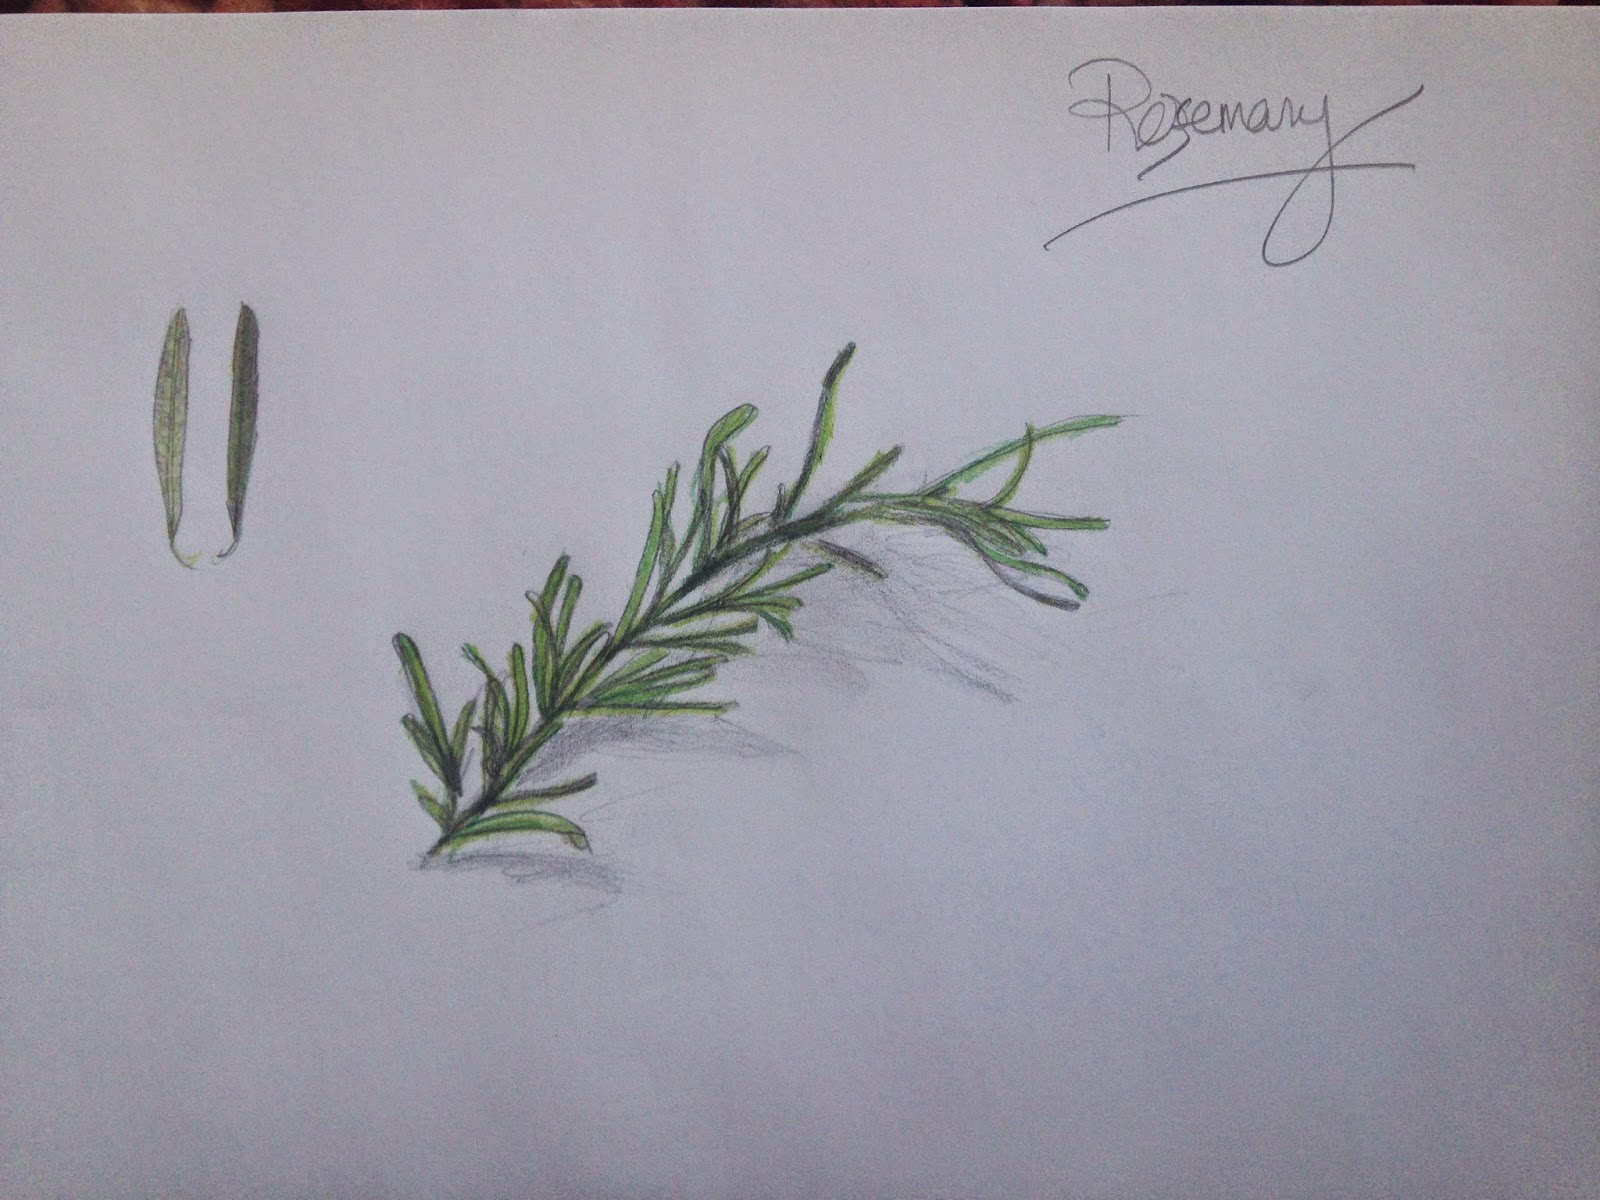
I love doodling and have always wanted to take some classes.  I finally signed up for a class at the New York Botanical Garden.  They have a pretty rigorous certificate program in Botanical Illustration.  I signed up for a Materials and Methods I class which starts tonight.  I bought all the required supplies and then got nervous…will I be in over my head?  So the other day I clipped some rosemary and knocked out a sketch with my new pencils.  I think it is OK.  Actually it was thinking about posting my progress here that got me to get back to this blog in the first place.  I will post my drawings as I accumulate them.  It's such an easy way to keep files.  For now here is my pre-class drawing.  I hope to significantly improve my skills.  


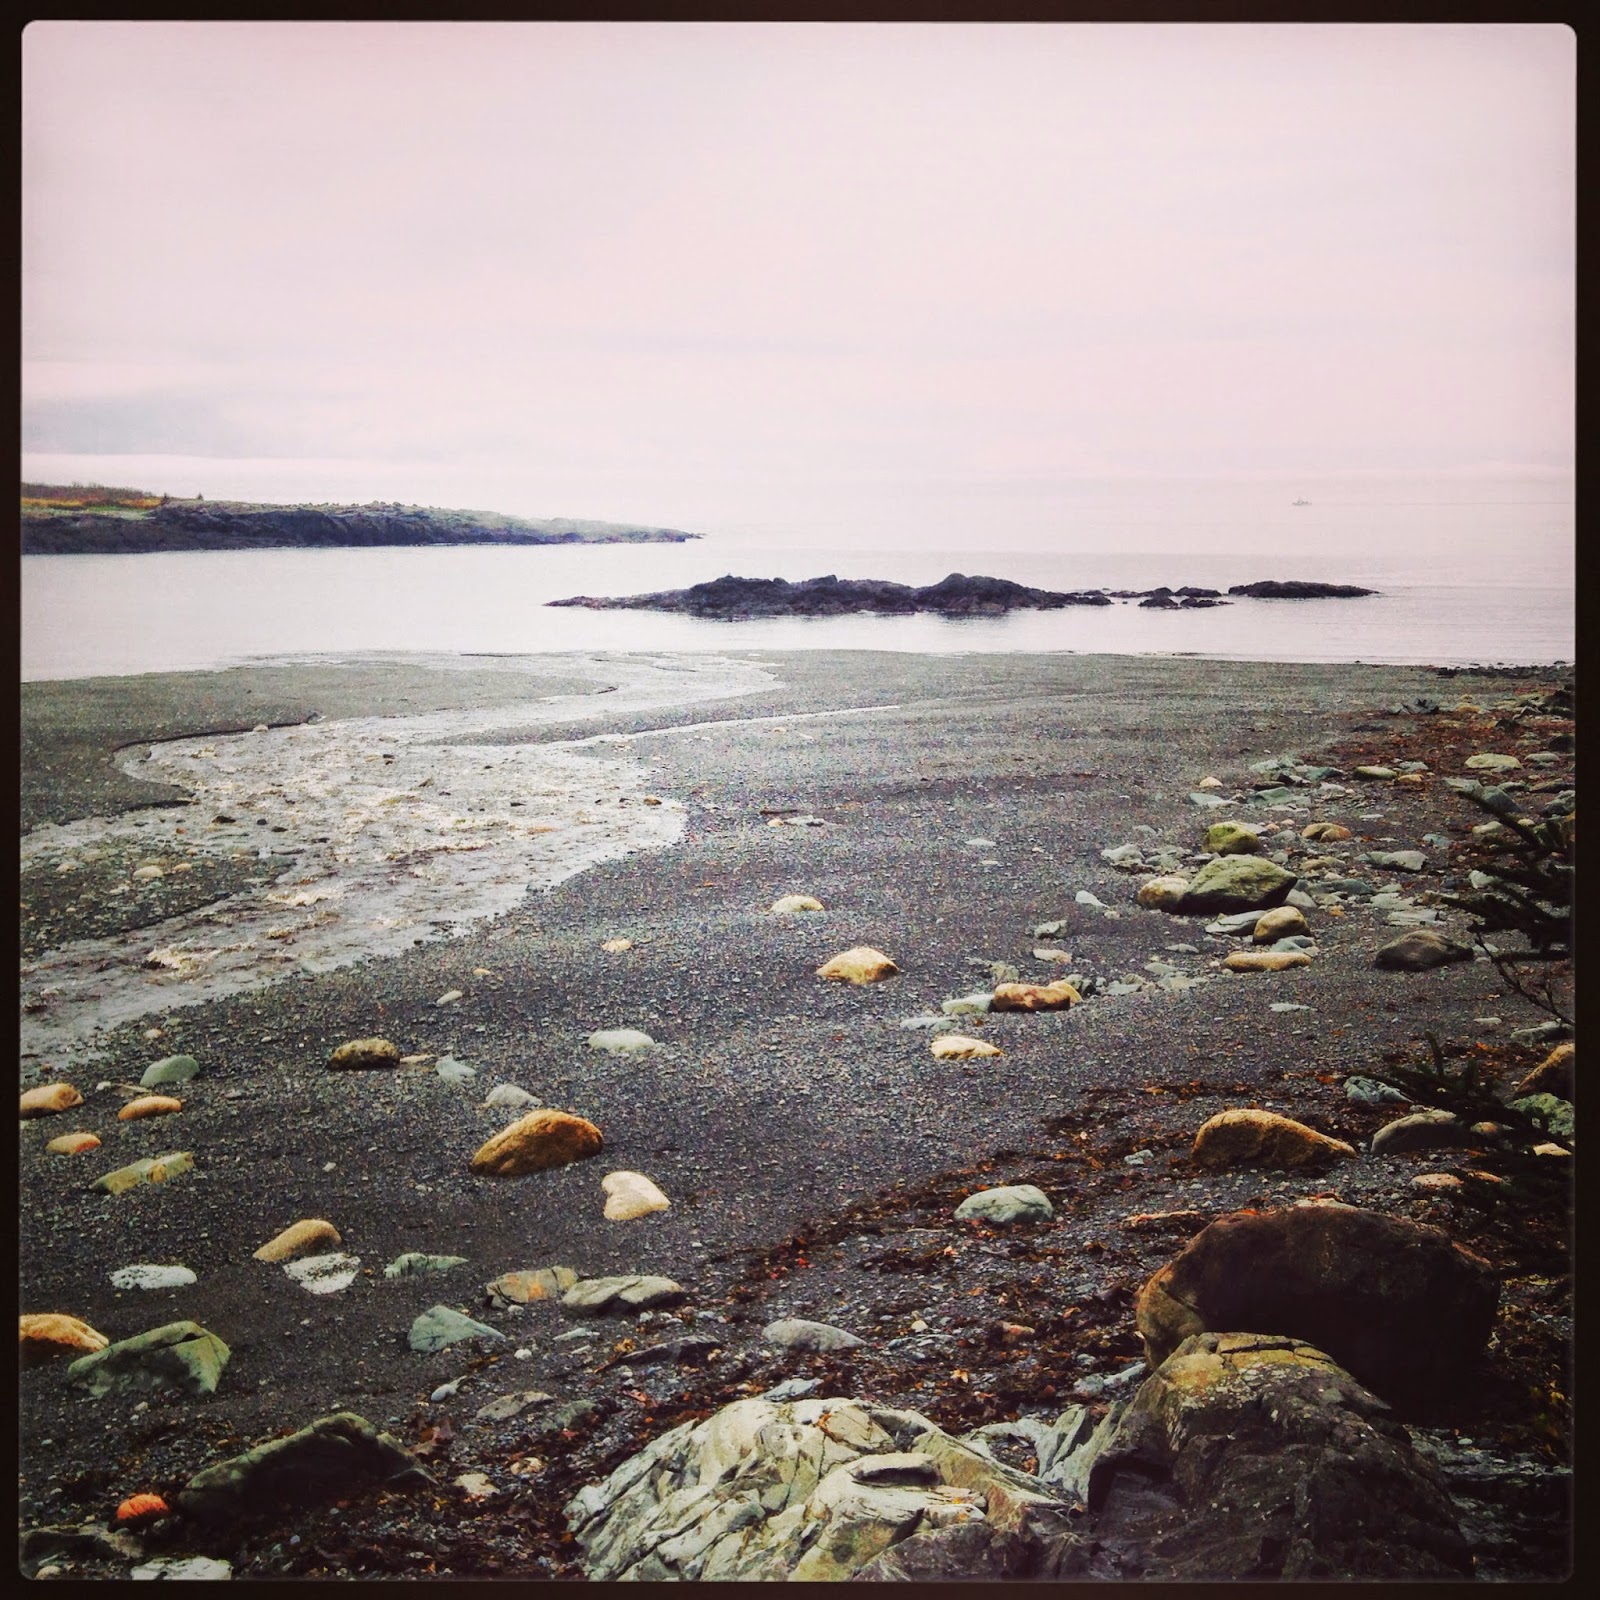
So now just a few parting shots…this one of the cove...

The view from the cabin on a cold, rainy day. 

Next post will be all about botanical drawing.  Wish me luck.  Comments are welcome.